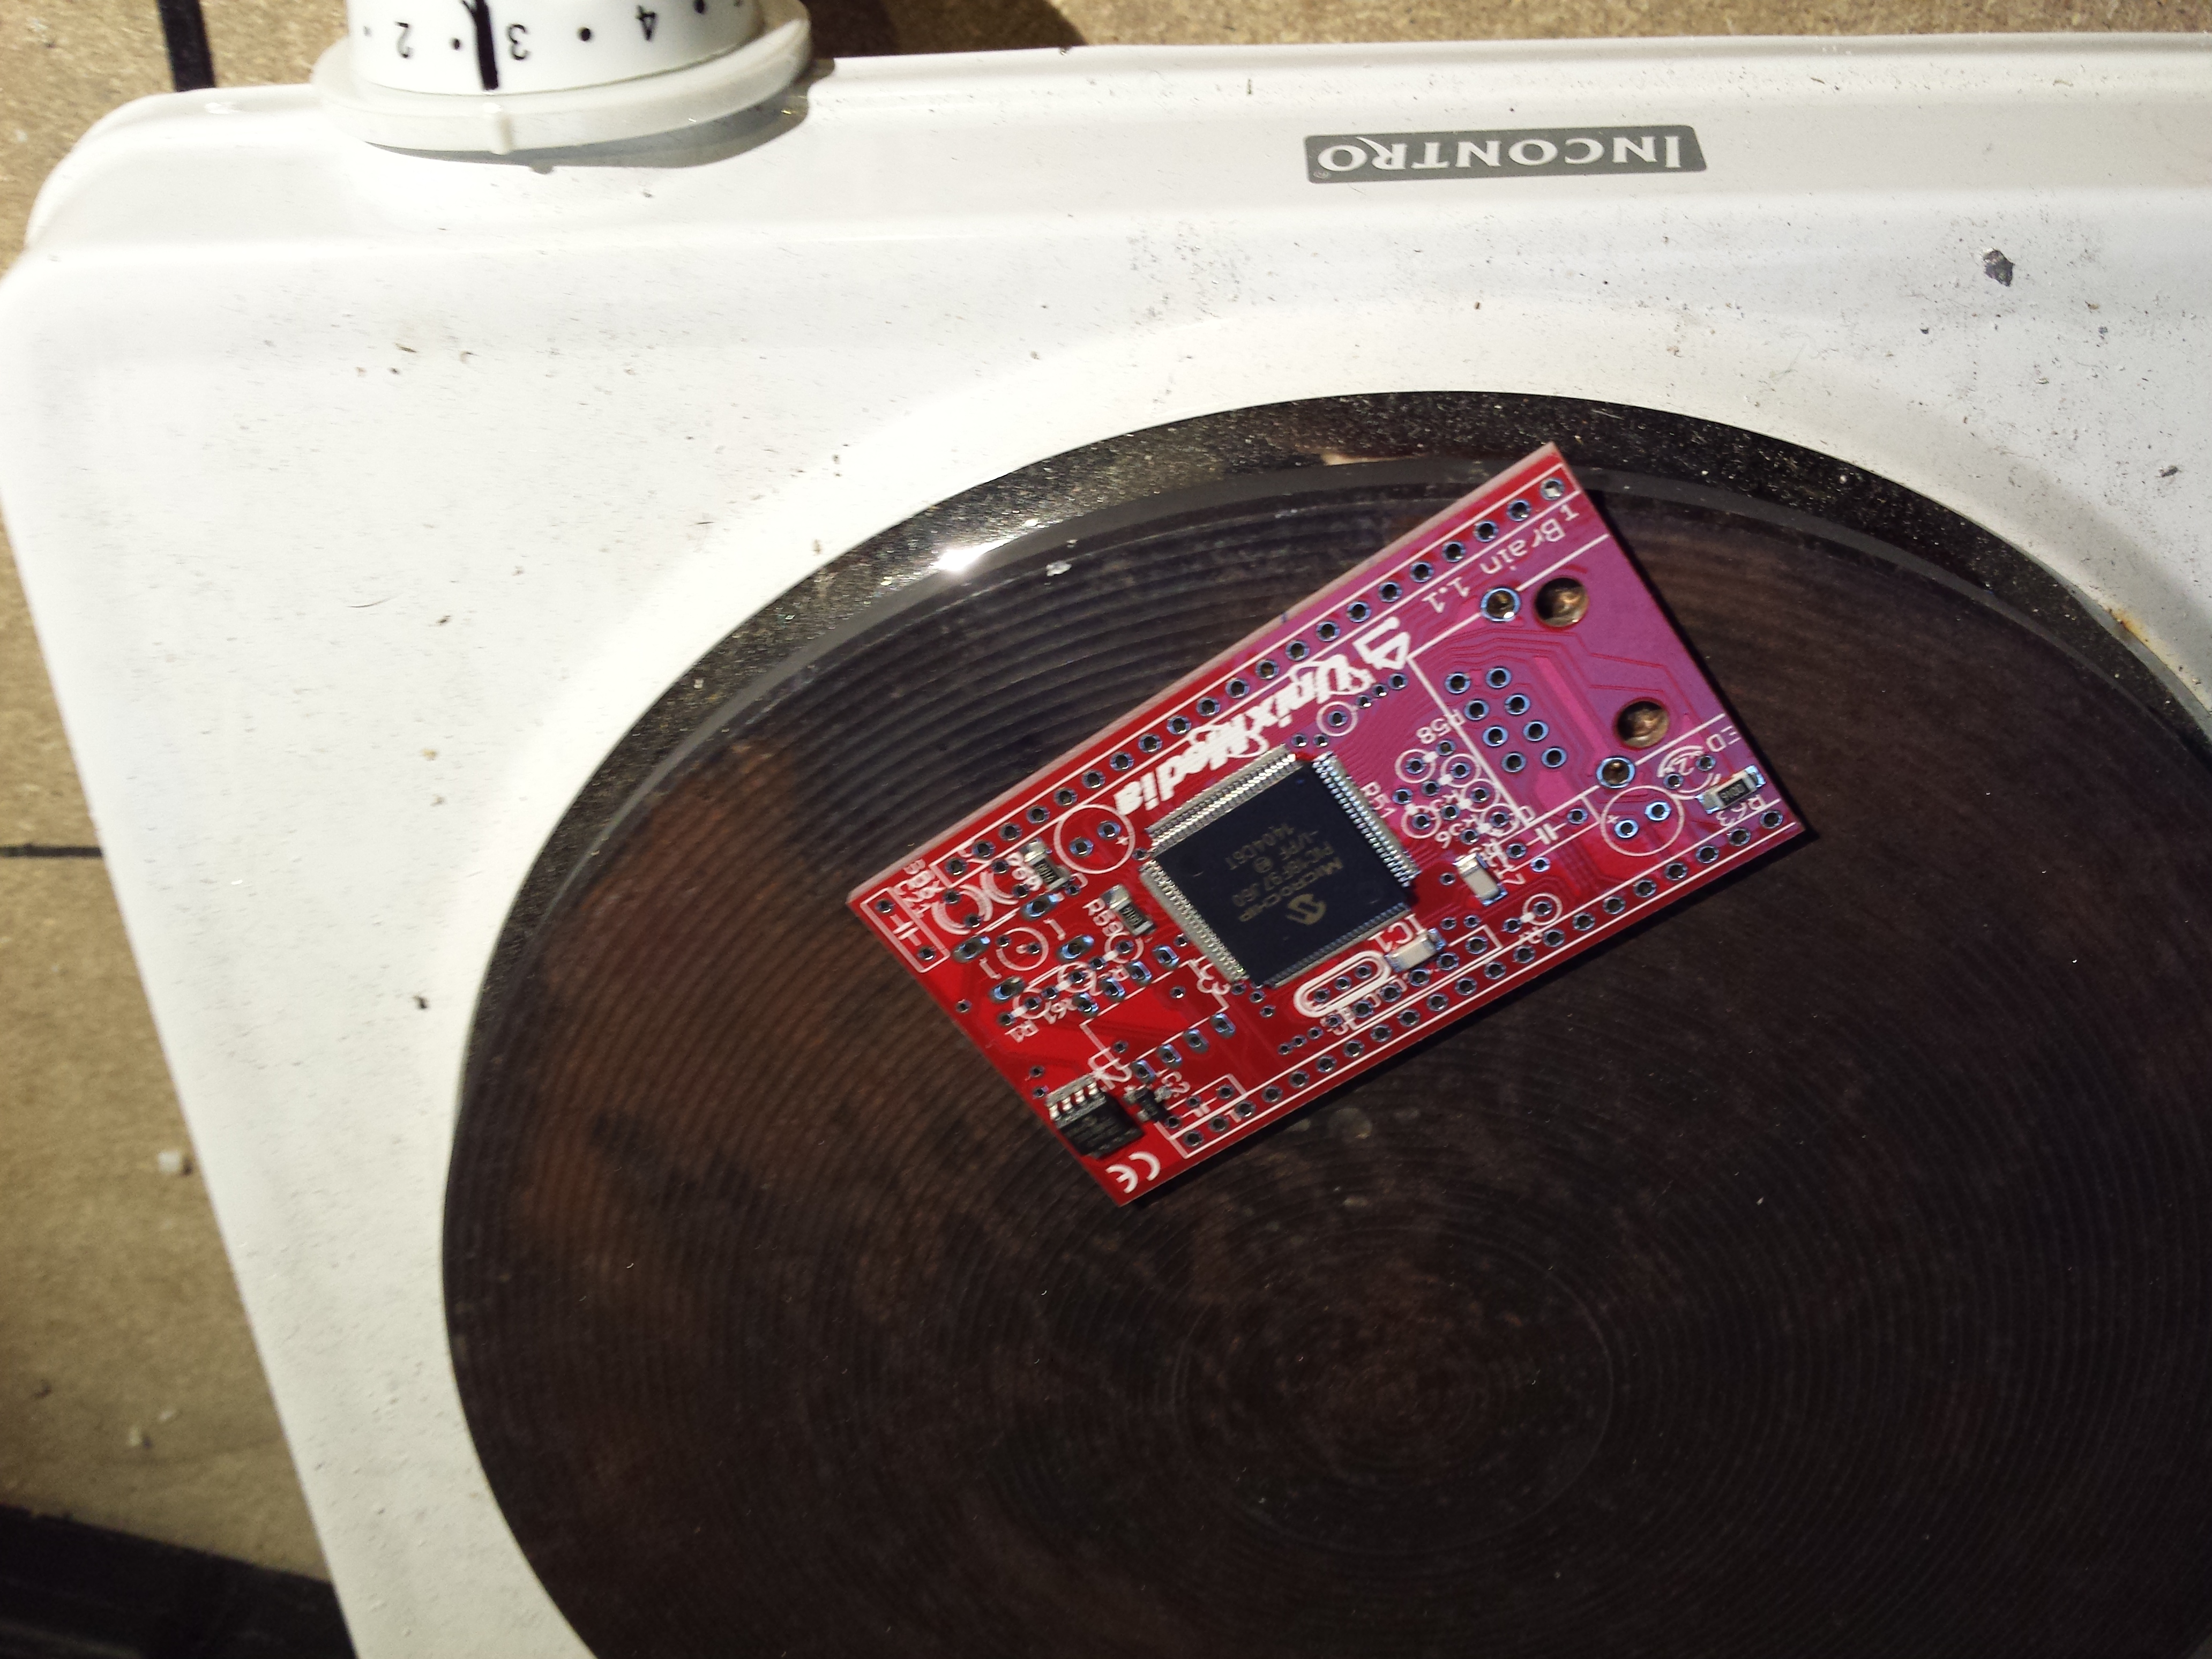
This is how i solder SMD components on a little arduino-like MCU board based on PIC18F97j60 by Microchip in my laboratory, step by step, using solder paste and a little electric stove:
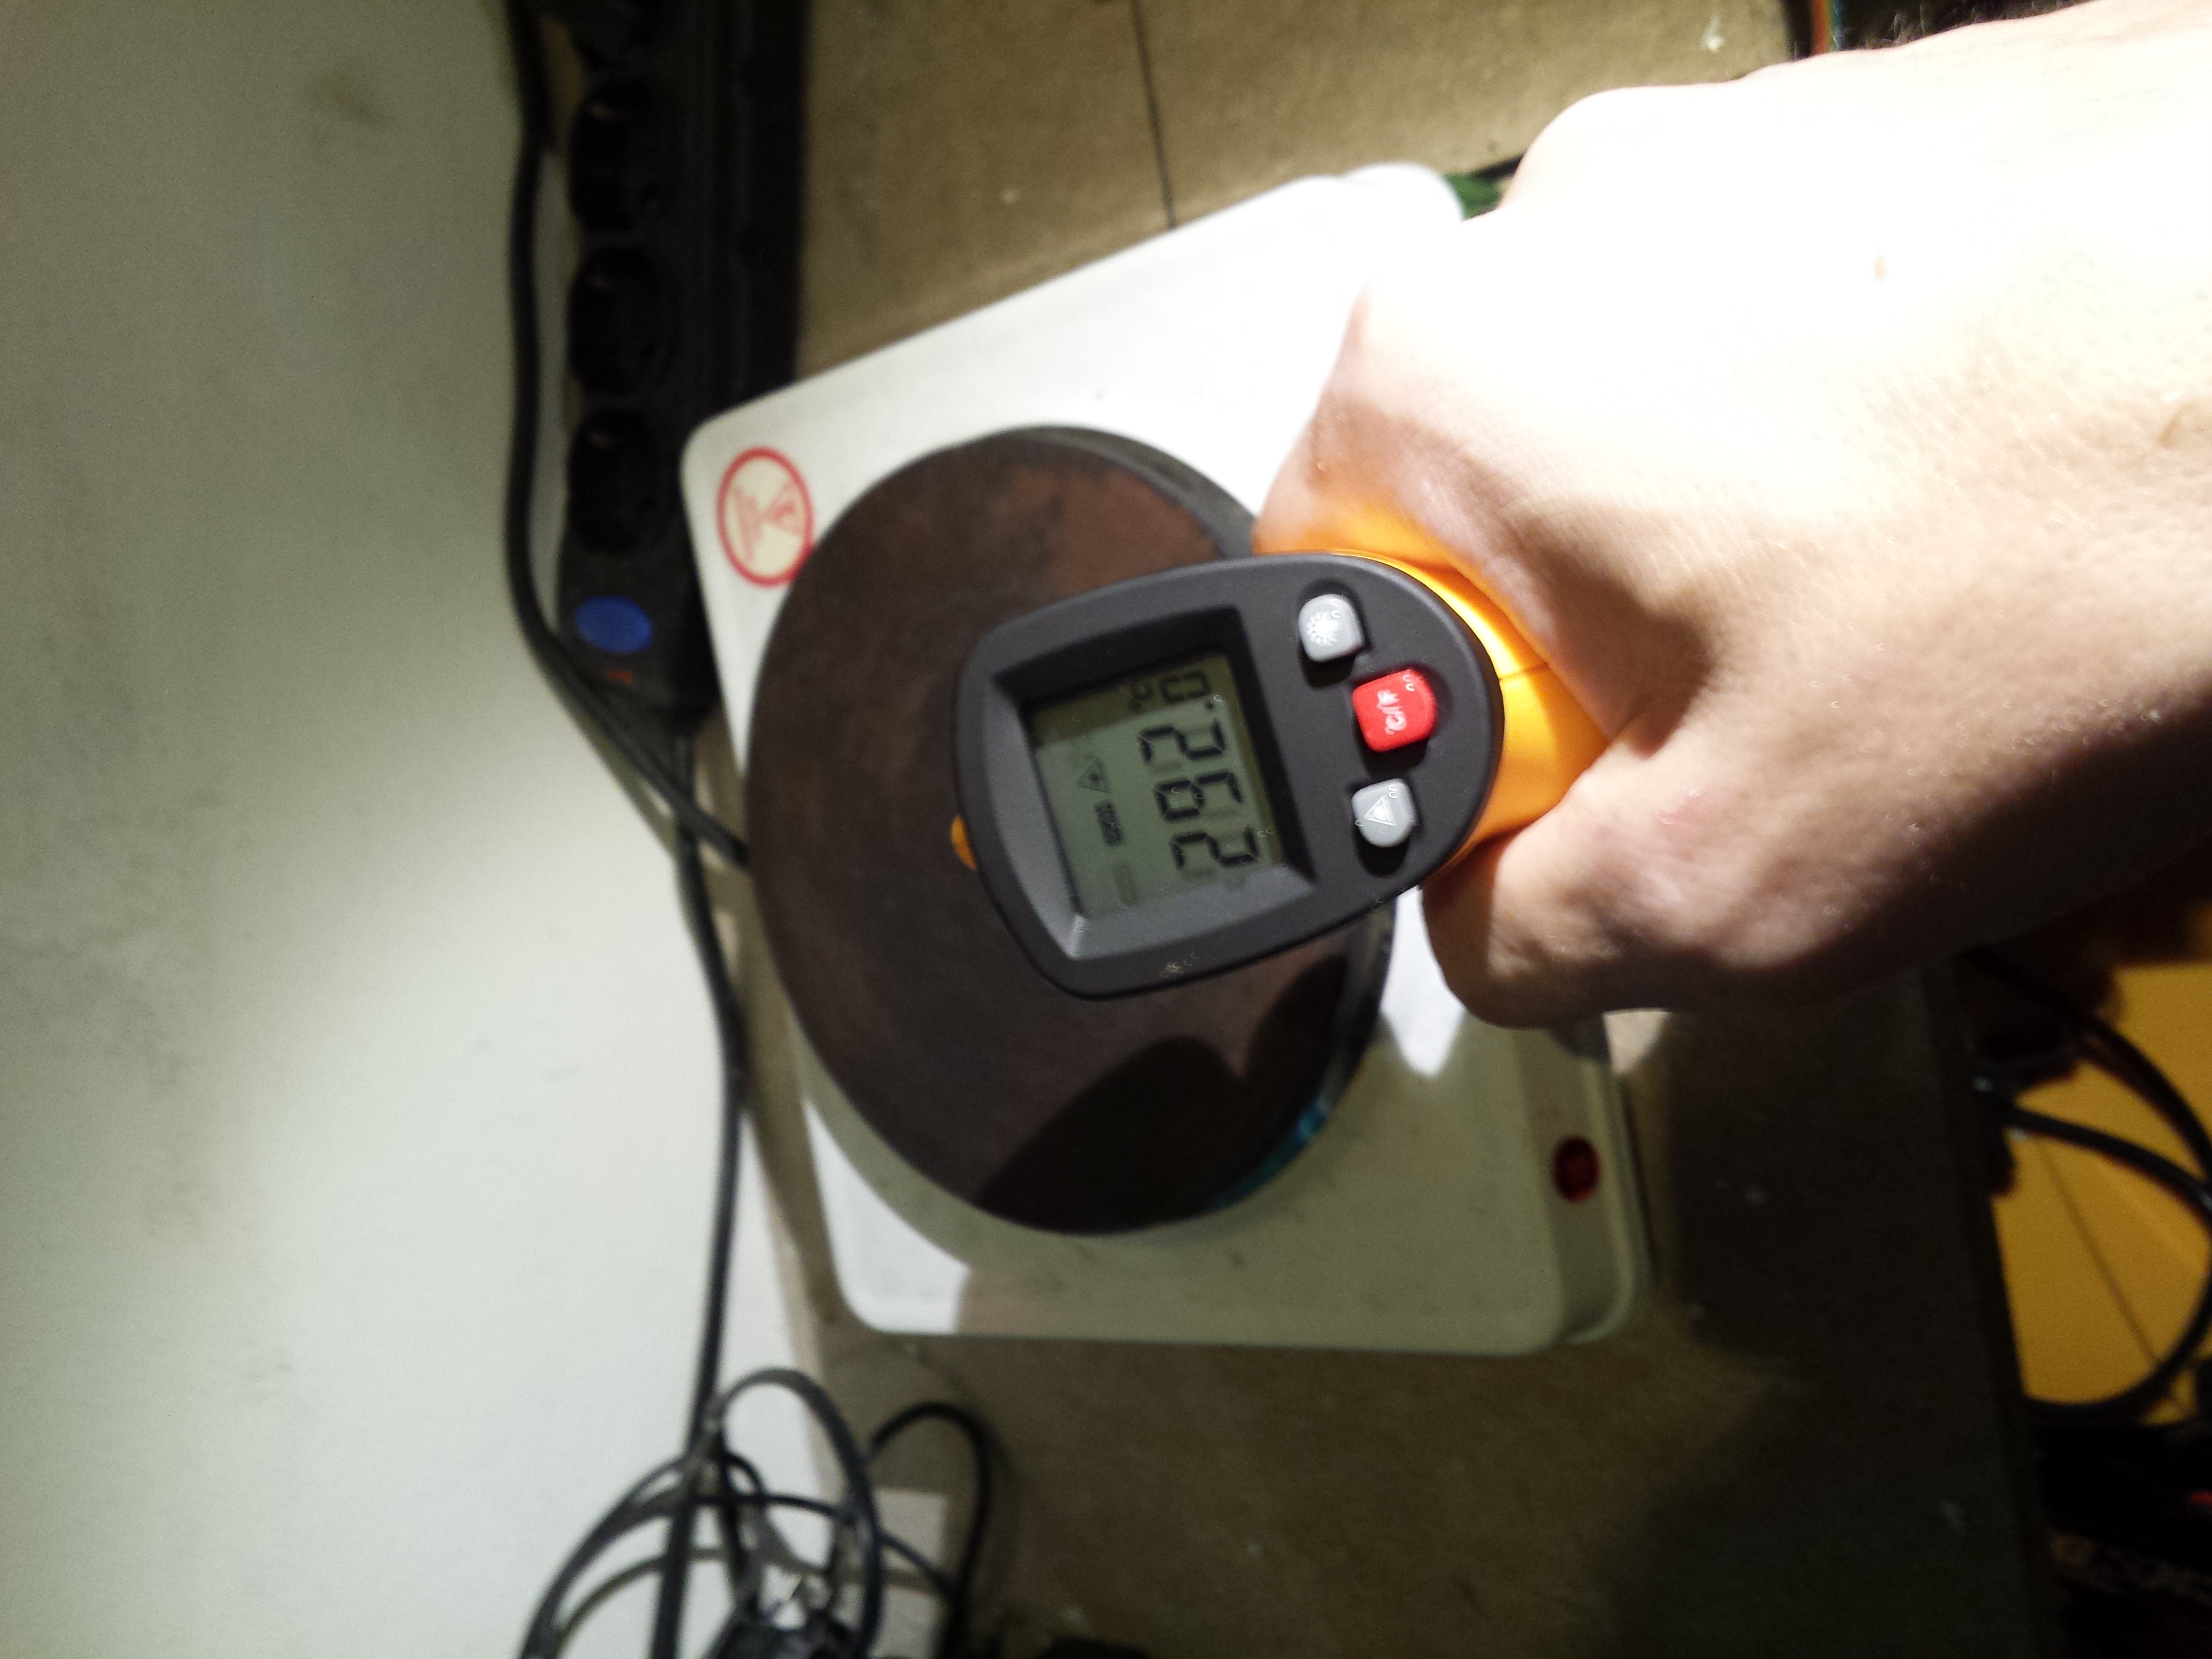
1- heat the electric stove measuring a temperature just a little bit higher than the melting temperature declared for your solder paste: mine is 273 C degree, so, i put my stove to ~ 290 degree
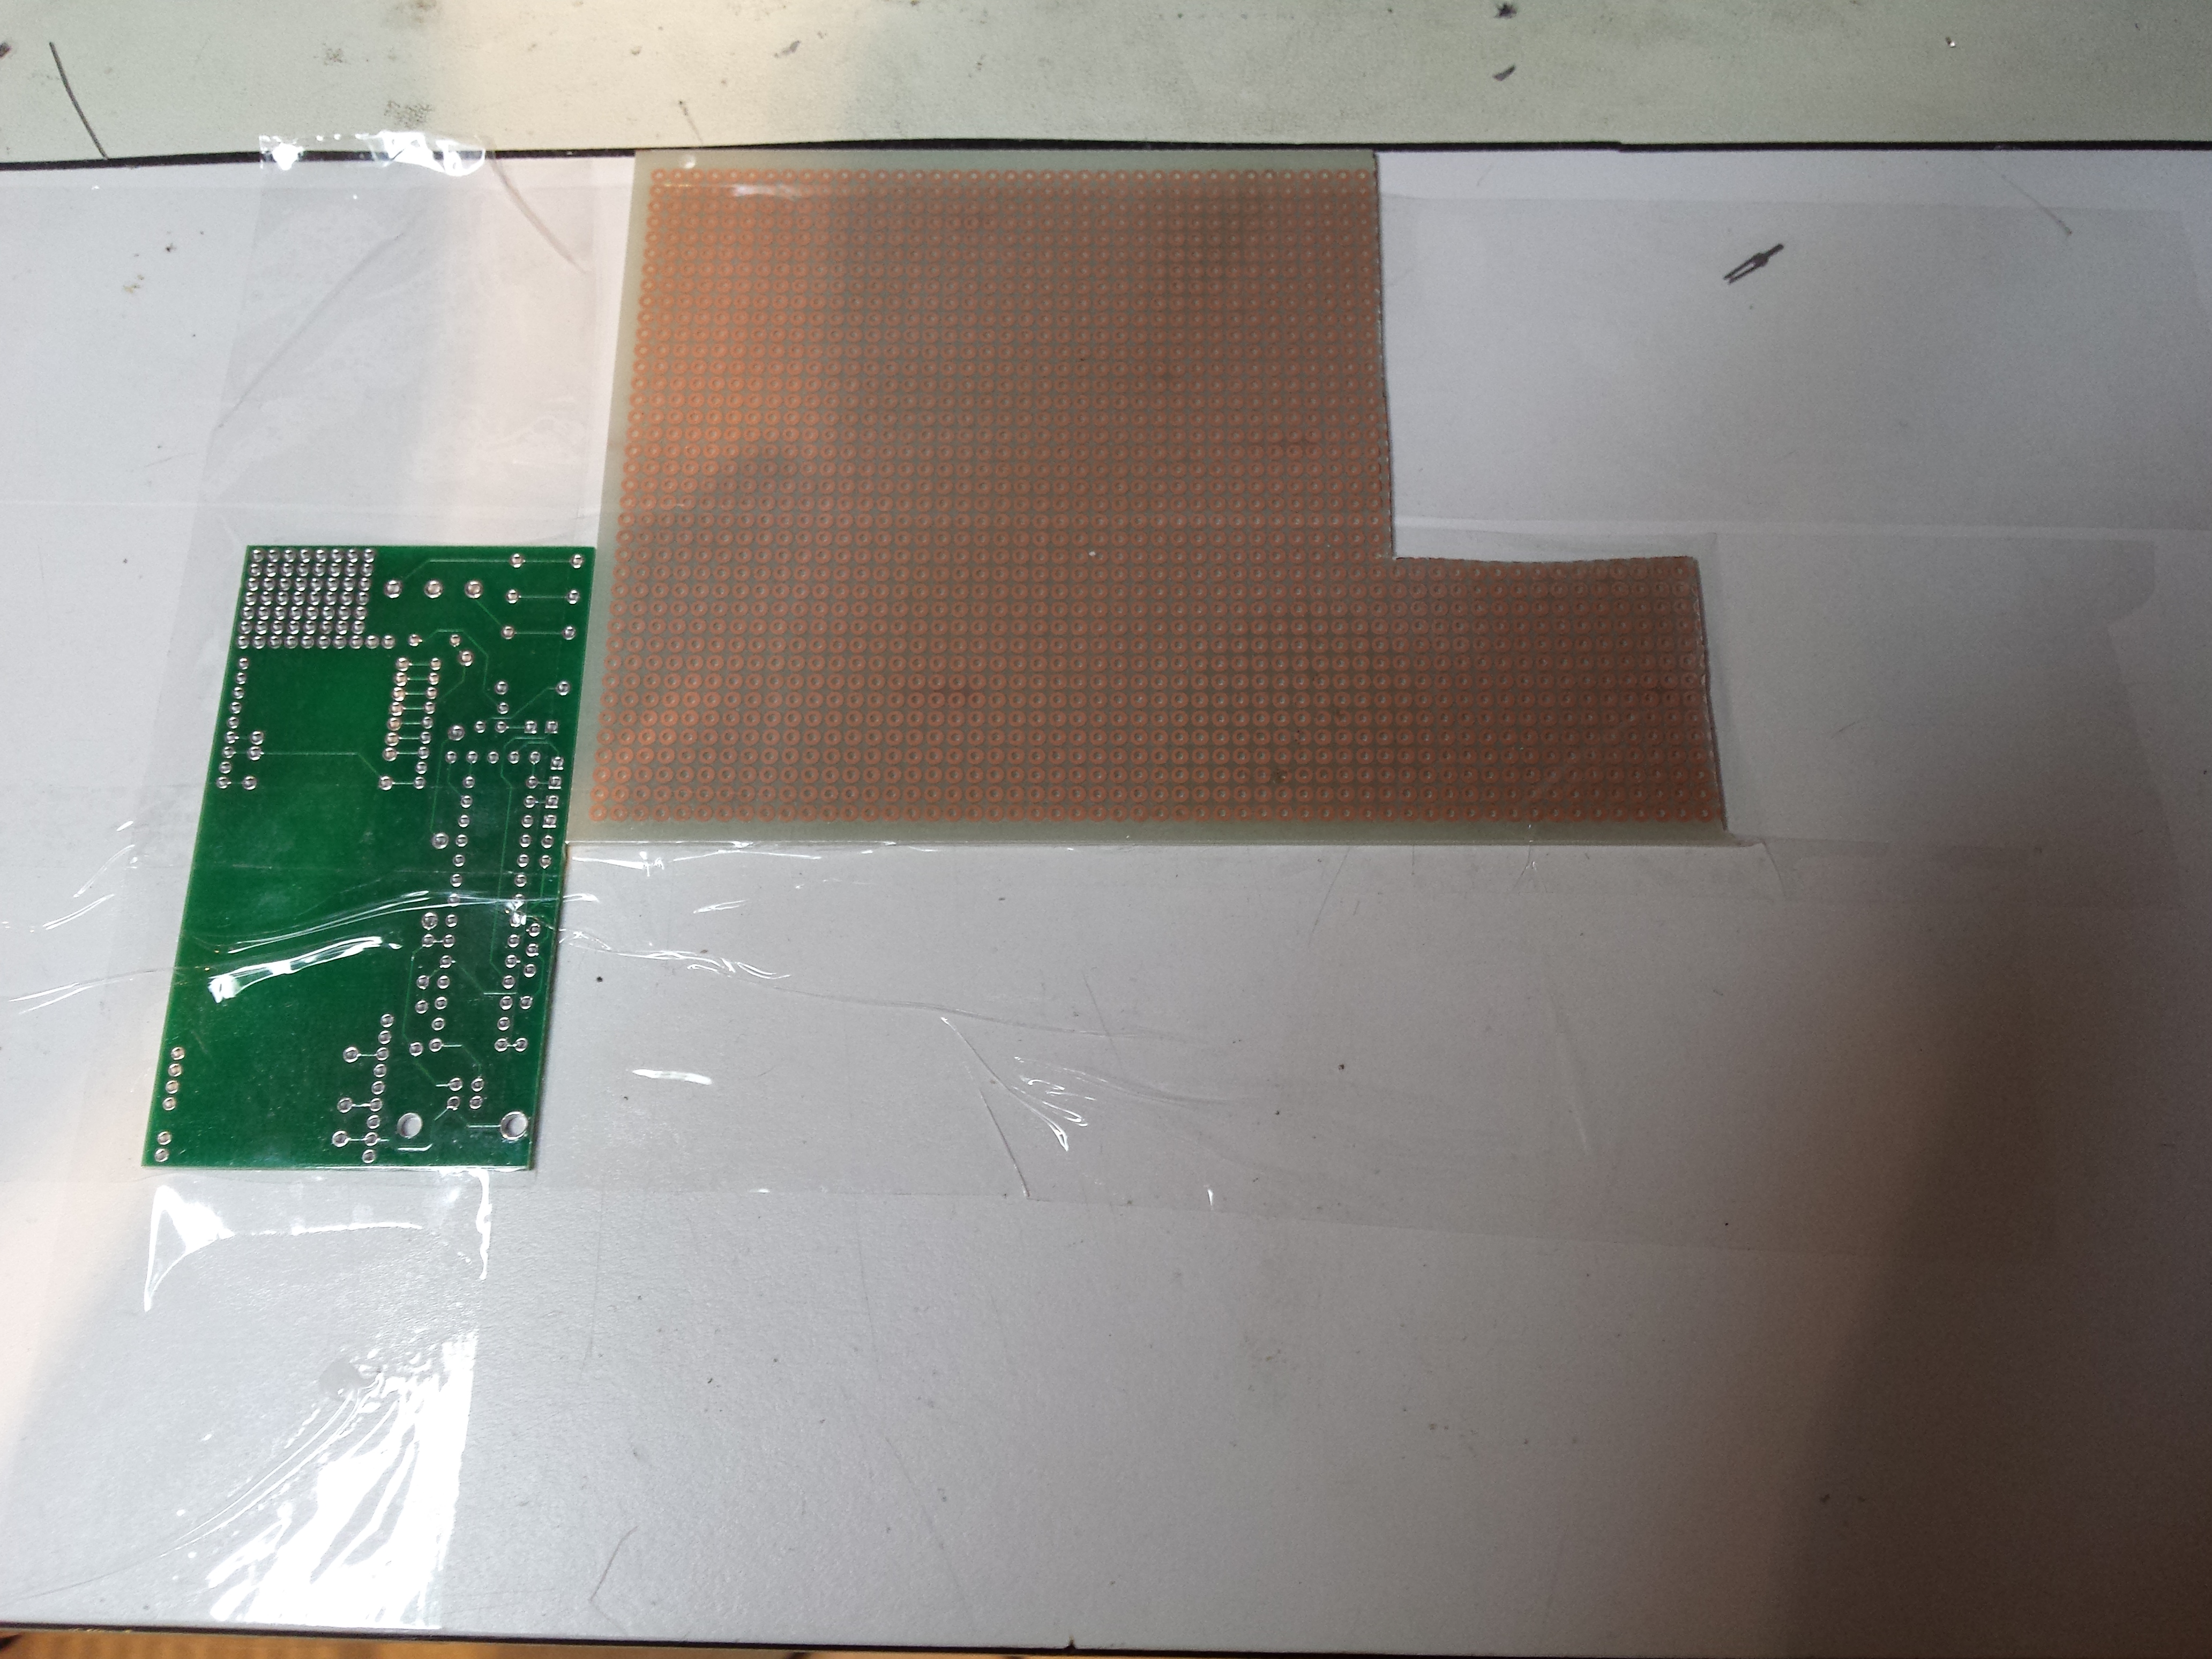
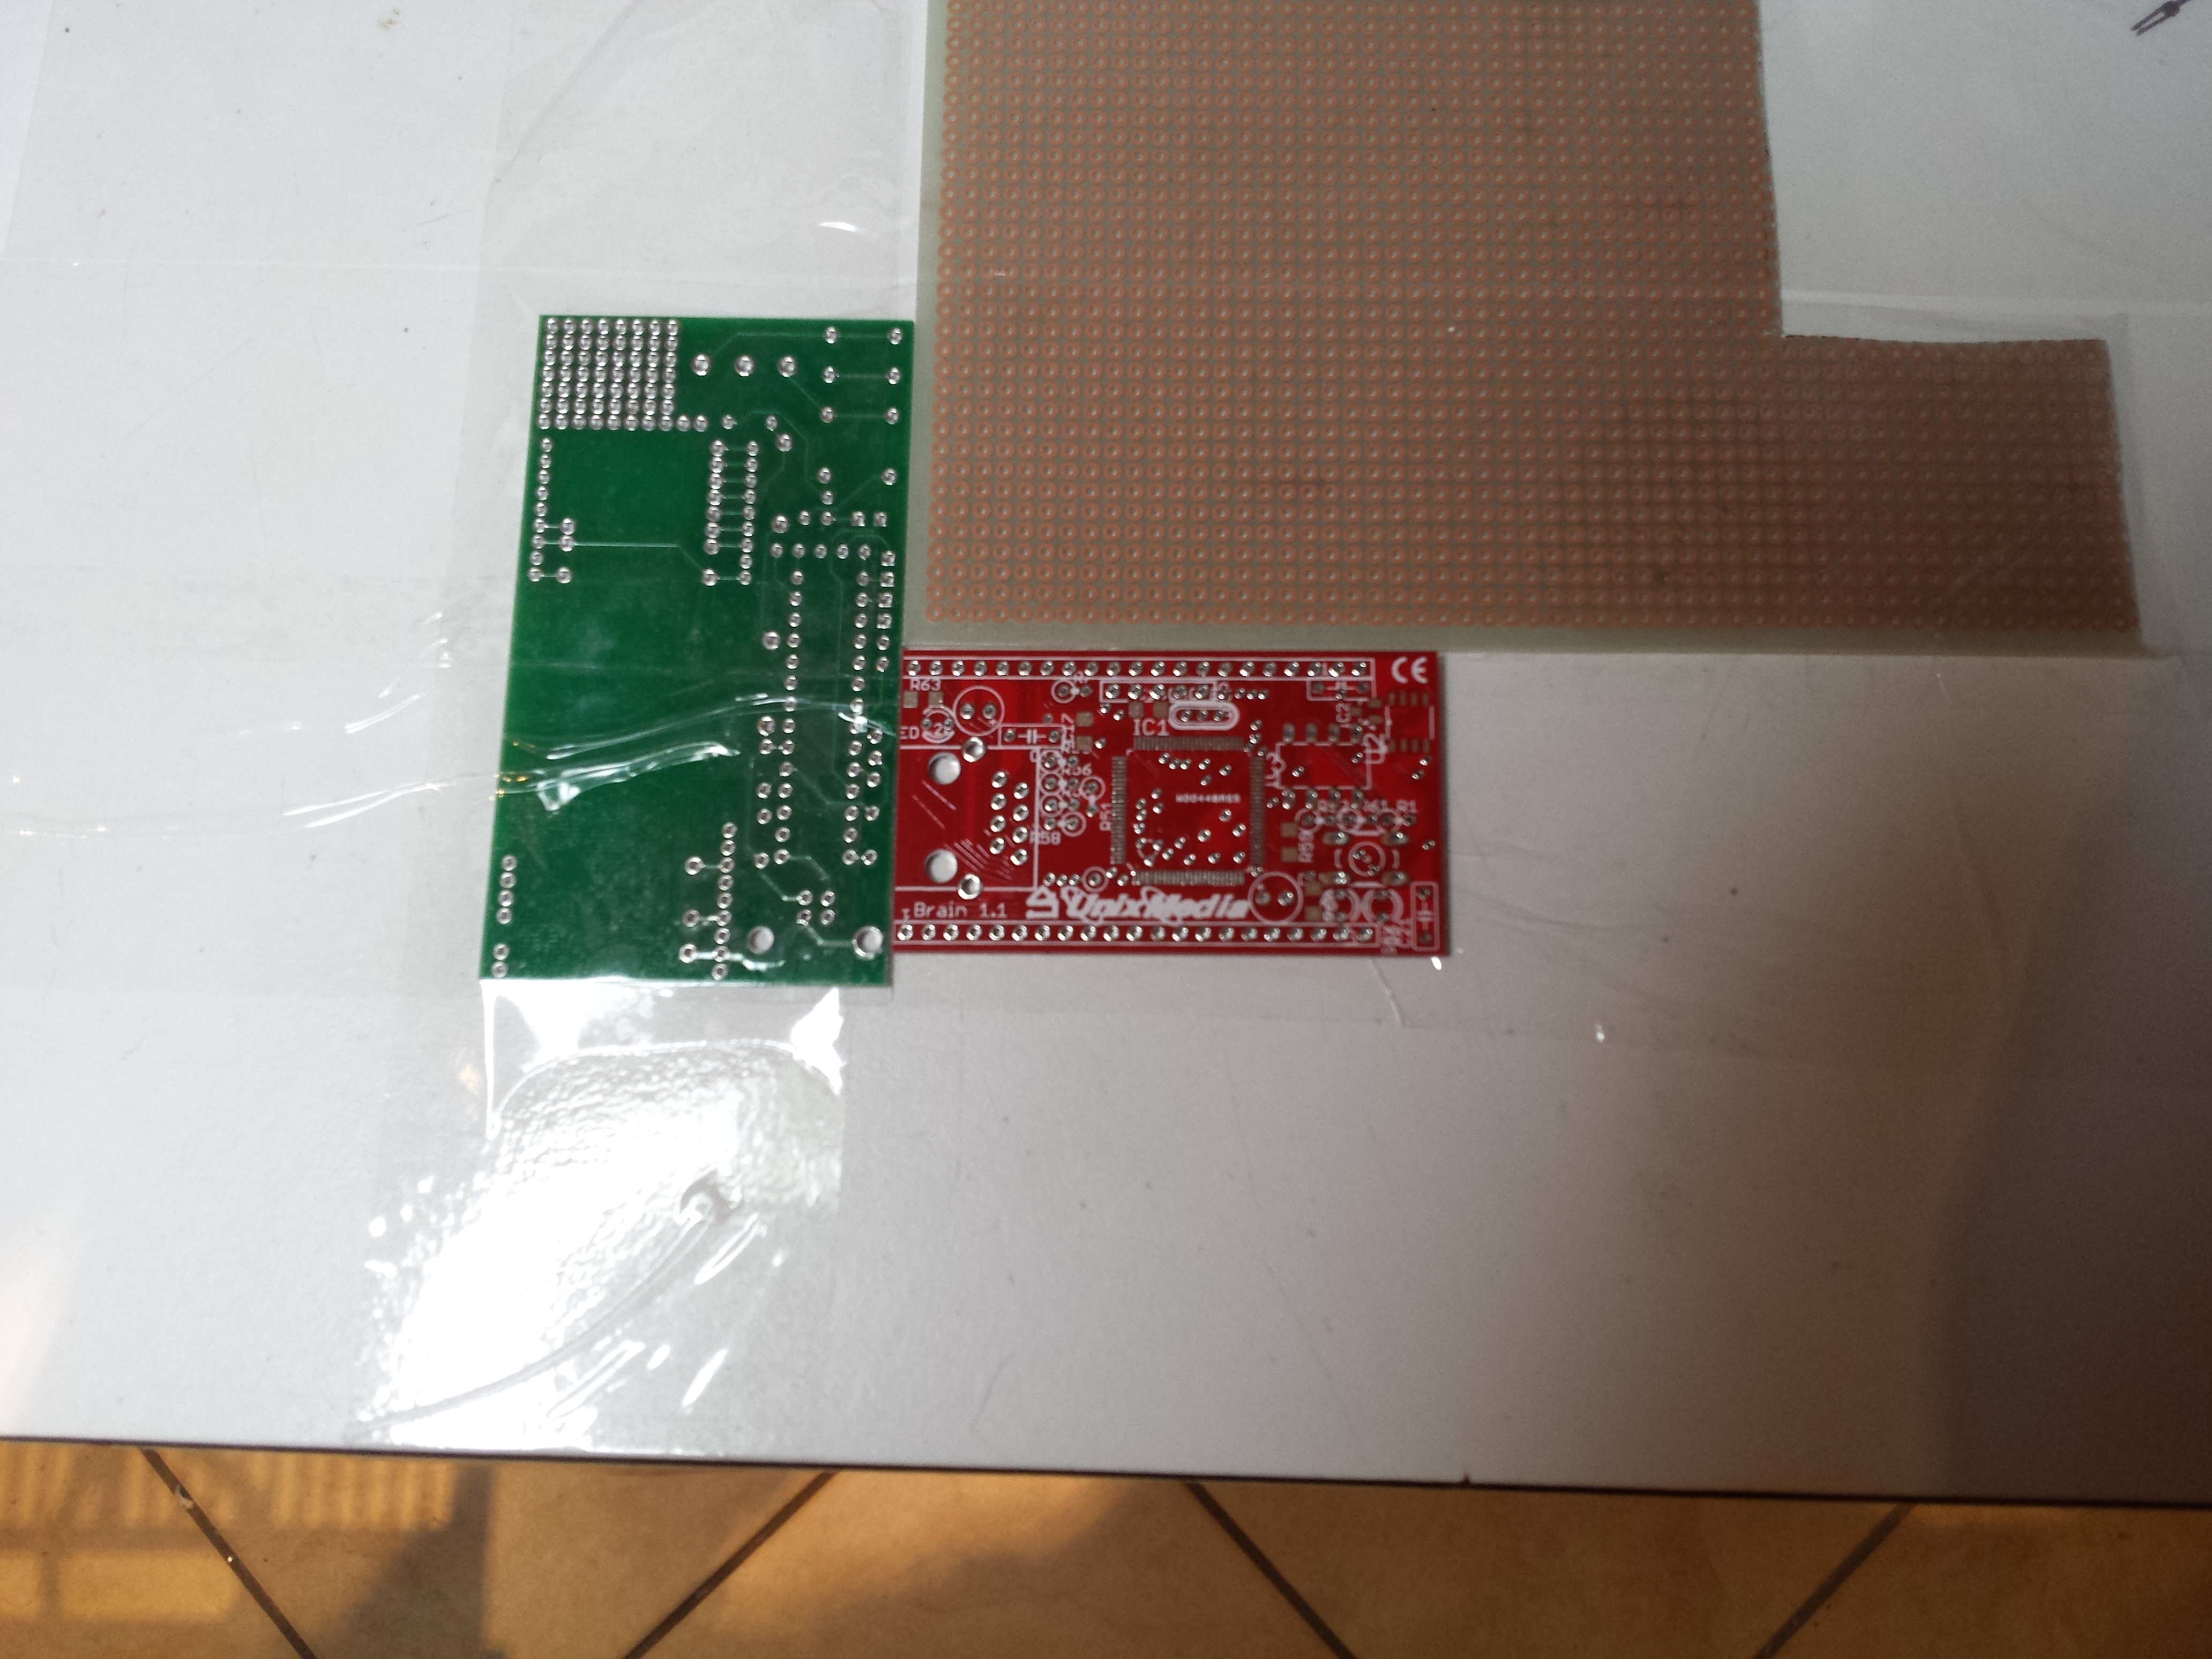
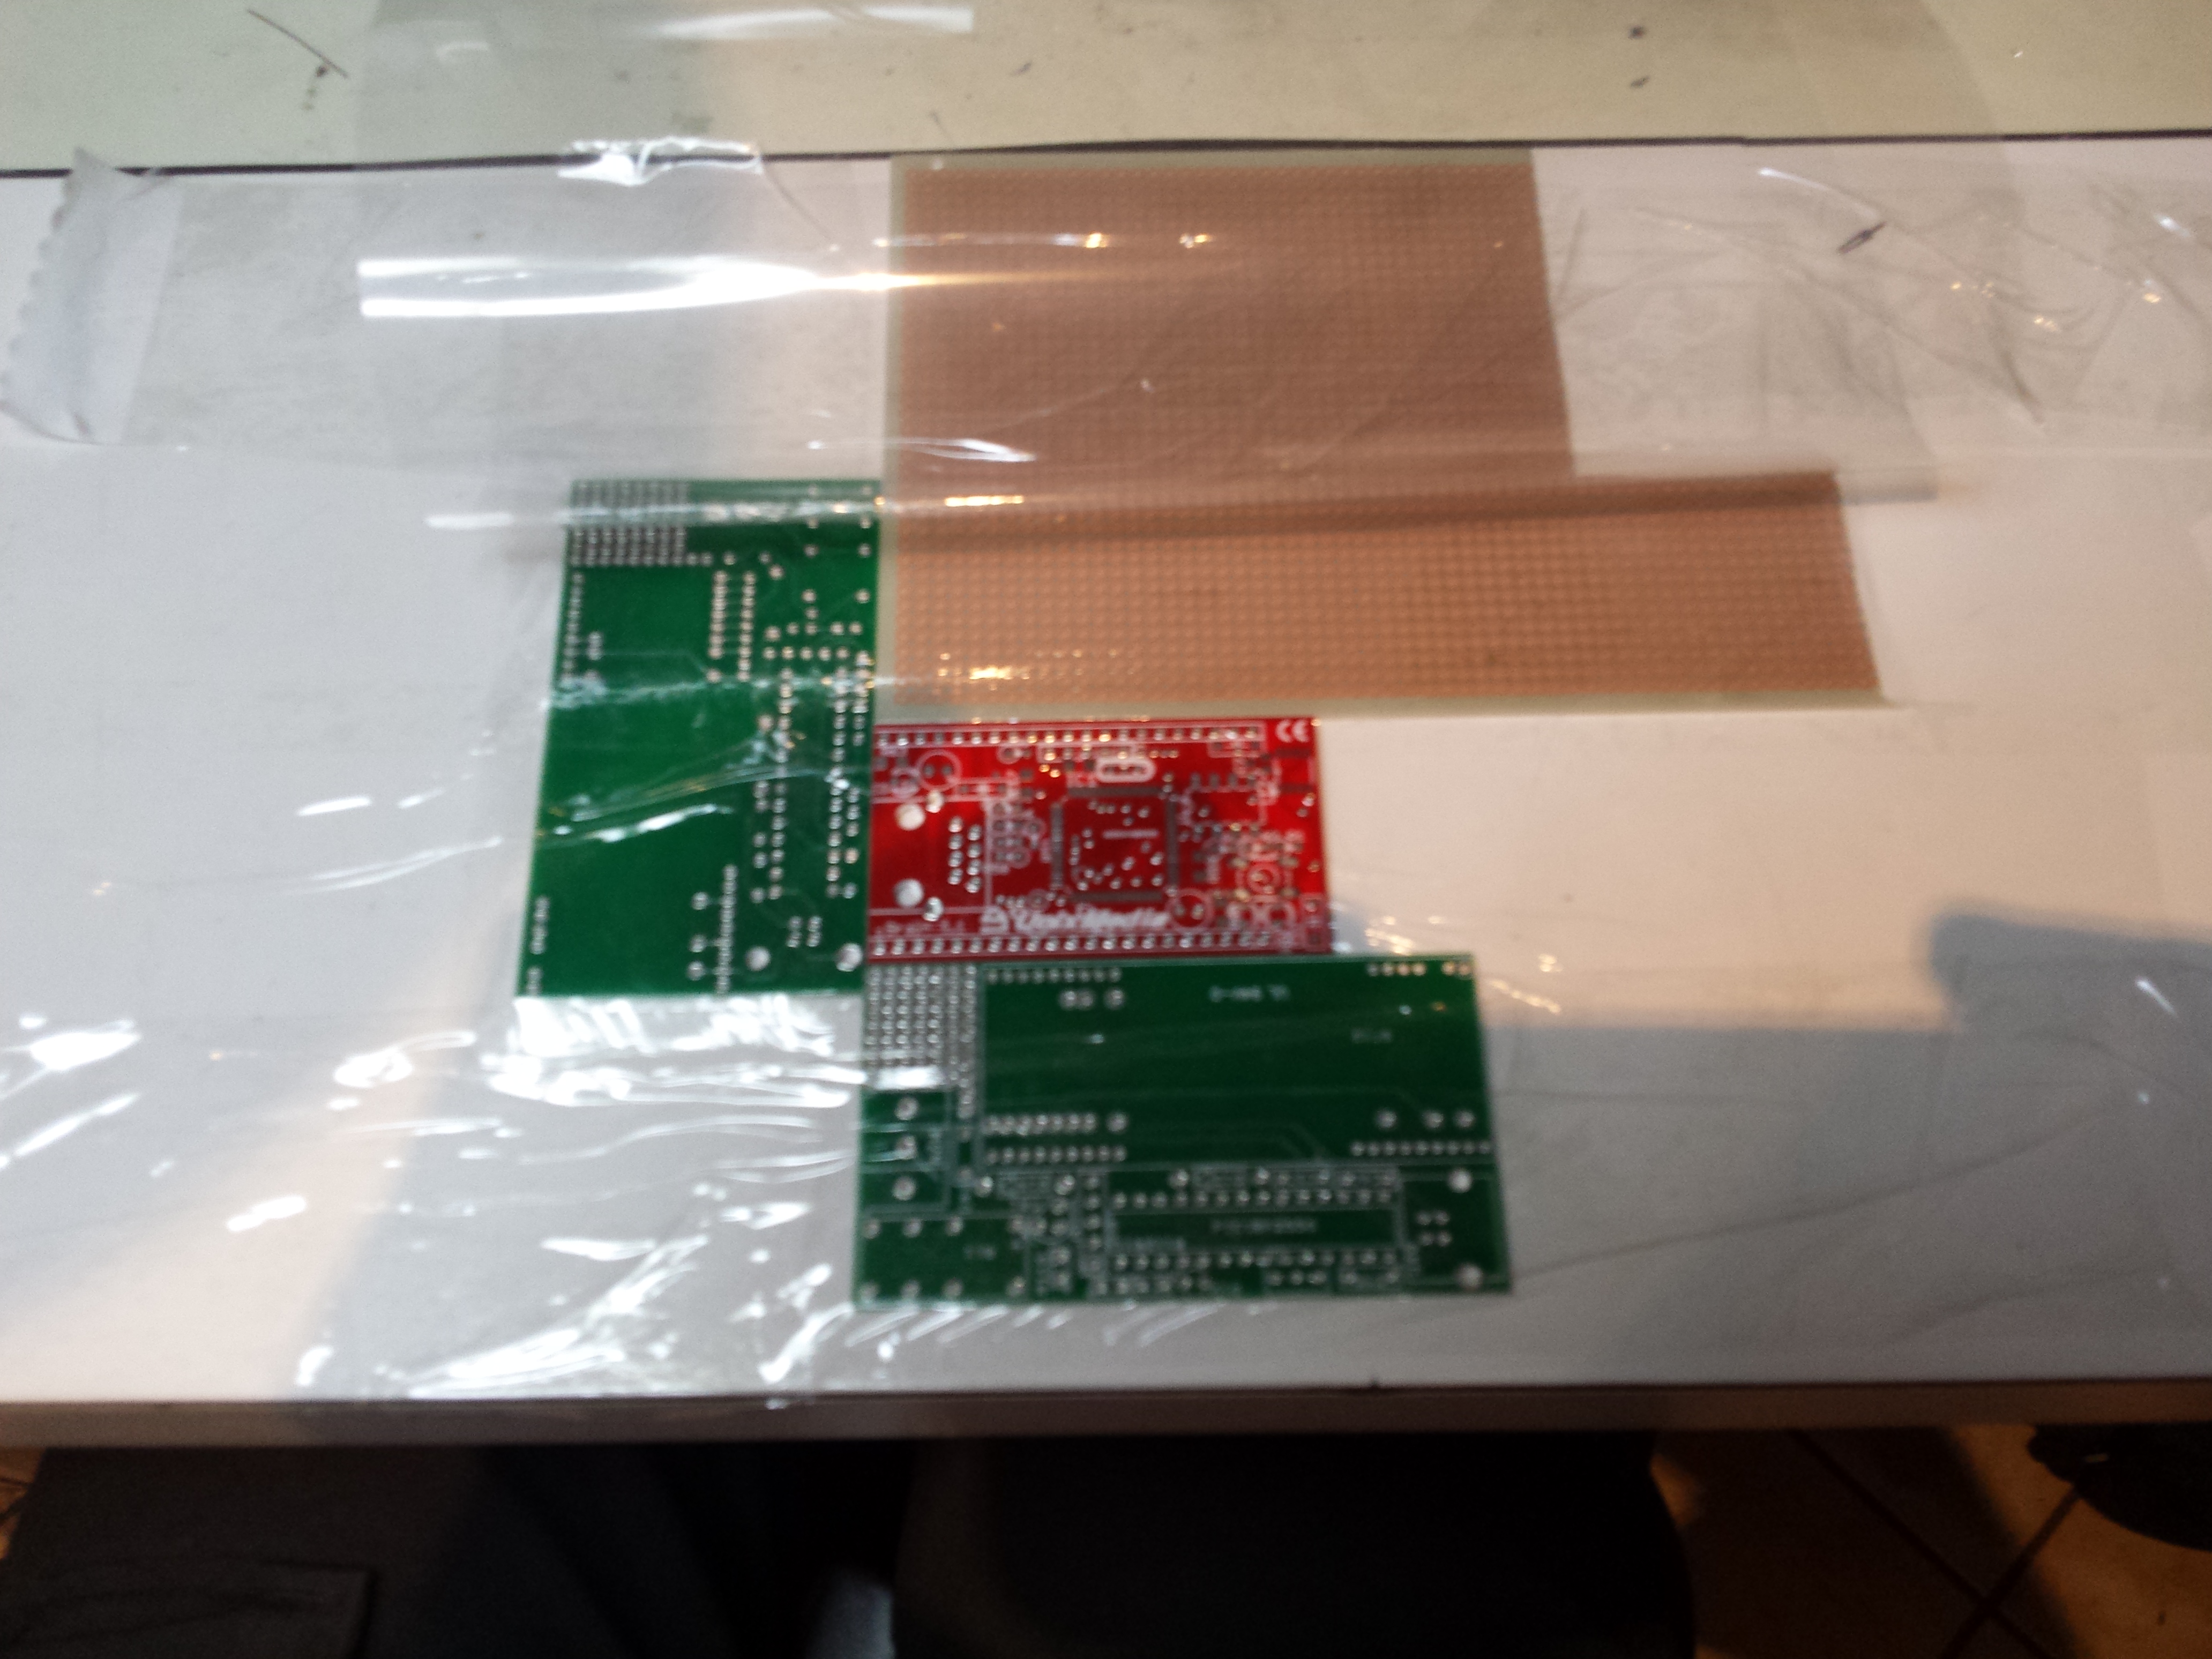
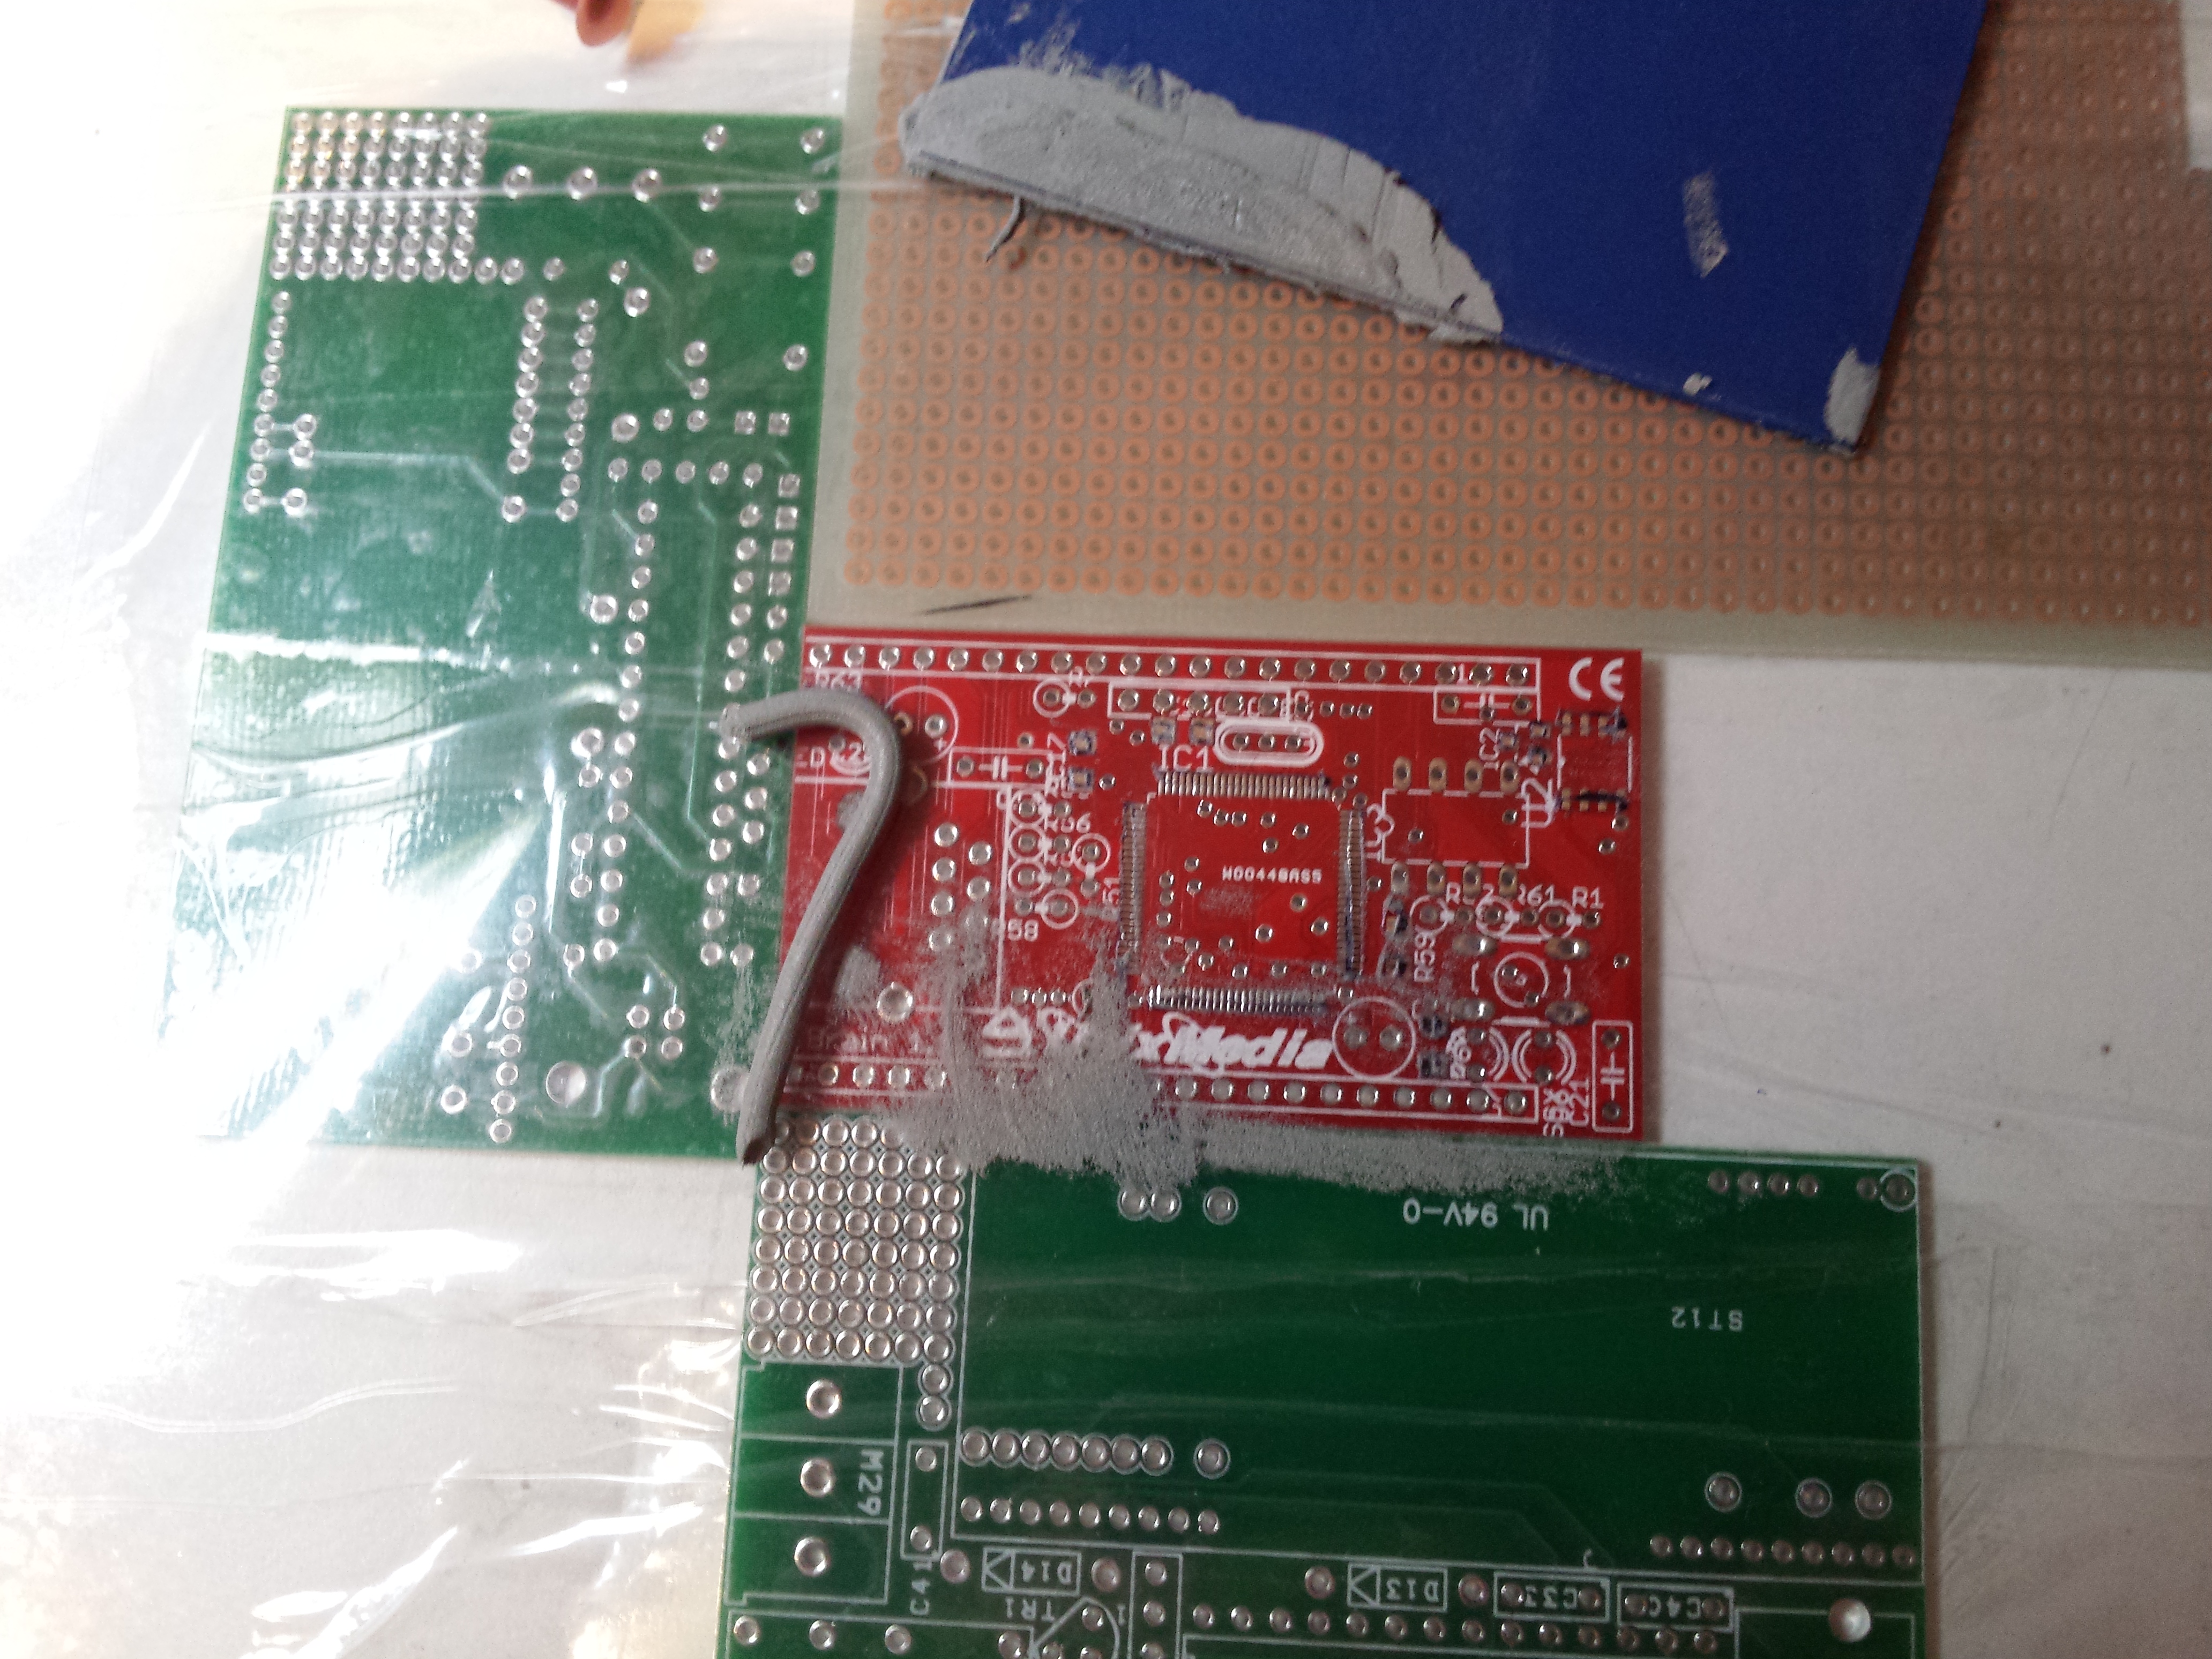
2- fix some pieces of old/wrong/unusable PCB to a table/desk with tape, they will help to block your PCB when you will put the squeeze the solder paste on it
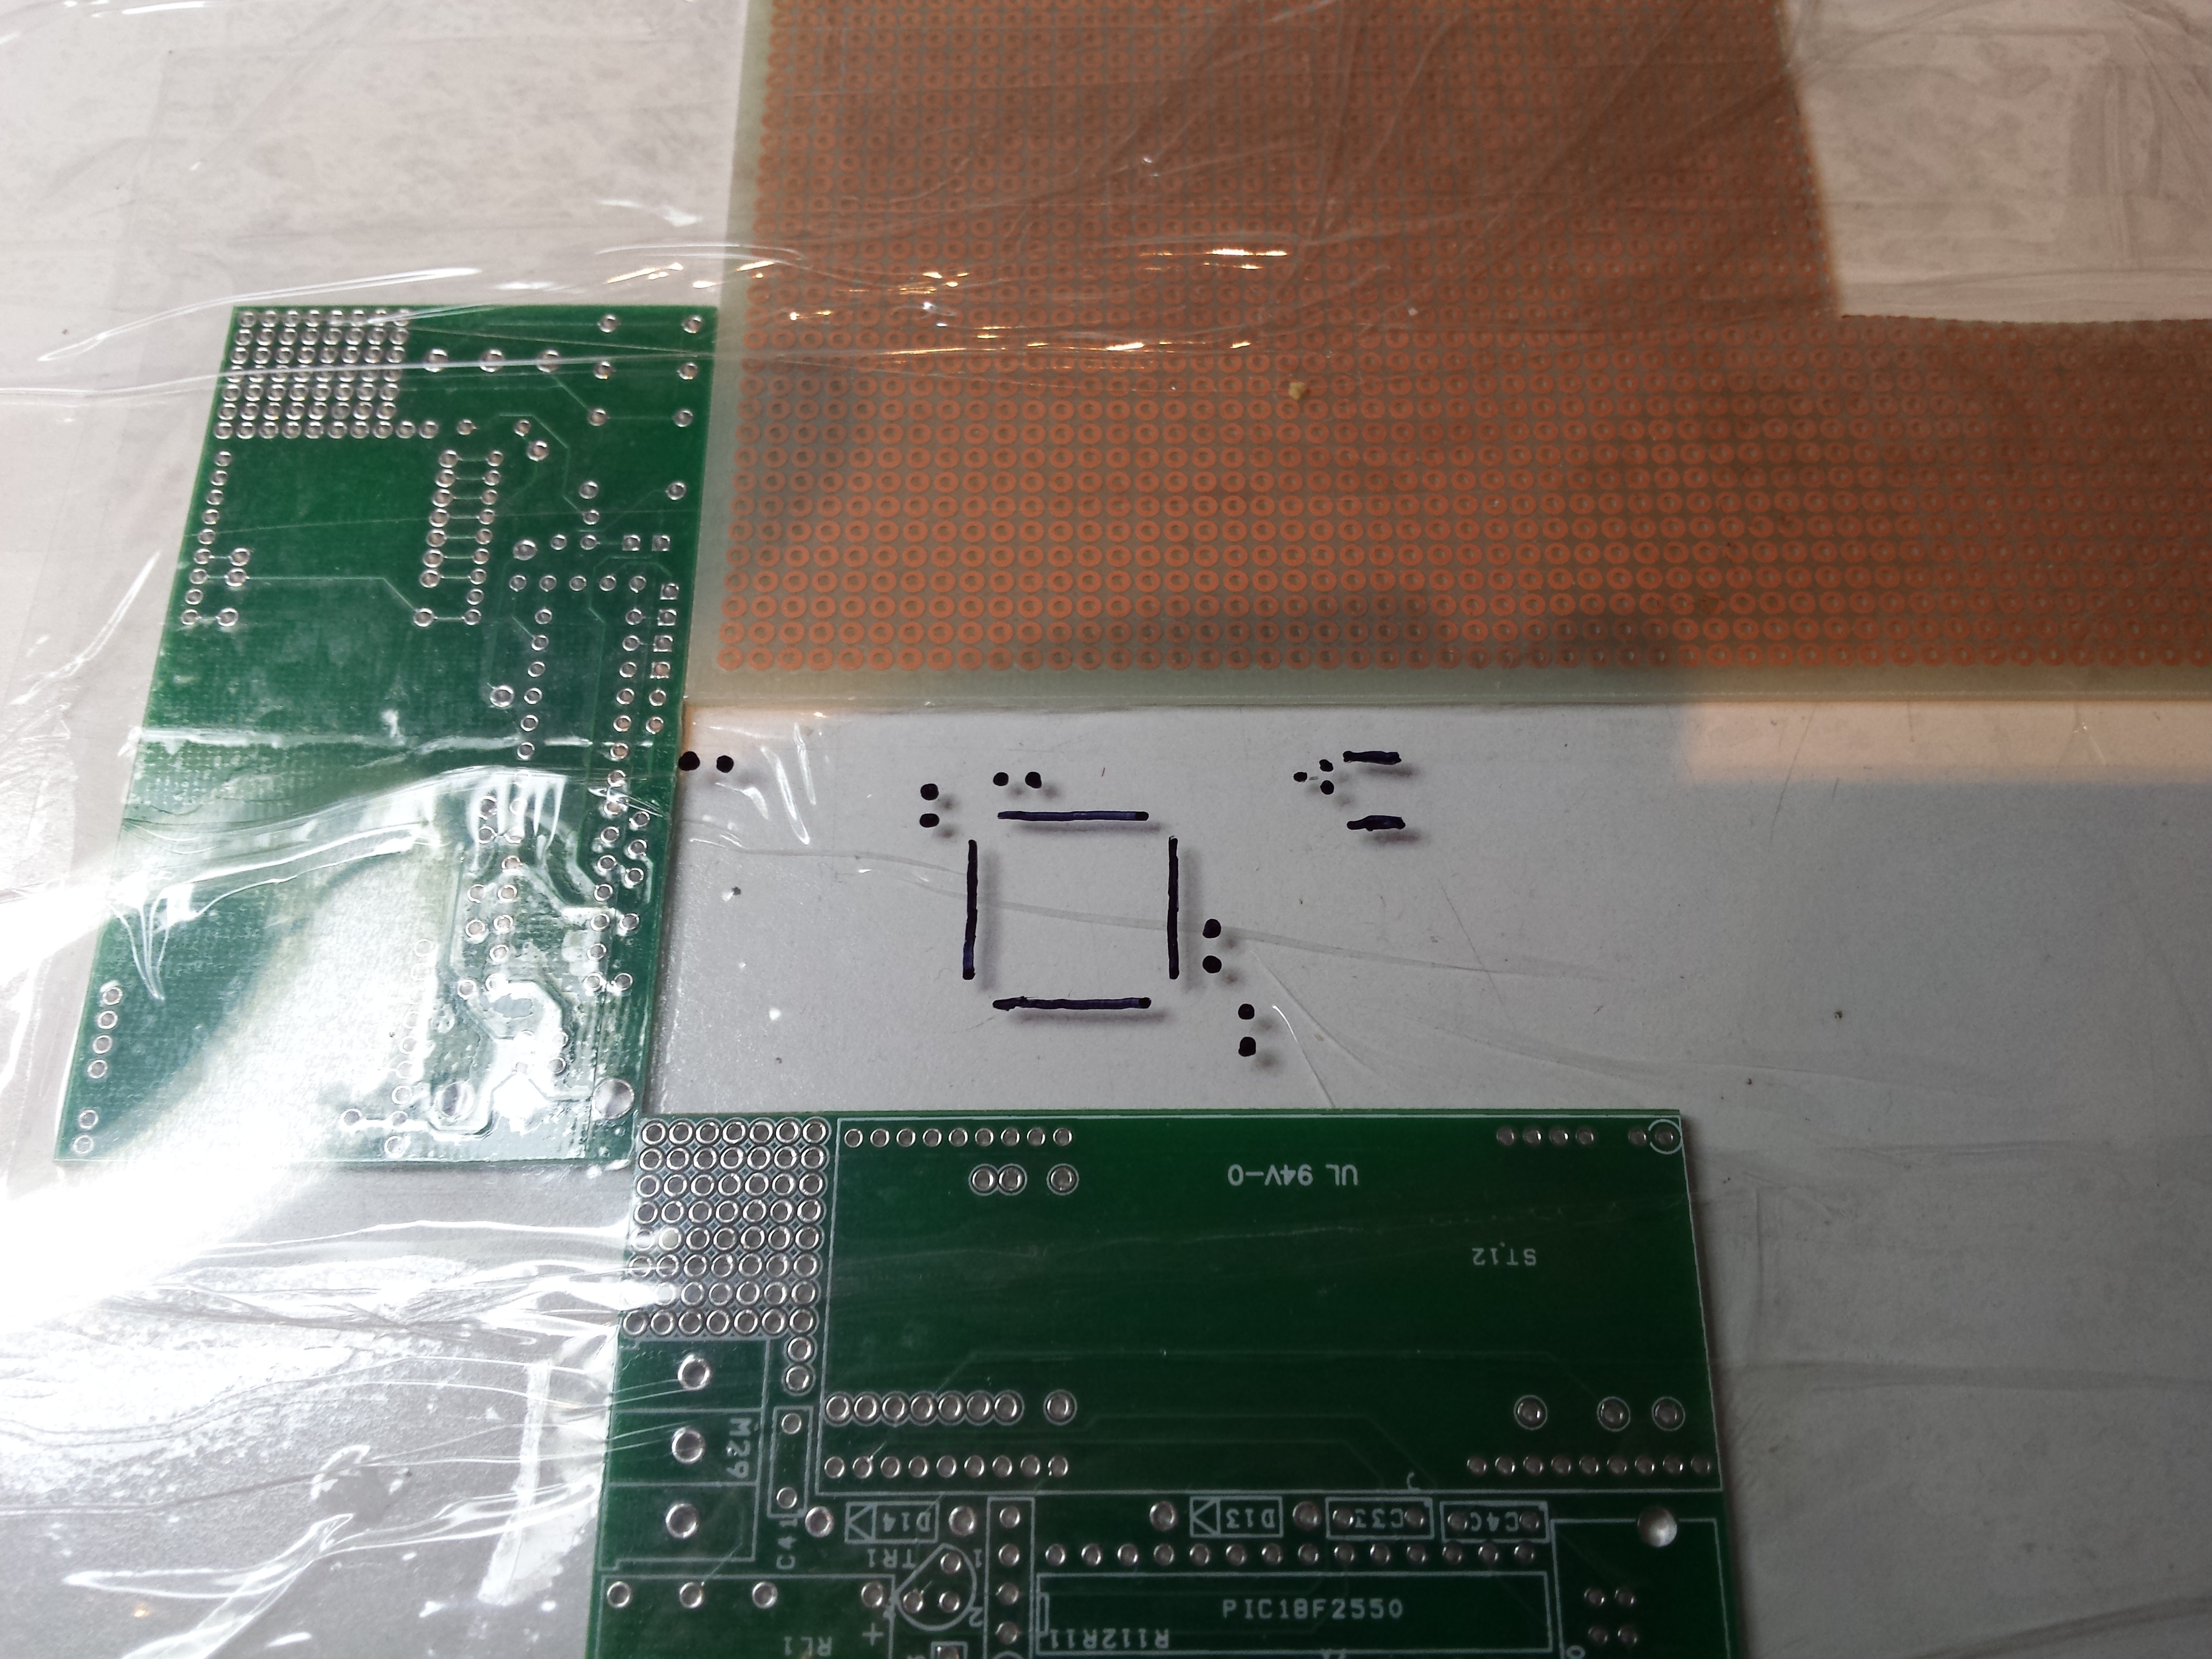
3- with some tape, fix a piece of printable plastic transparent sheet
4- using a marker, draw the plastic sheet where you will remove plastic creating a solder paste mask

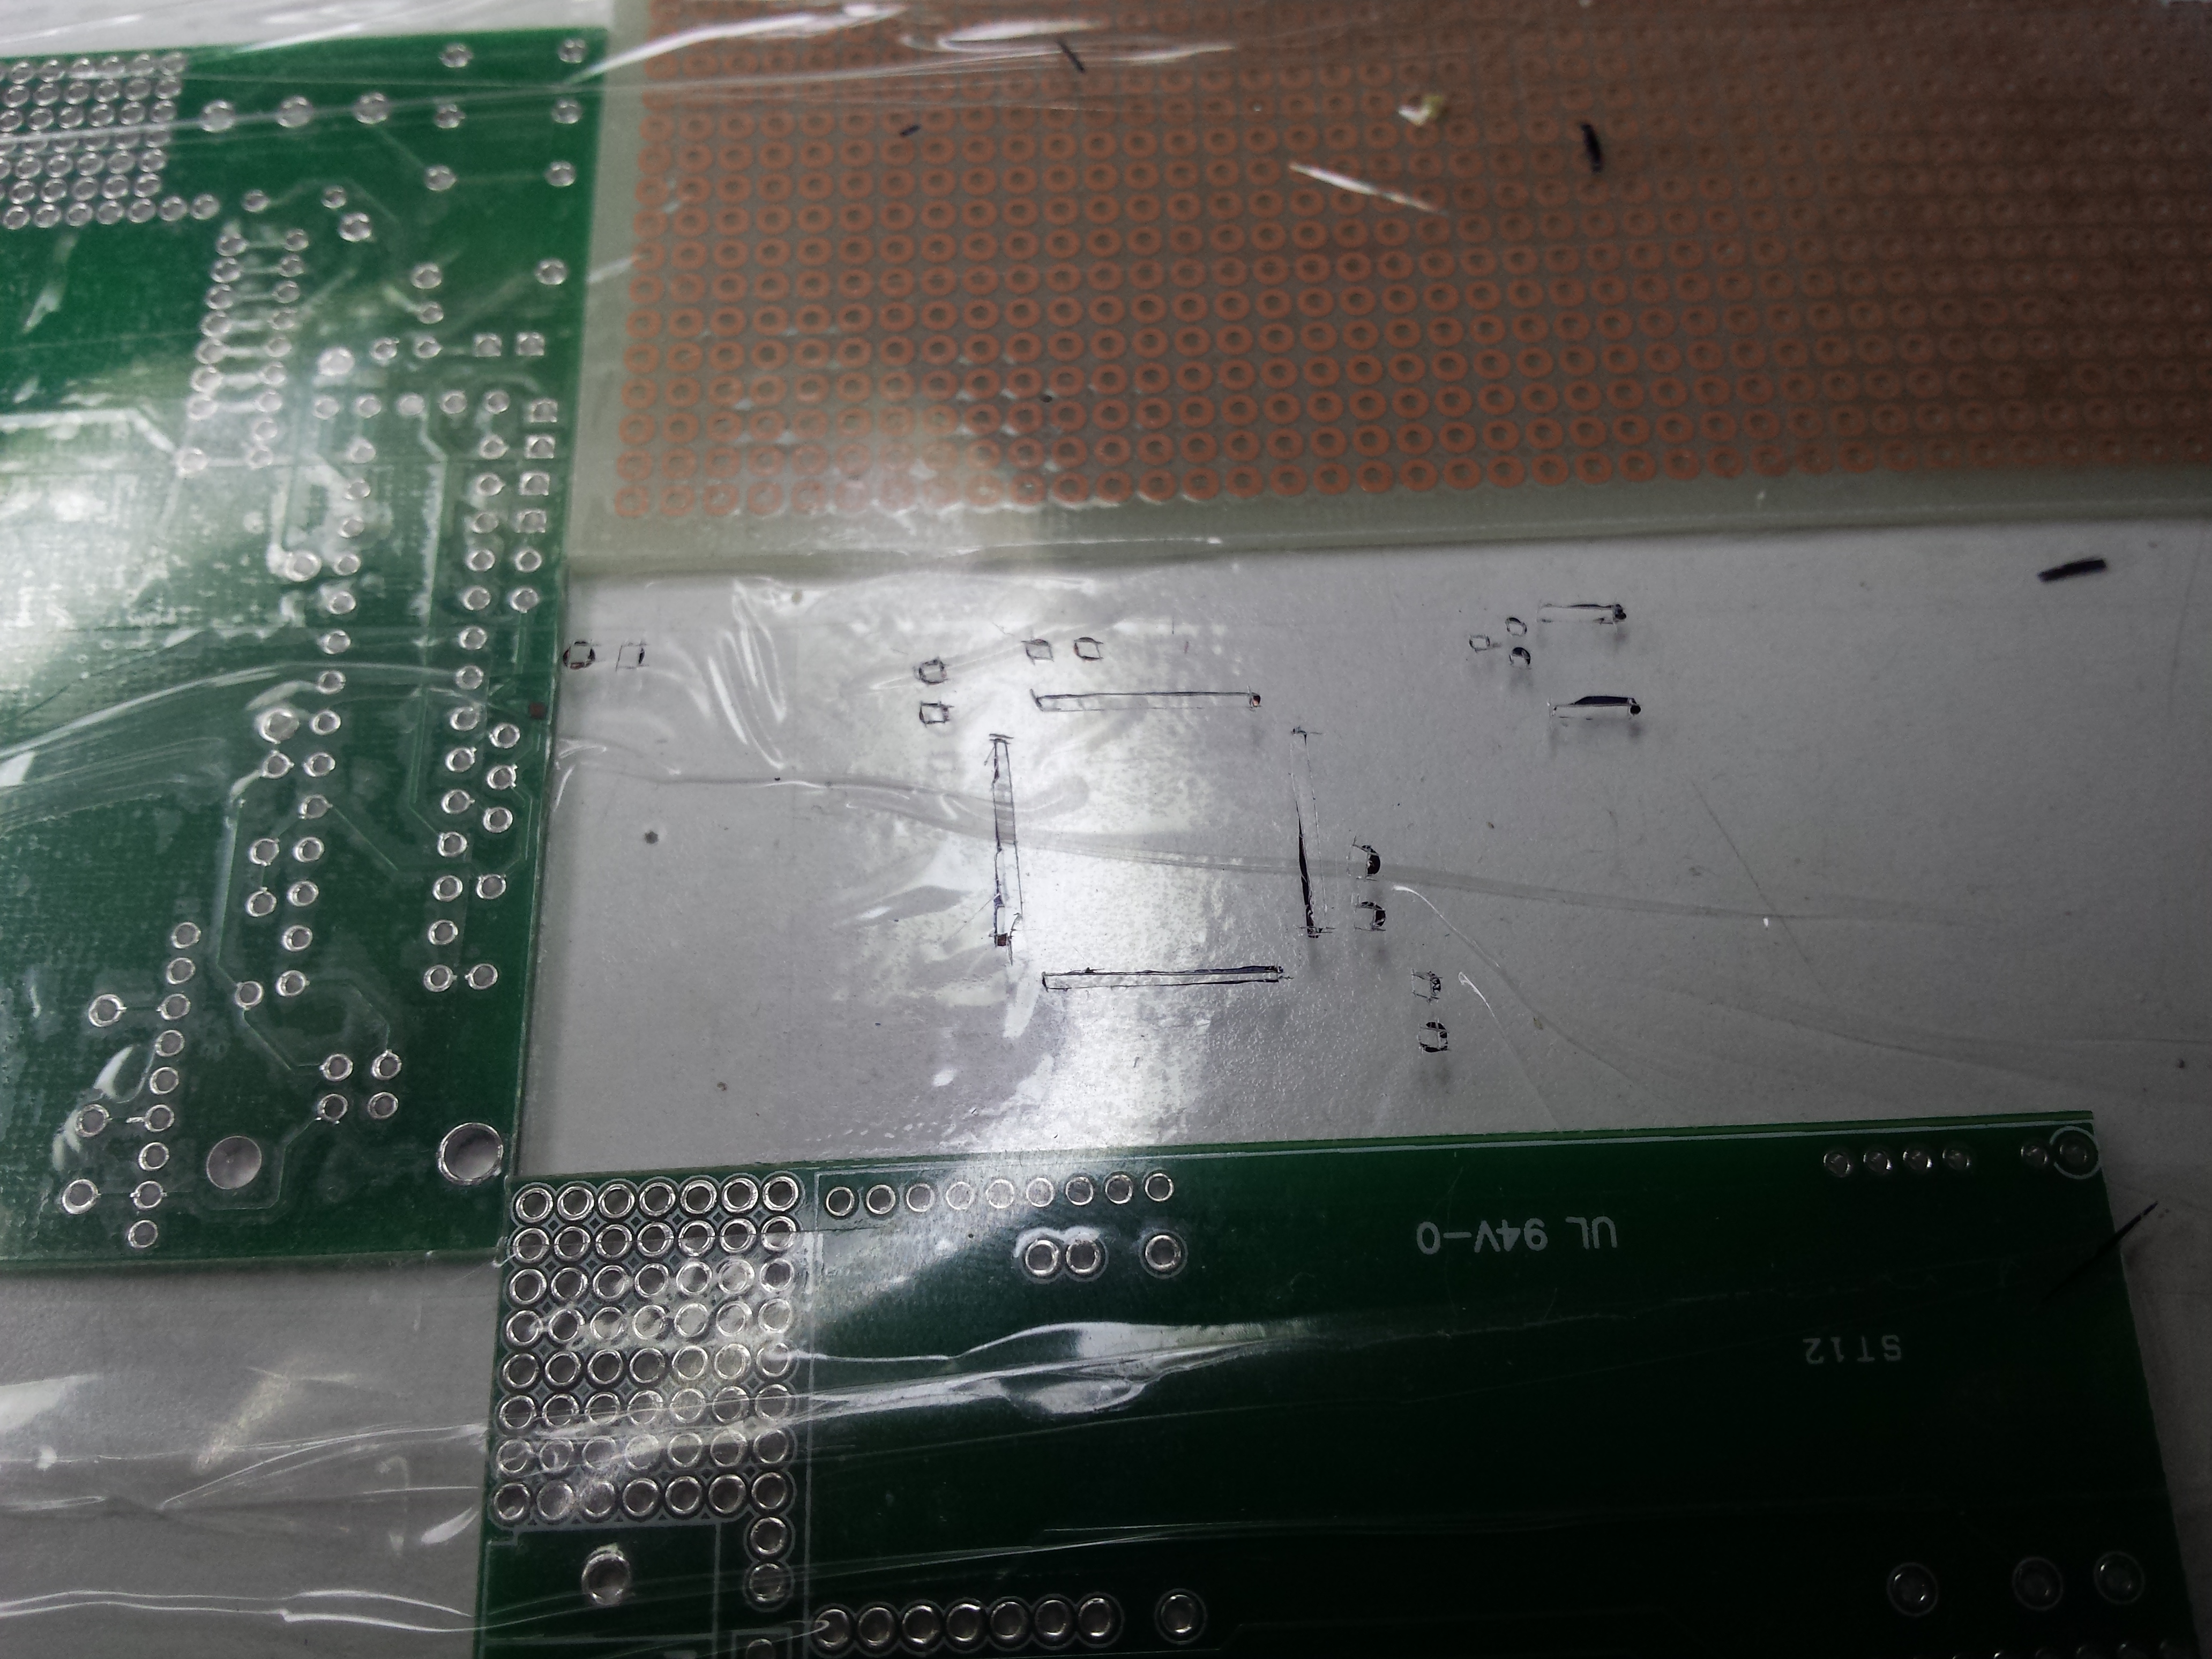
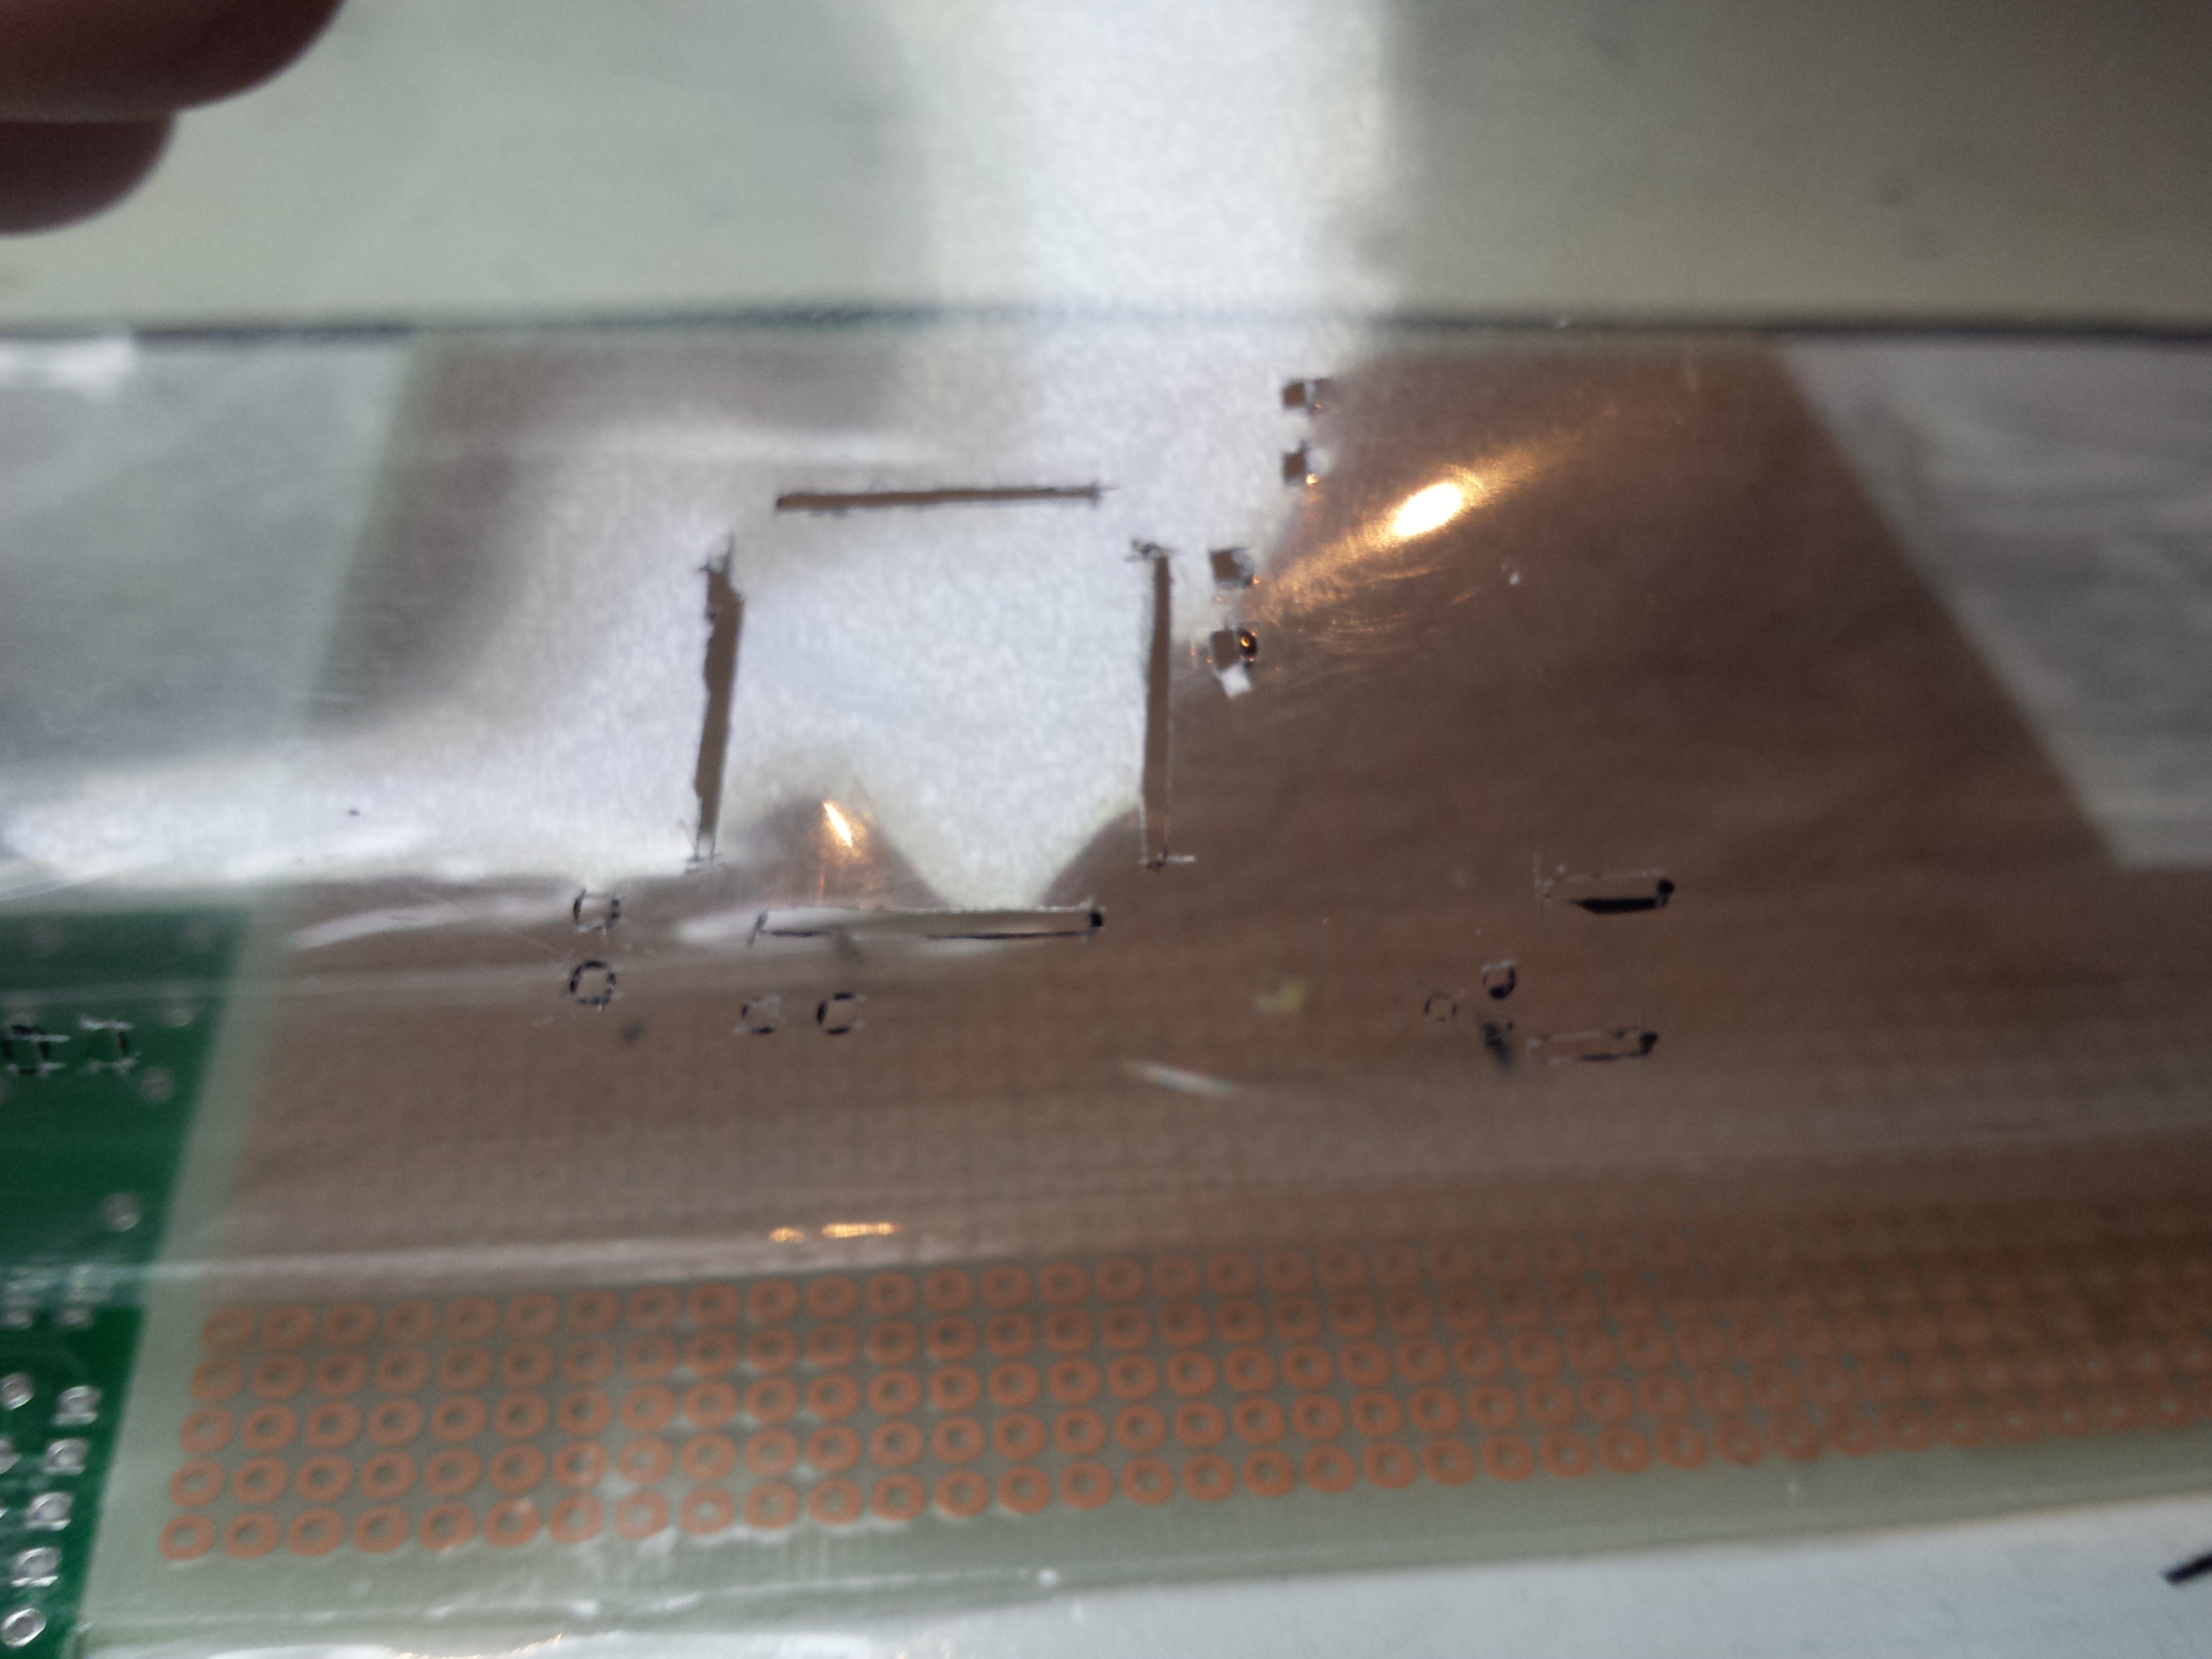
5- carefully remove the plastic from the mask where needed with a precision cutter
6- time to squeeze solder paste on our PCB
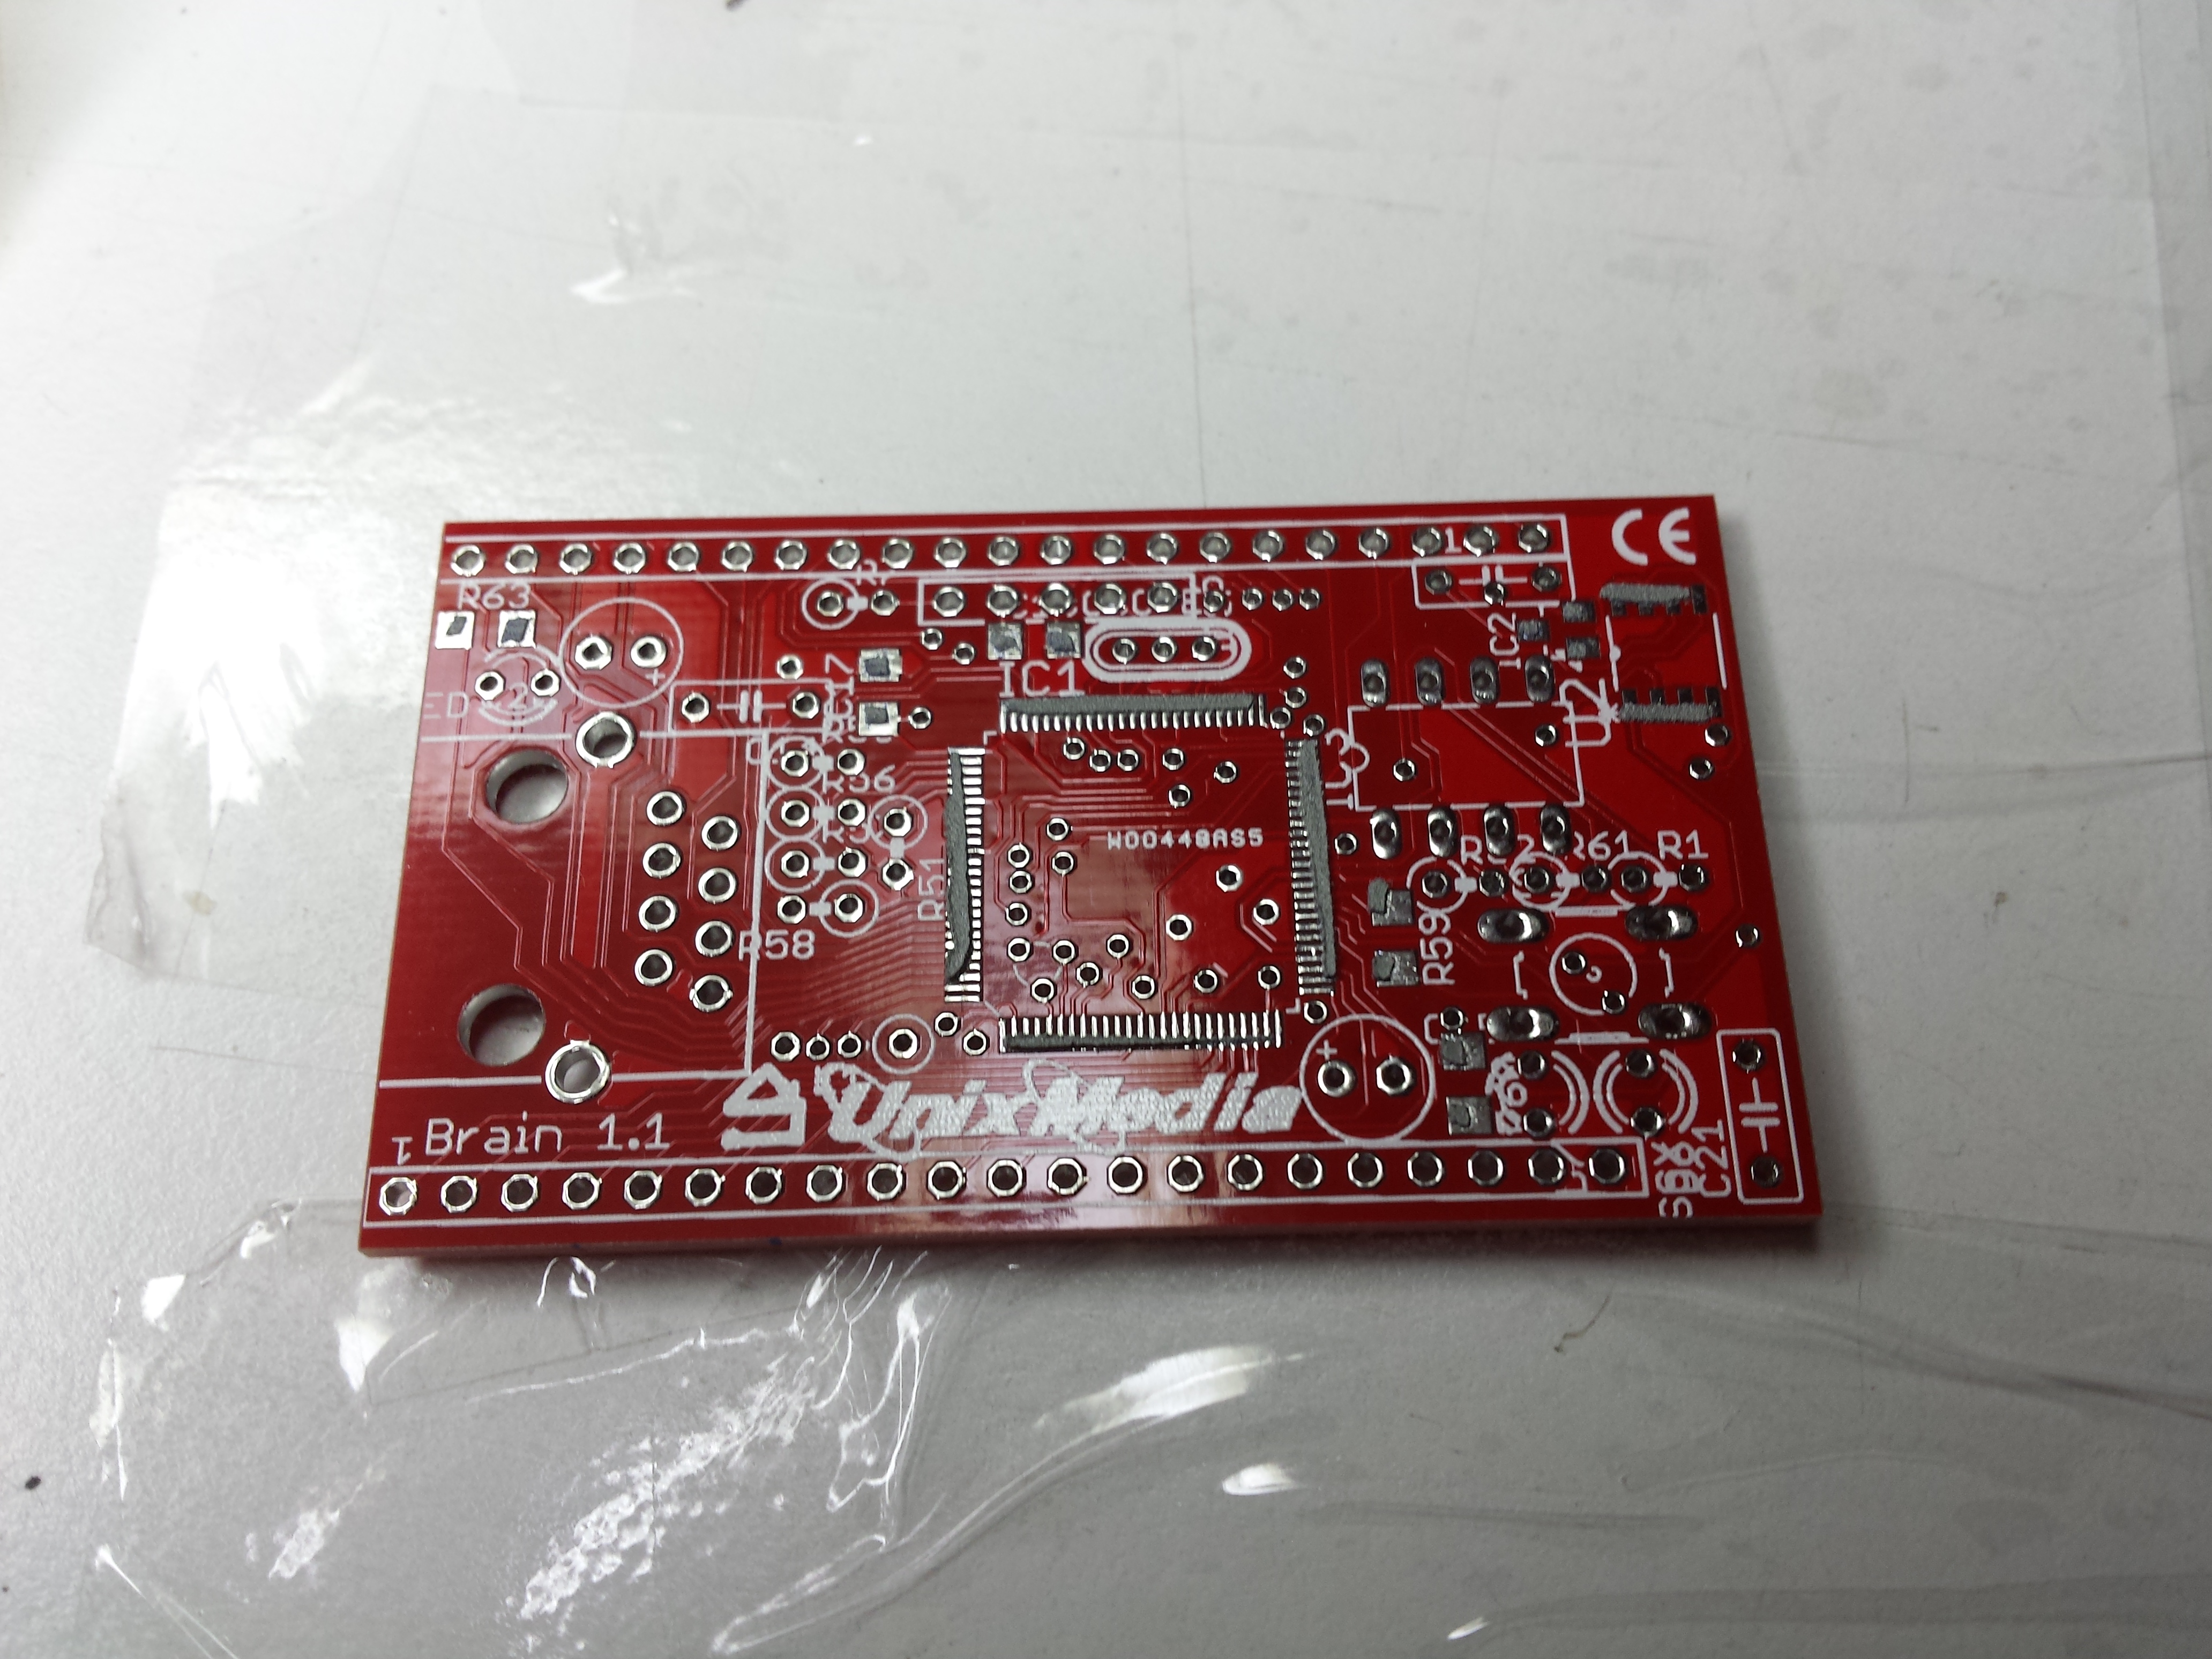

7- place all the SMD components on the board, carefully align them
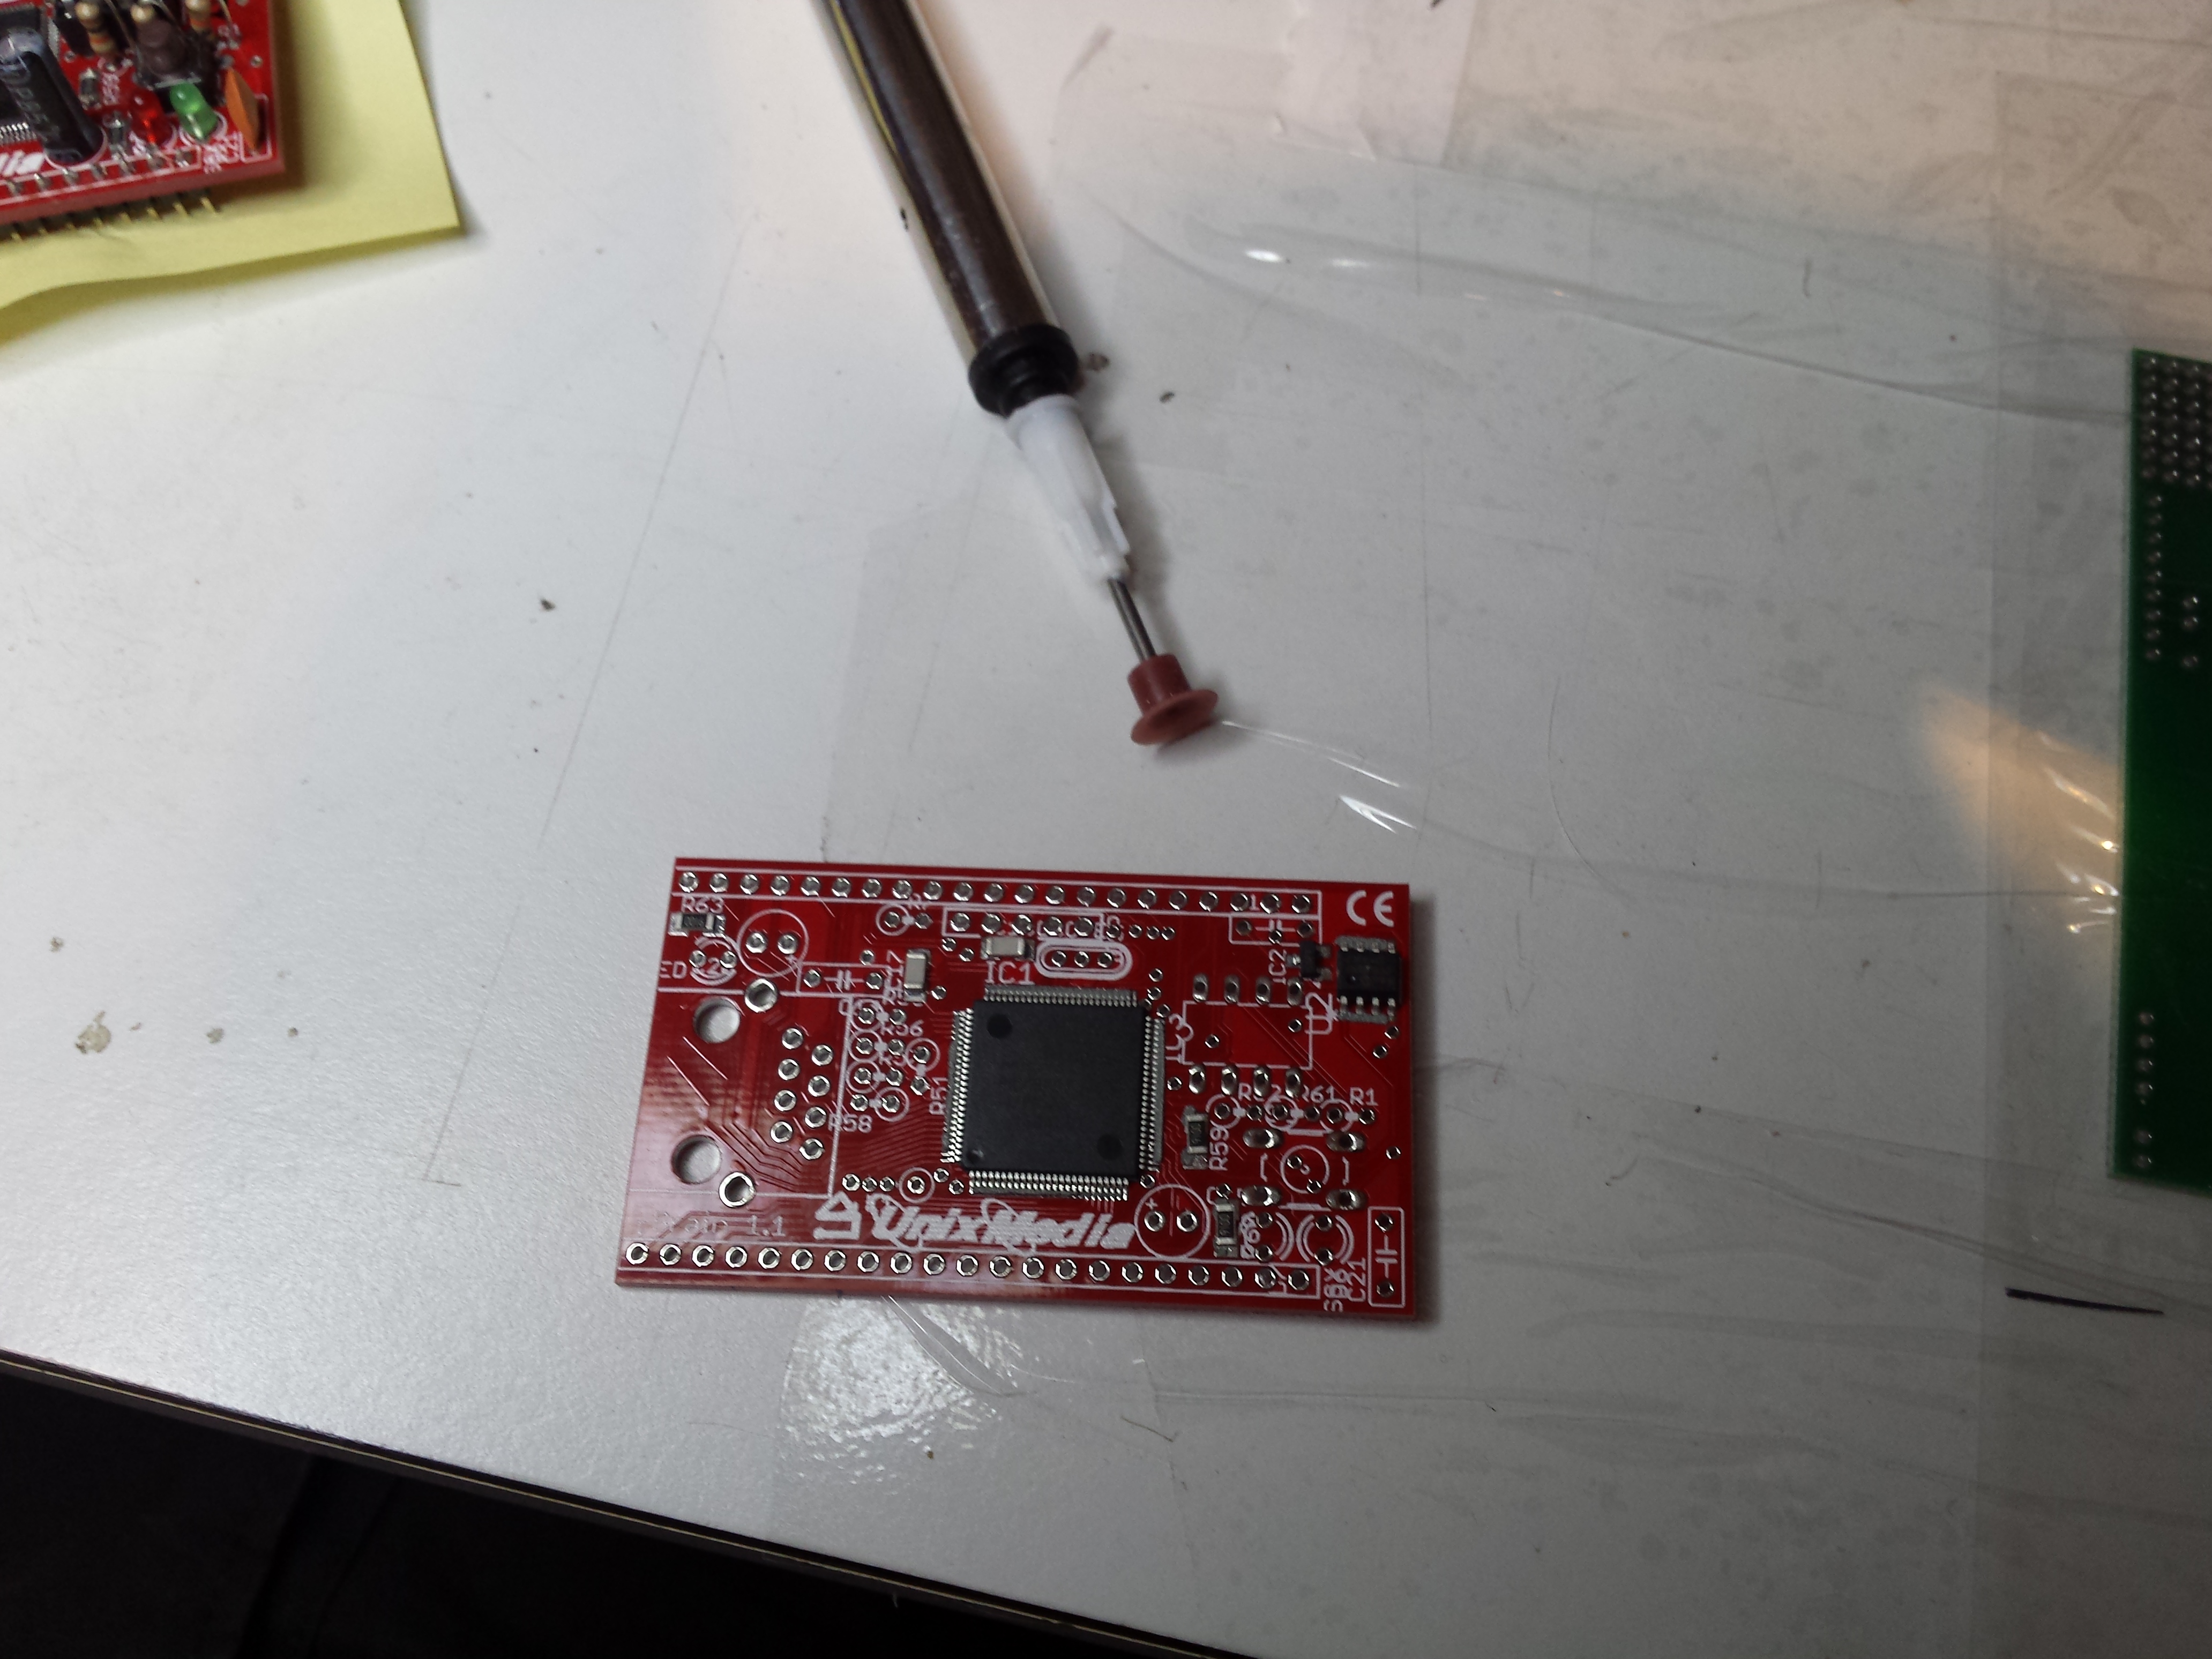
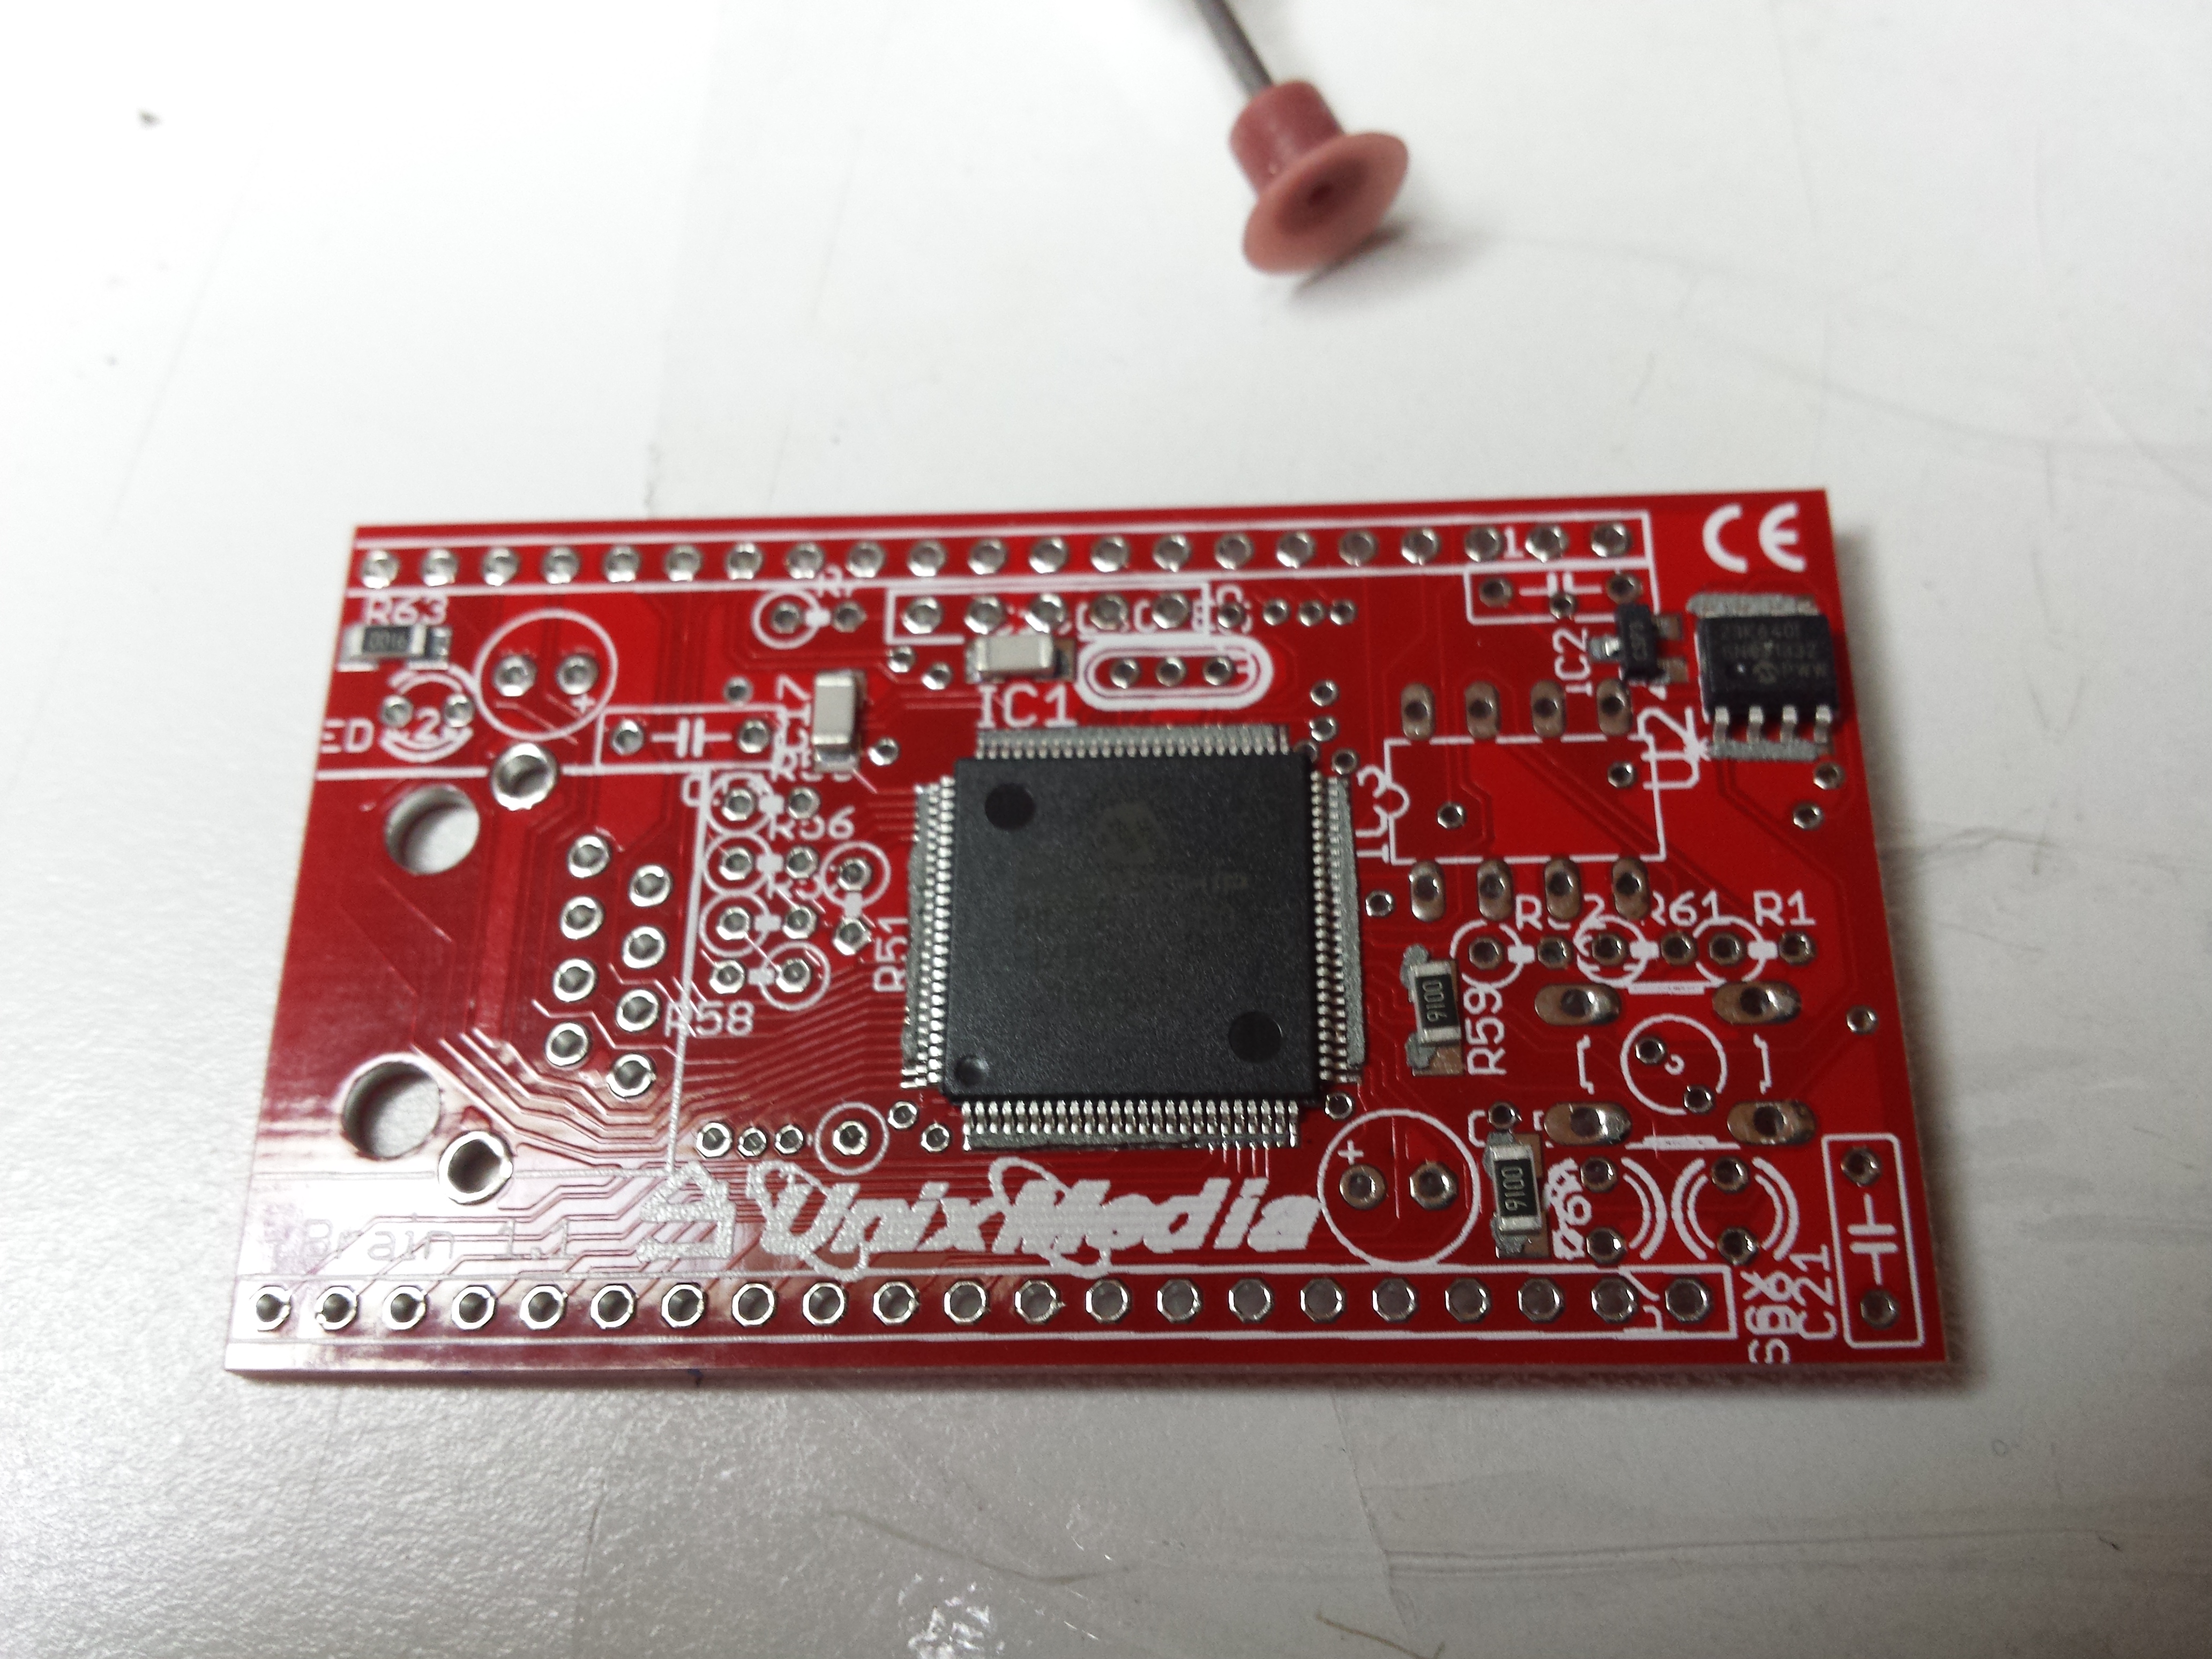
8- solder!


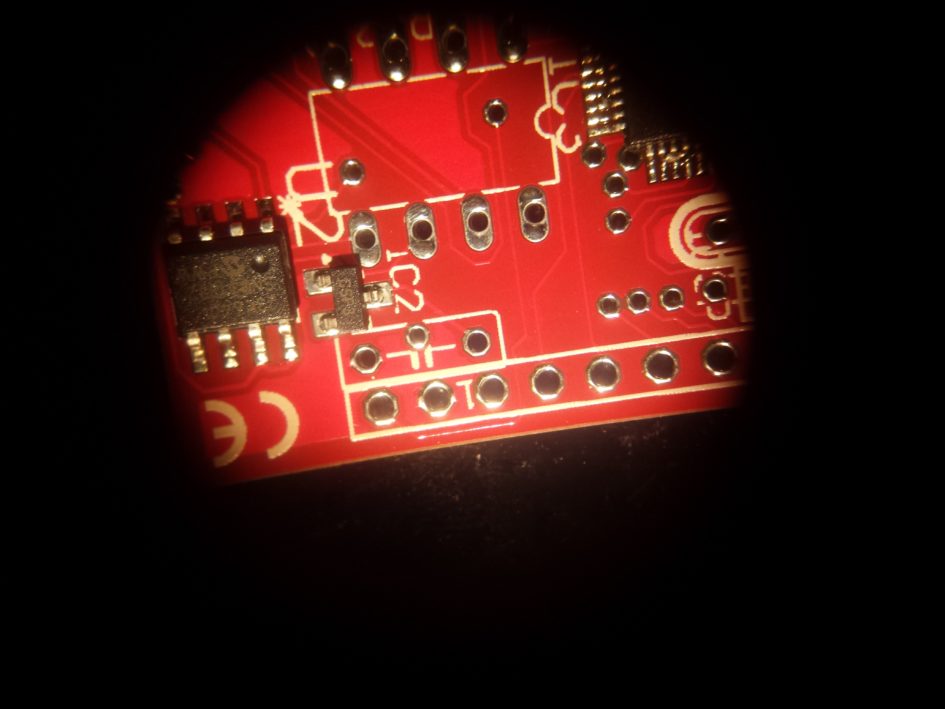
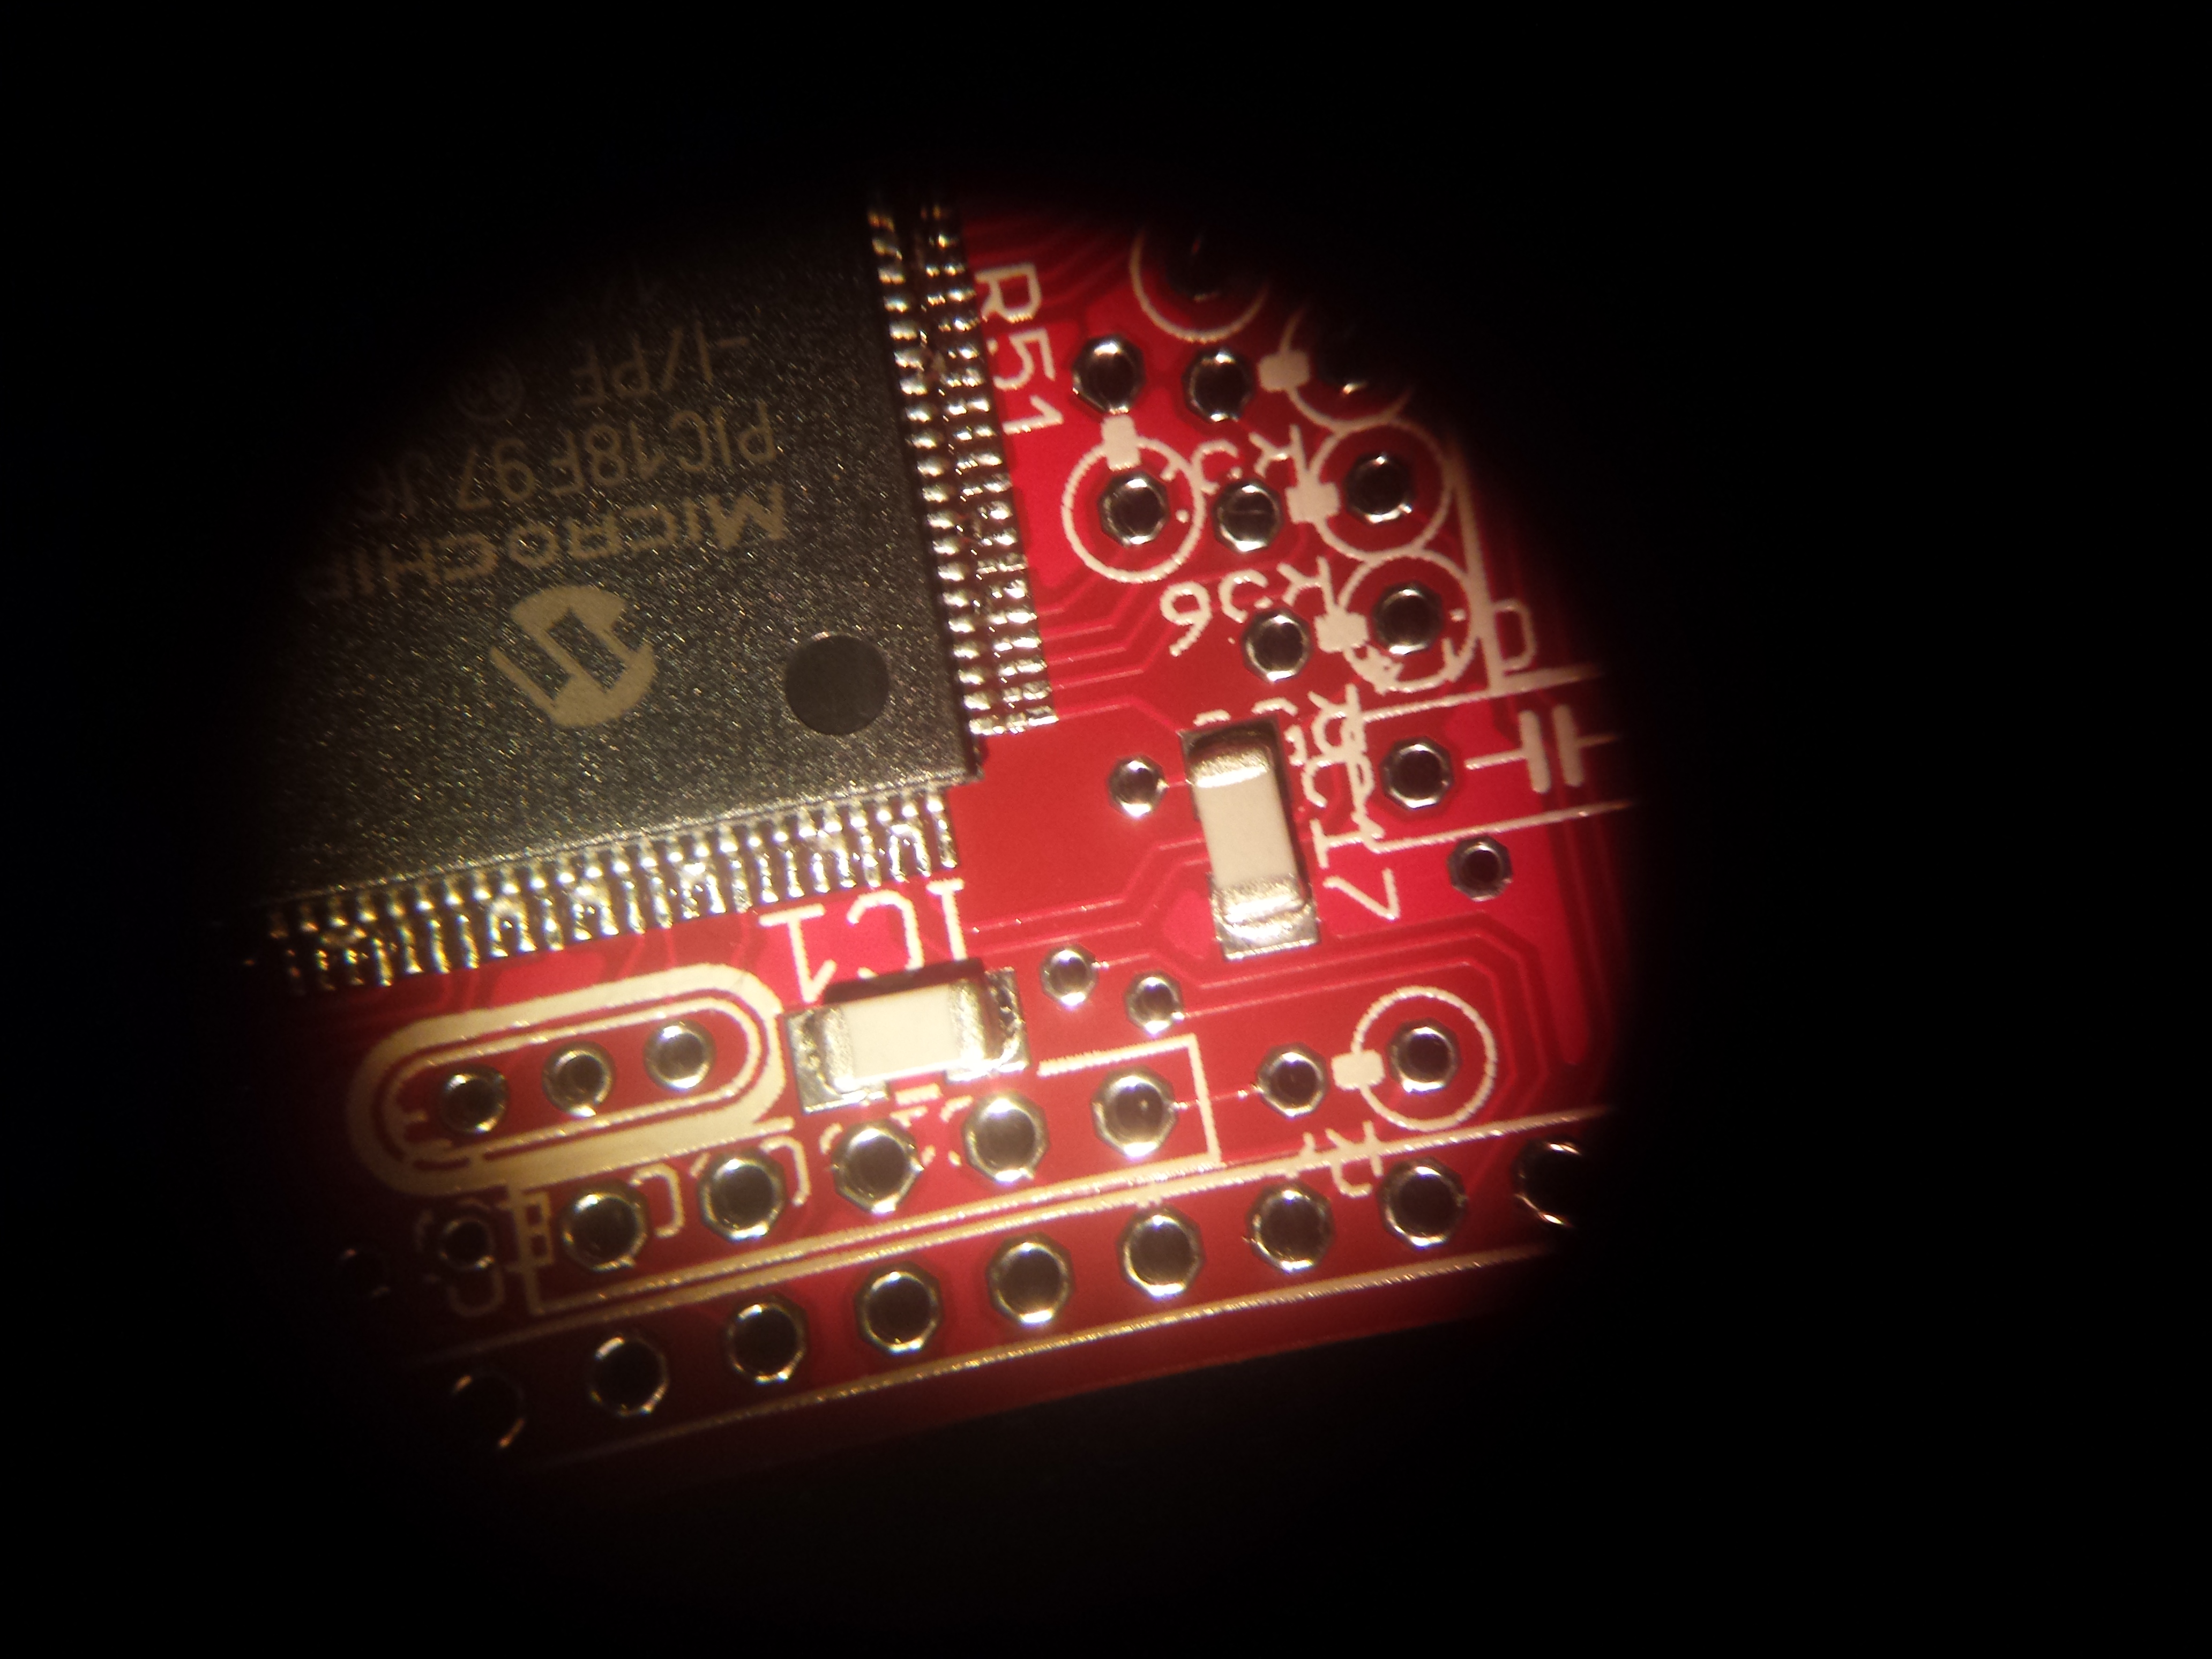
9- time to check (and eventually fix) for bridges and solder quality at the microscope

10- enjoy!


Leave a Reply
You must be logged in to post a comment.