In recent times I’m playing with lasers, and of course also with laser marking metals.
This is a wonderful approach that give excellent results, but a laser enough powerful to mark metal and additives needed to get a great dark/black marking on stainless steel are expensive, so, if you just need to make few marks and nothing more, and you don’t need high accuracy on the marked surface, there are other low cost alternatives that works well enough for many uses.
One of those alternatives, probably one of the least expensive, is the electric discharge method.
It’s not only cheap, it’s also easy to build, very effective and it give consistent and durable results.
The physical principle it’s simple, when two electrodes are close each other separated by a dielectric liquid and a current is applied, a myriad of little voltaic arcs between the two electrodes forms eroding material.
Of course if you have to mark metal, eroding material isn’t enough: you also want to have a black and well contrasted mark.
This is where some more grain come in help: when you apply DC current, electric discharge etch material. When you apply AC current, assuming you have a decent dielectric liquid, it marks by browning/darkening the surface.
Now the good part: a great and cheap dielectric liquid is just salted water. Easy, isn’t it?
So, how to build a machine to do EDM ( electric discharge machining ) easy enough to do it at home and, fully working and also cheap?
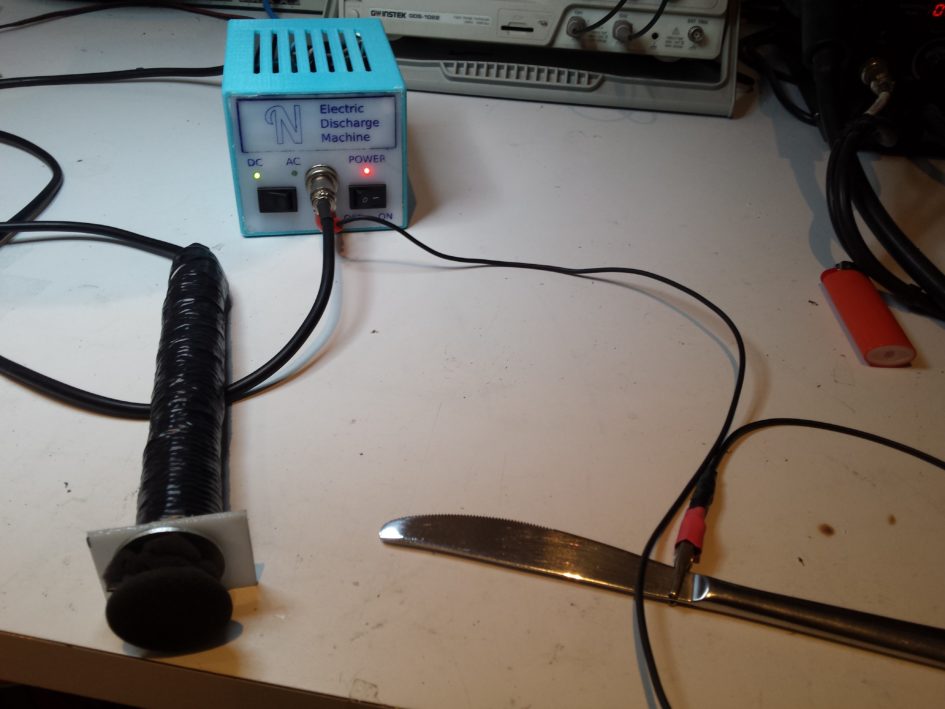
Here is it:
what you need:
Tools needed:
- a tin solder station
- insulating tape or heat shrink tube
- a saw or anything else can help you to open and extract the transformer
Optional tools not really a need, but they can make your resulting machine a lot better:
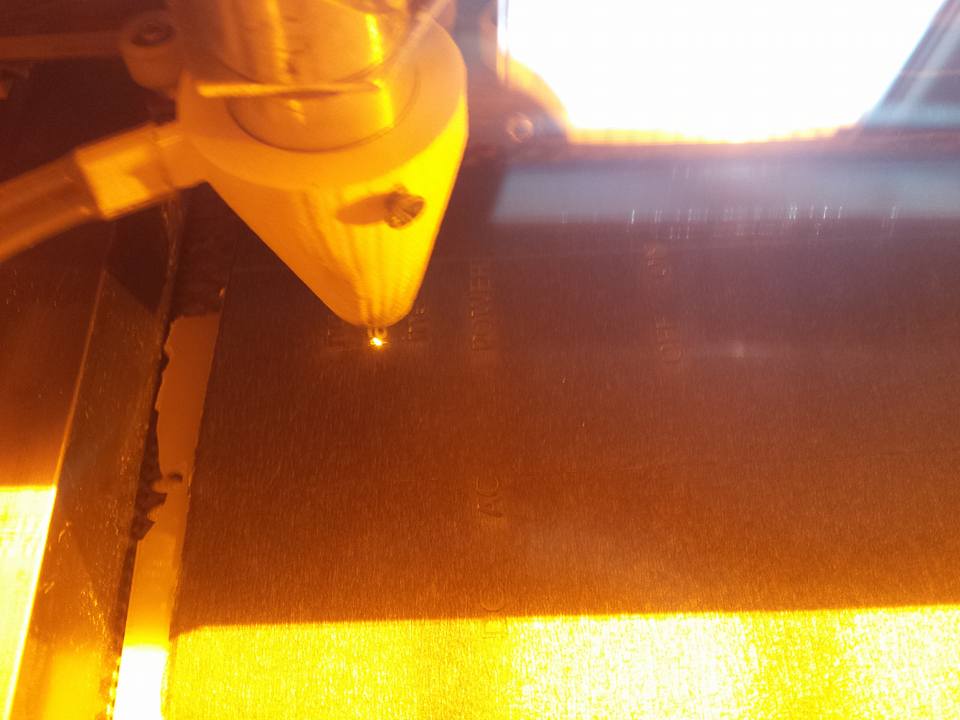
- a co2 laser cutter machine for the panels
- a 3d printer for the box
Then, the really needed materials:
- connectors
- wires
- switches
- an old power supply
Optionals:
- a two-way relay or a two-way switch
- a fan
- 3x 3 or 5mm leds
- 1x resistor ~ 300 ohm, 2x resistors ~600 ohm ( for the leds )
let’s build it
Take a common chinese or so power supply, a 12V 1 or 2 ampere non switching it’s ok ( the non switching part is important! ). You can buy it for few bucks, or you can just take one you already have.
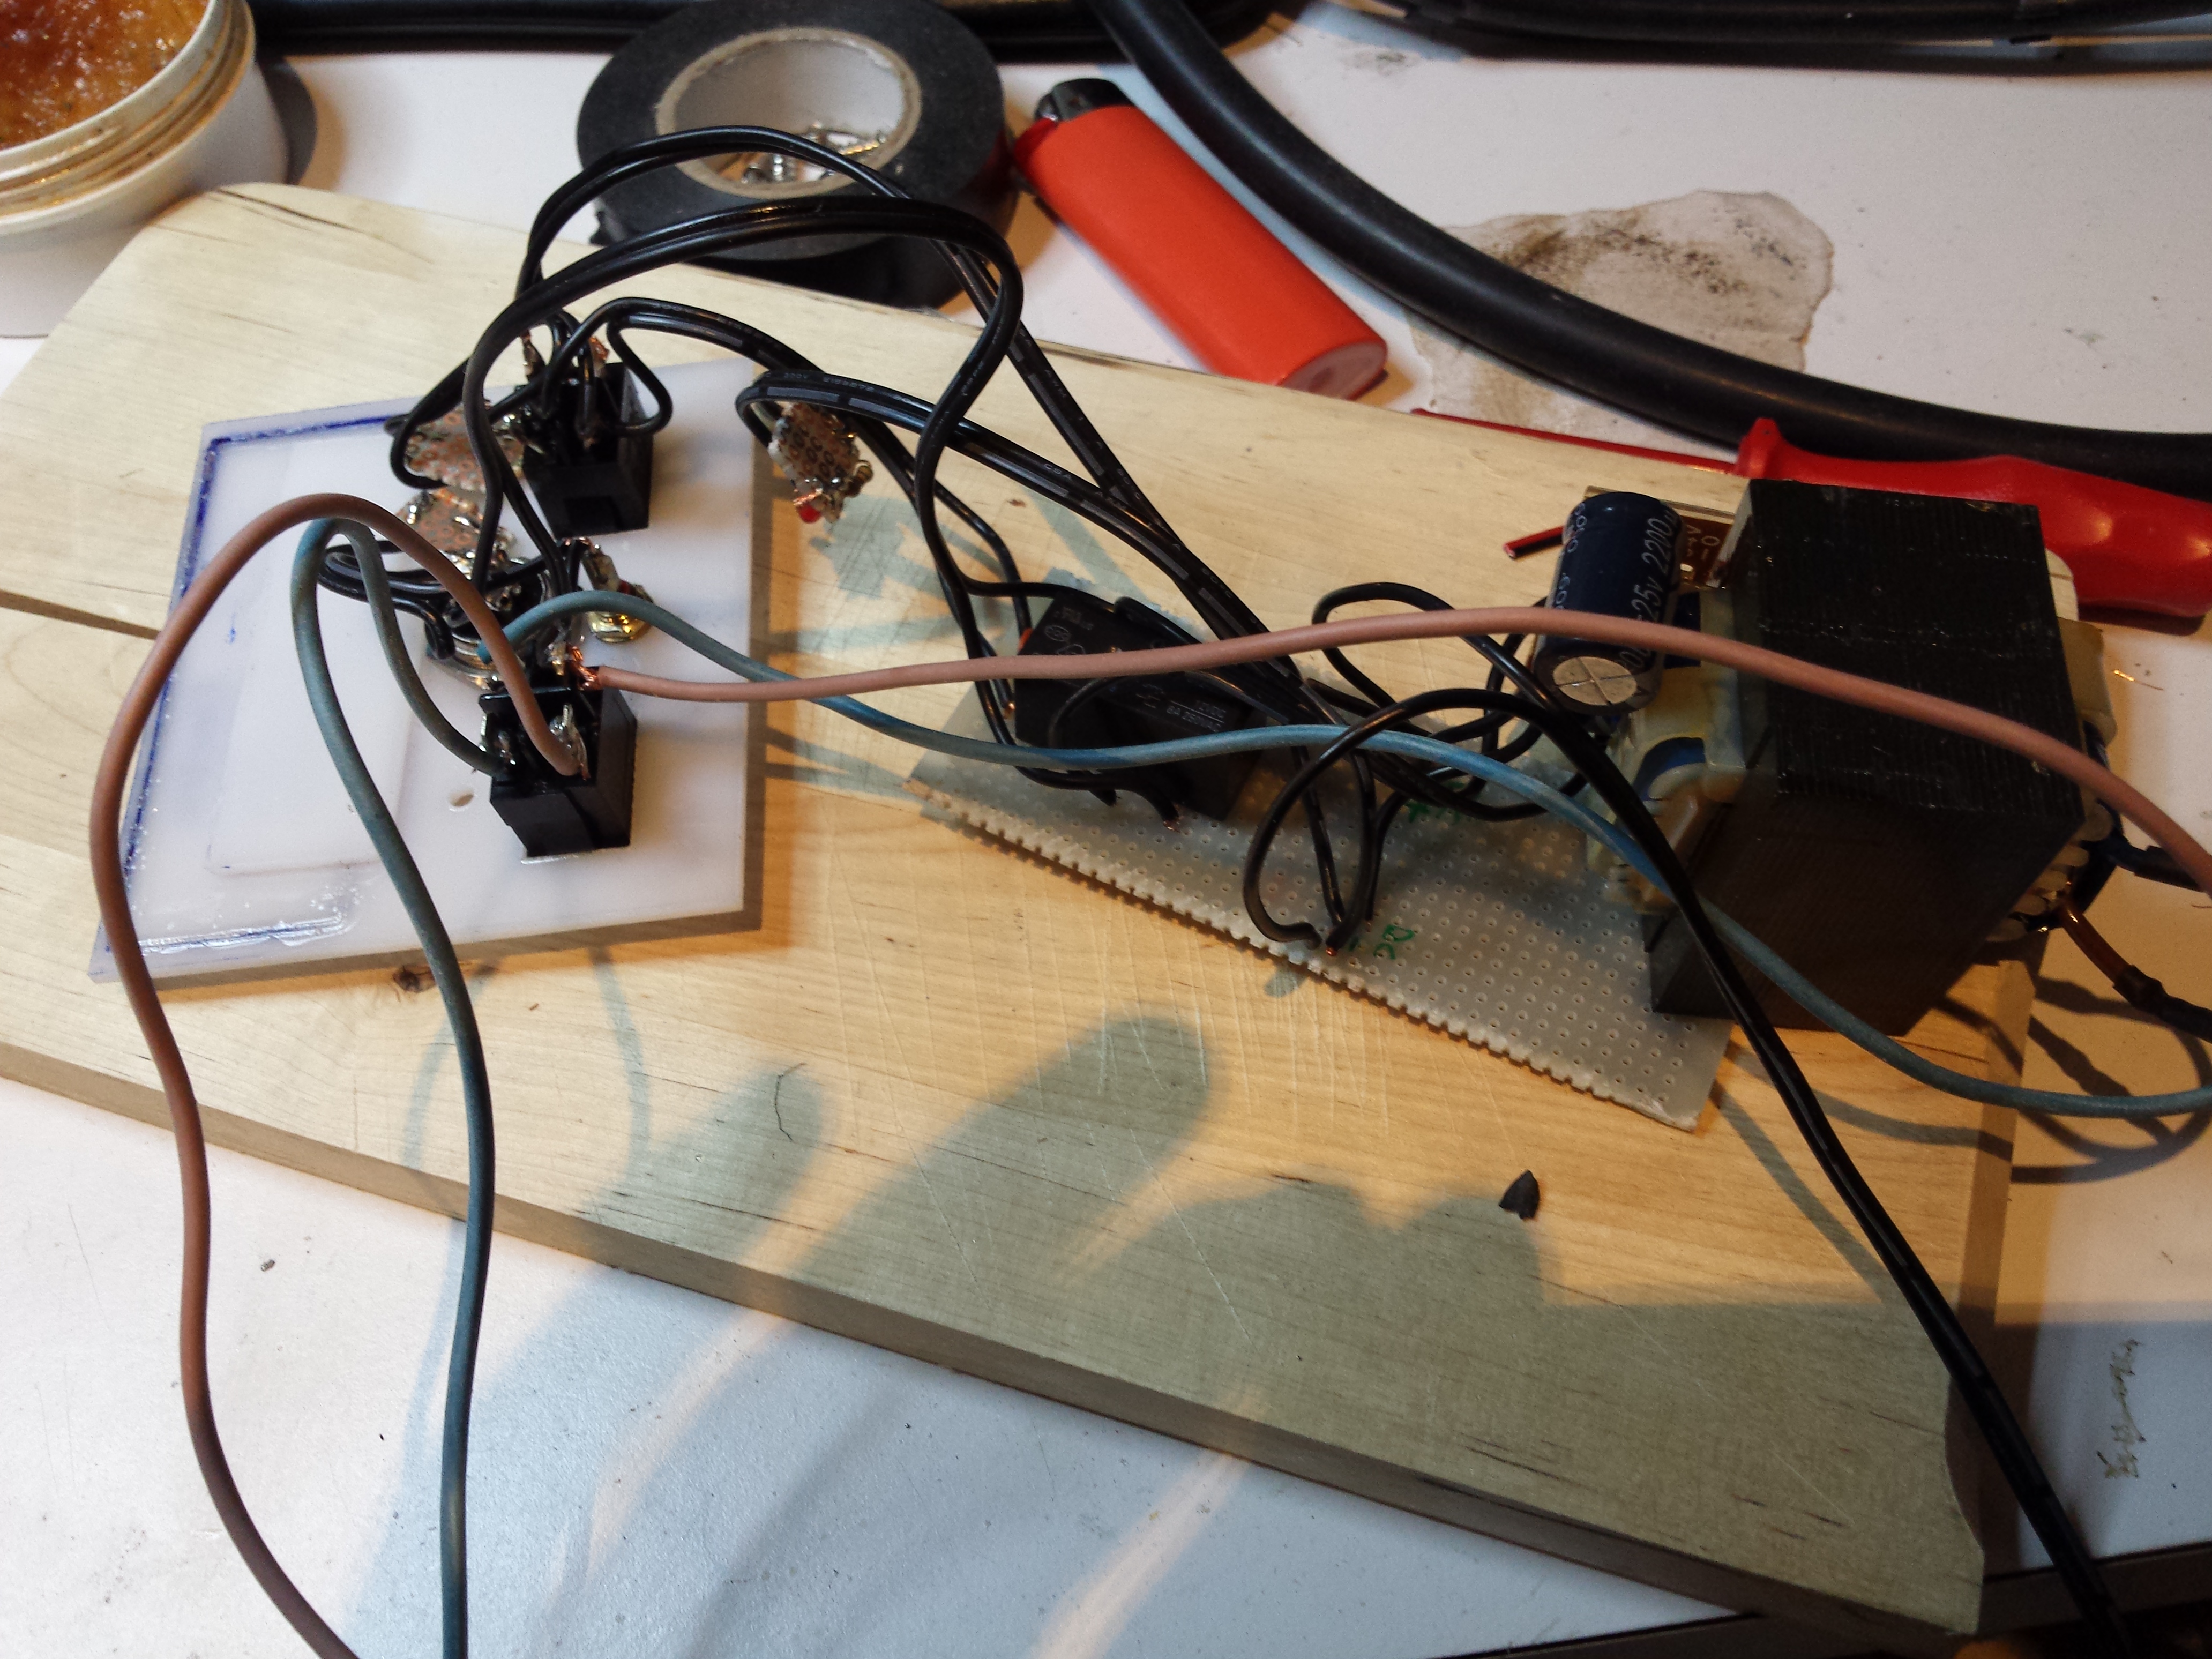
Using a little metal saw, open it and extract the trafo inside. You will see that it has very few components soldered on the output side of the transformer, basically a capacitor and 4 diodes: those diodes form a diode bridge to get DC current from the transformed AC current the transformer output.
You will have to solder a couple of wires before the diode bridge to get also an AC 12V output we will use for marking black.
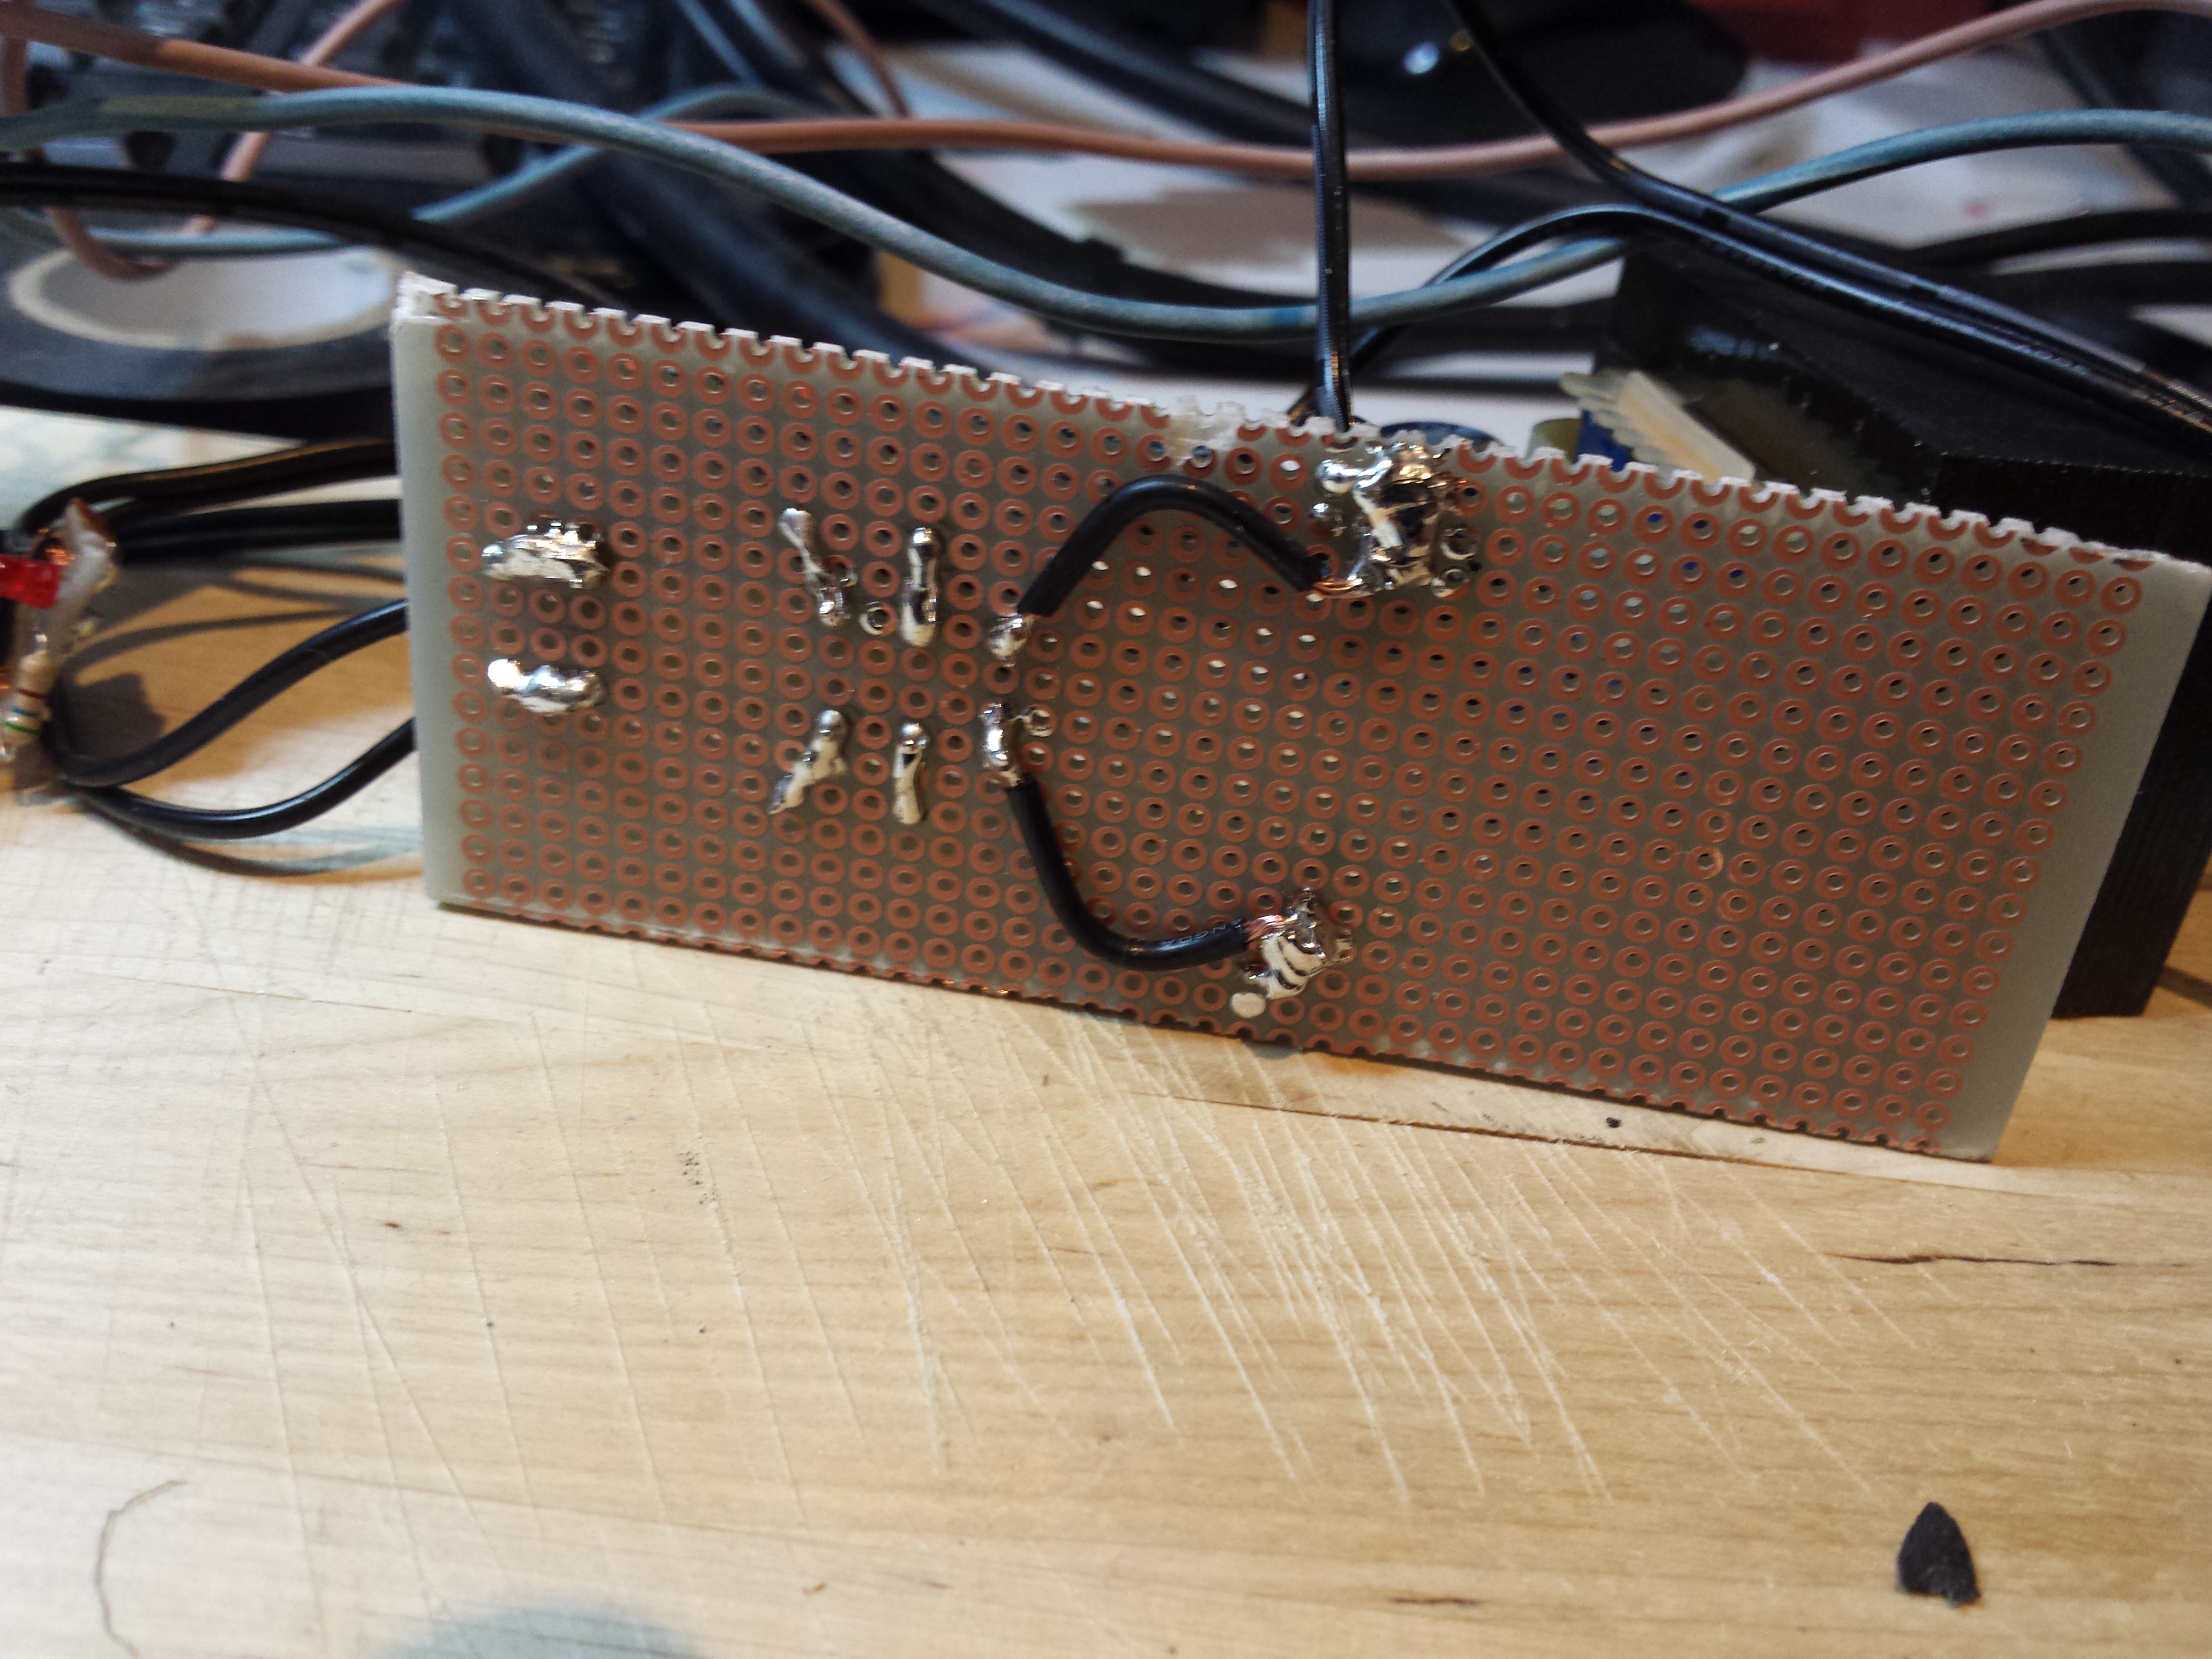
Then, take your relay or two-way switch, and follow this schematic:

My first prototype is done on a (crap) prototypal board, and the result is as you can see in the following photo:
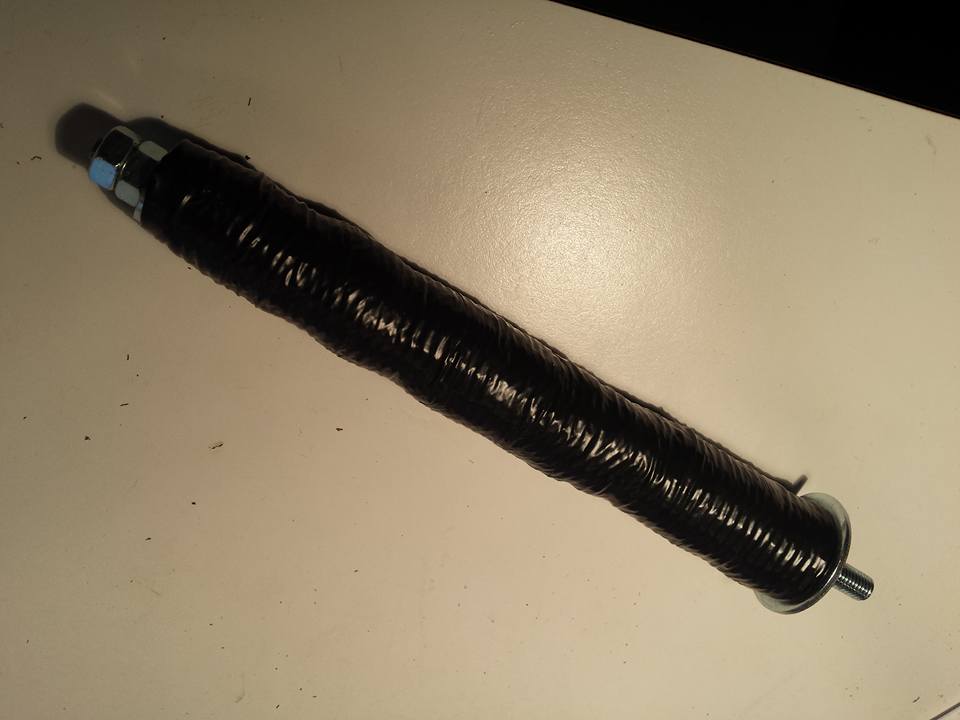
The pad
The piece you will mark is to be connected to the positive (in case of DC current) side of the output, you can use a alligator clip or a metallic plate to do that. The “negative” side has to be used to press/impress our image on the piece to be marked, so, we need a pad to use for that.
Bulding a pad is really simple, you can do that with your preferred design as long as:
- the contact surface isn’t too large ( mine is a circular 36mm surface )
- you have an insulated handle
- as the surface needs to be very close to the piece but it must not touch it, put a piece of felt
Mine is done using a piece of plastic pipe, inside the plastic pipe there is an M8 threaded rod, and for the contact surface i used an M8 rod sanded to enter and then soldered to a 36mm washer. The felt is blocked on the contact surface by using a common cable tie.
first test
It’s time to test our creation!
go in the kitchen and stole something metallic without saying it to your wife (!), or better, find something you can mark without huge concerns if you will ruin it.
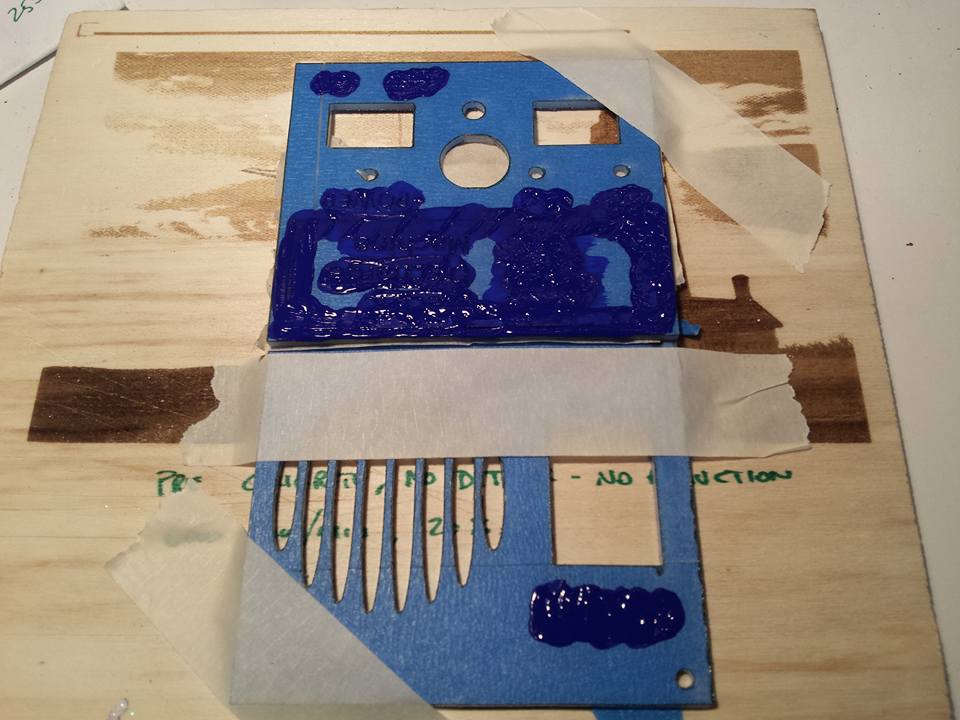
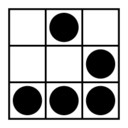
You will need to mask it with our design, i use adhesive vinyl foils, but you can use anything isn’t conductive, is thin, you can cut and will adhere to the surface you intend to mark covering well any part you don’t want to mark.
To cut my masks using my laser cutter, but you can do it even by hands, or using a mechanical cutter machine, or you can even use PCB tone transfer foils.
Connect the alligator clip to it, wet the pad inside the salted water, switch on our little machine, put it on “DC”, and the press it for 15 seconds. Then, switch to AC and press again for 10 seconds.

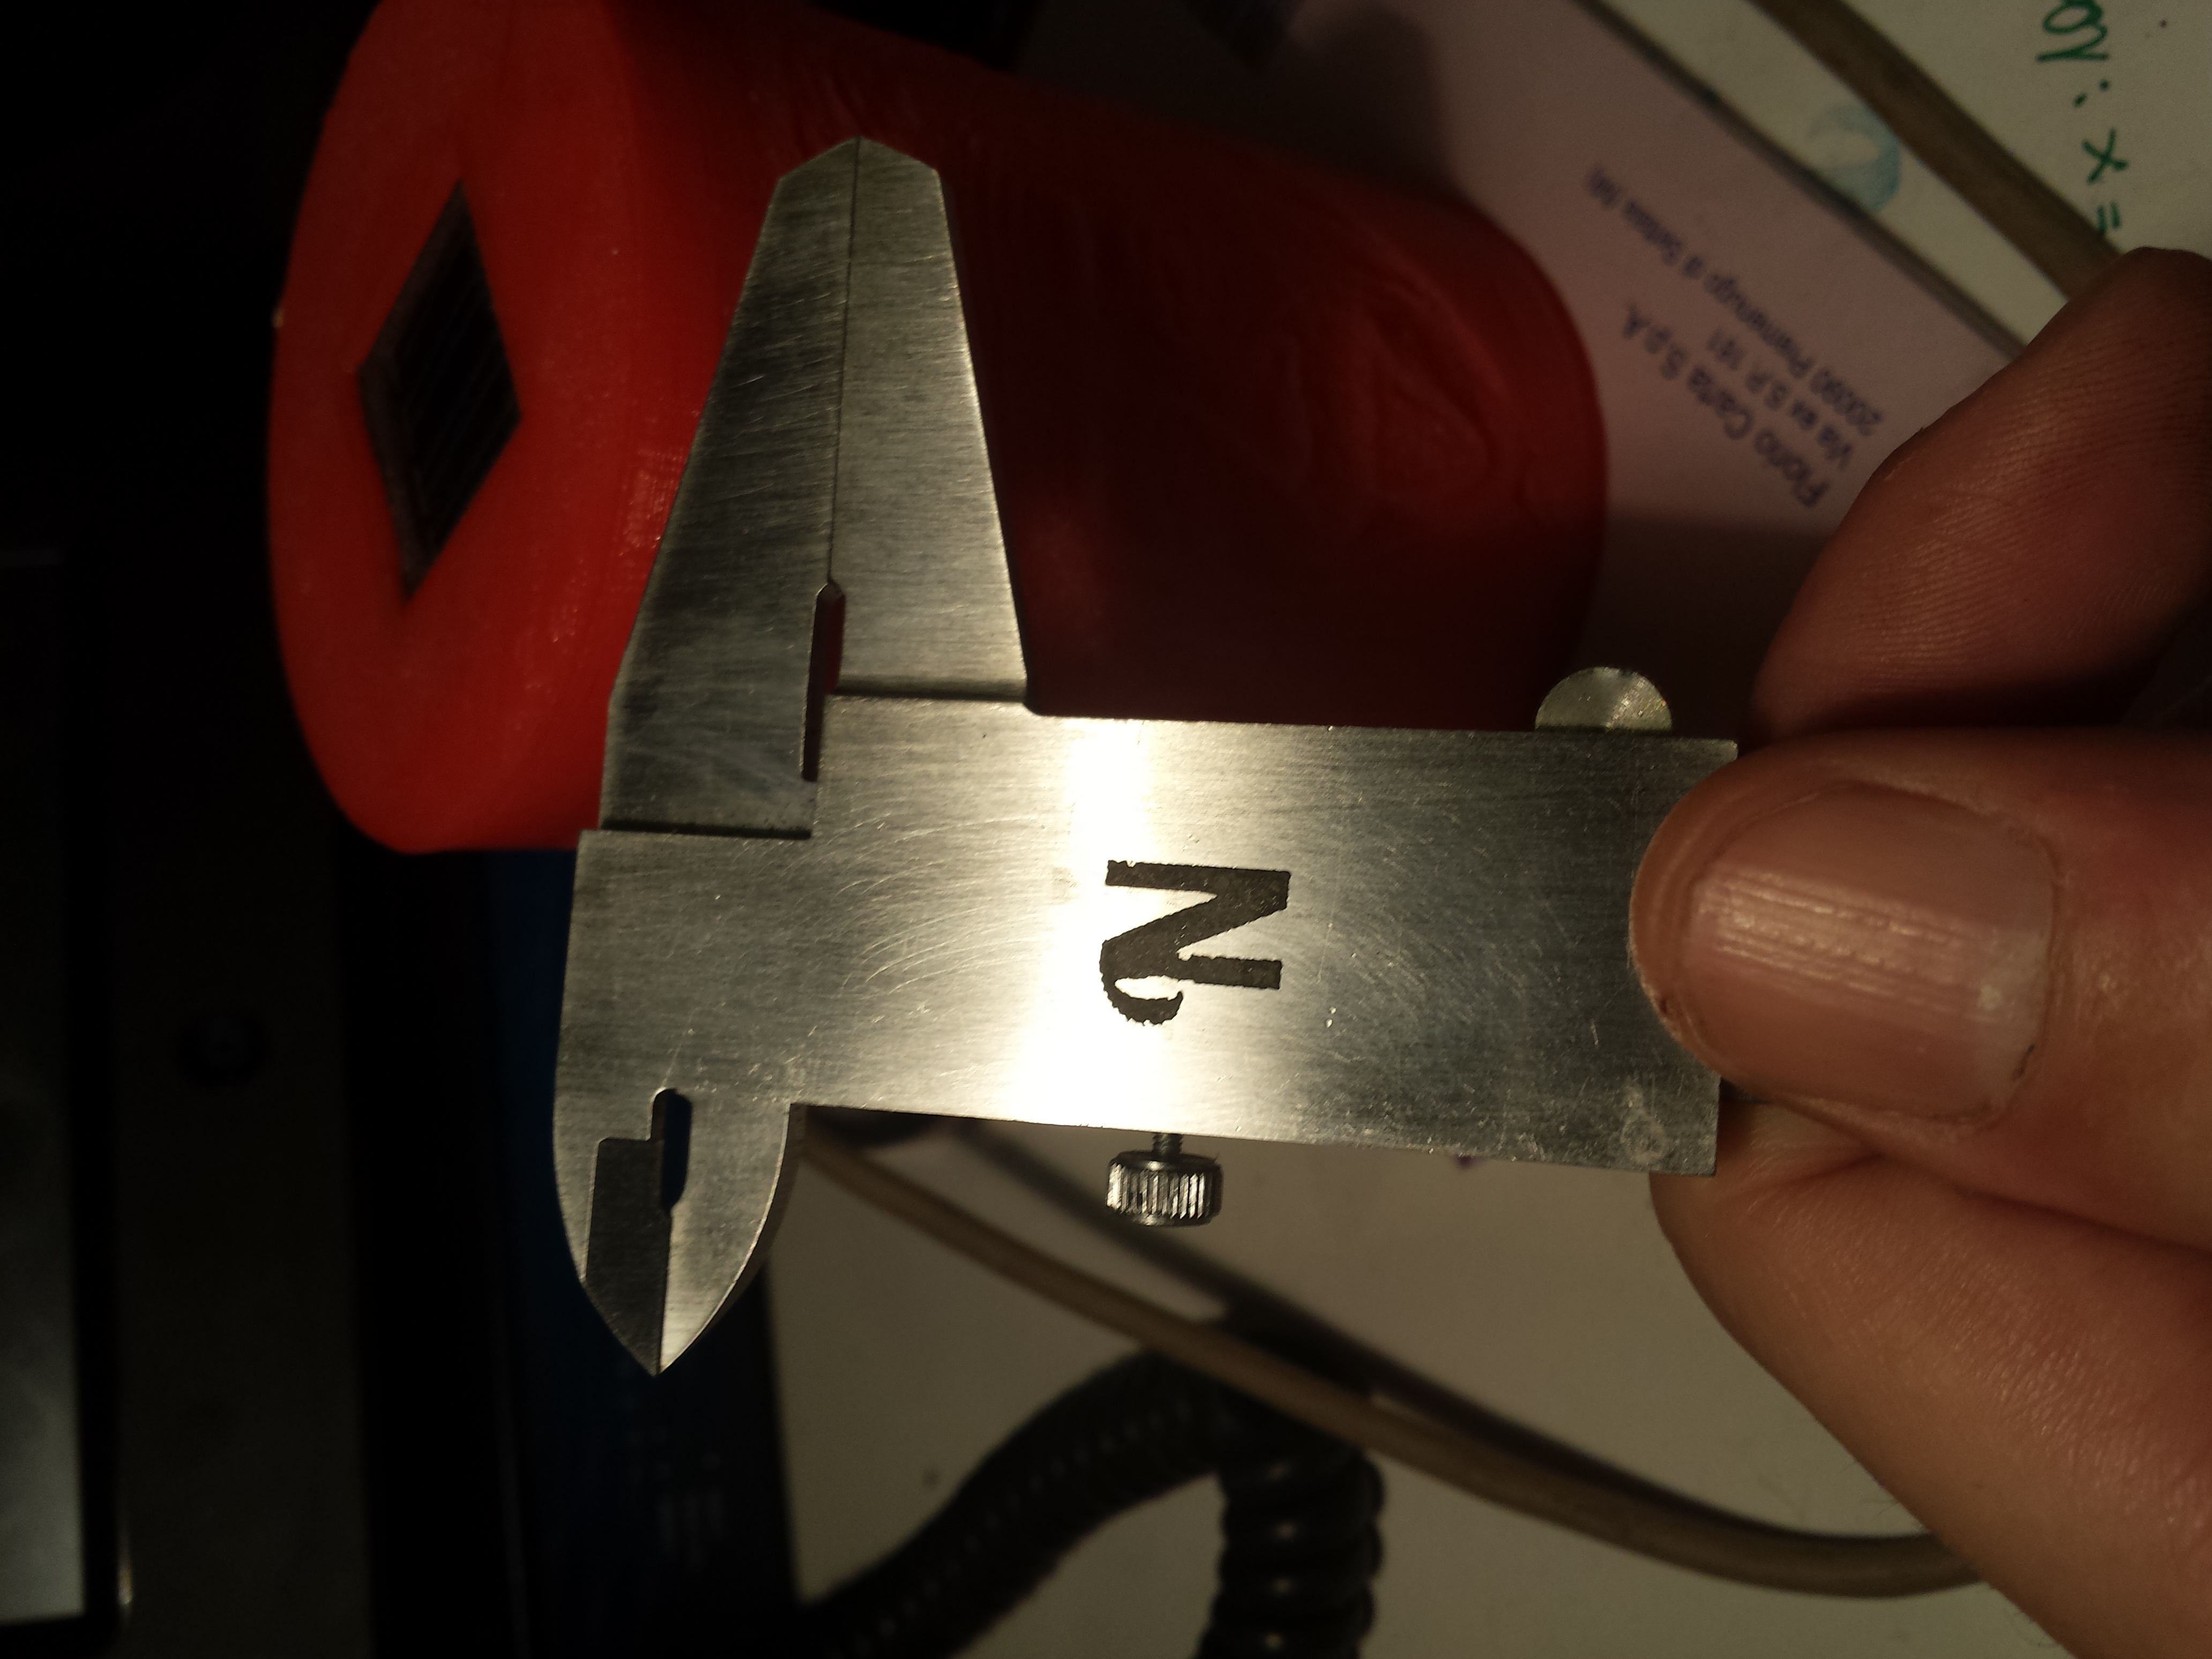
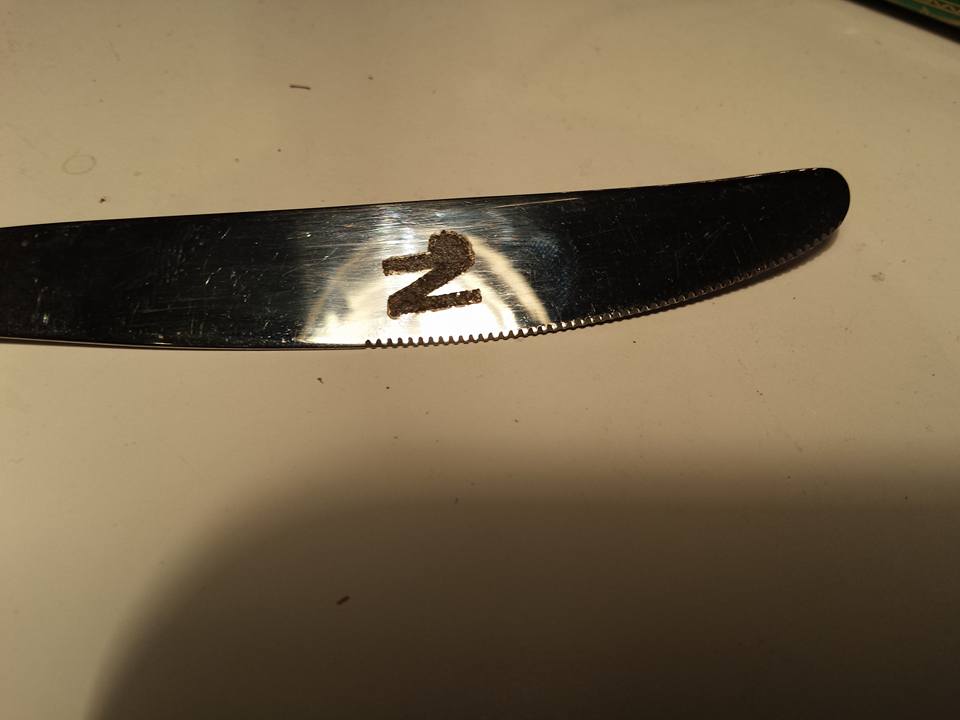
Some preliminary results: my masks aren’t well done, but with a little bit of more attention cutting them, results are awesome:
Optional part: the boxing
When you build a little machine, you will like to box it and make it beautiful to see. You can do that in many different ways, it’s up to you to find the best method you can with the tools available to you, for me, I use 3d printers and laser cutters.
First, the acrylic panels, using laser cut:

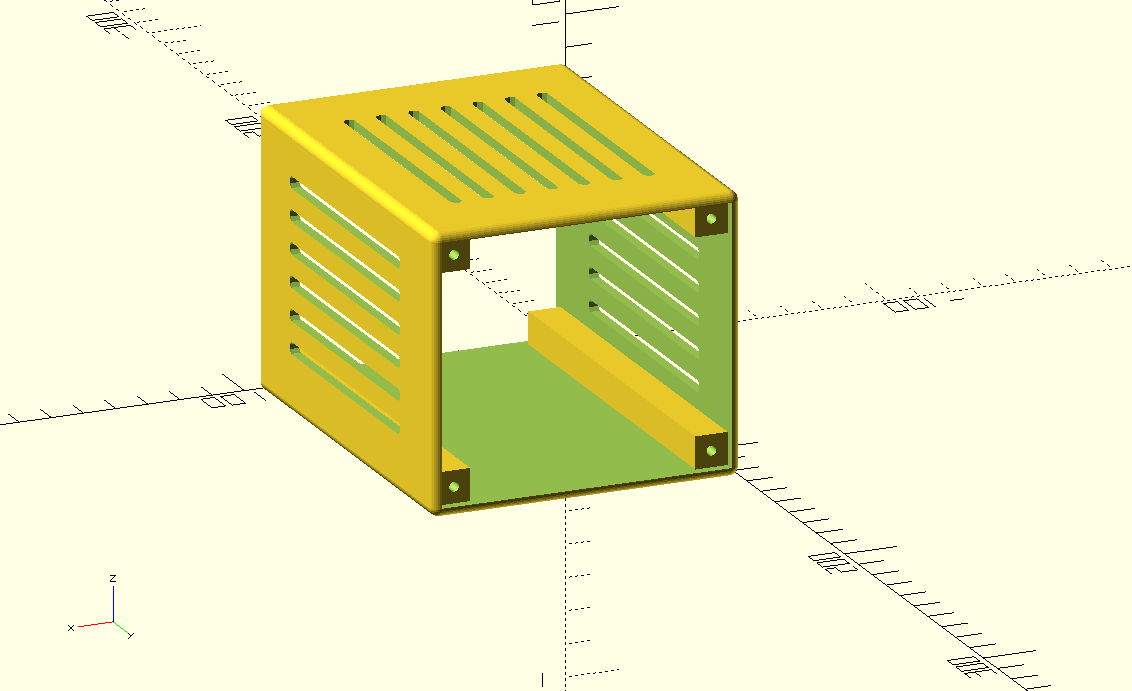
Then, 3d print the enclosure body:

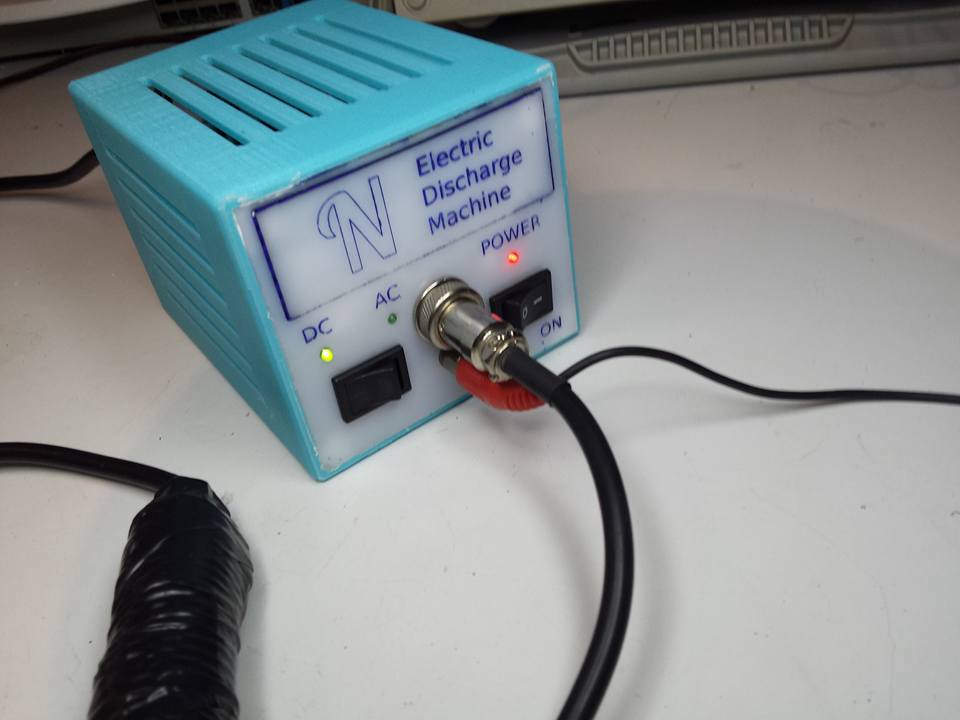
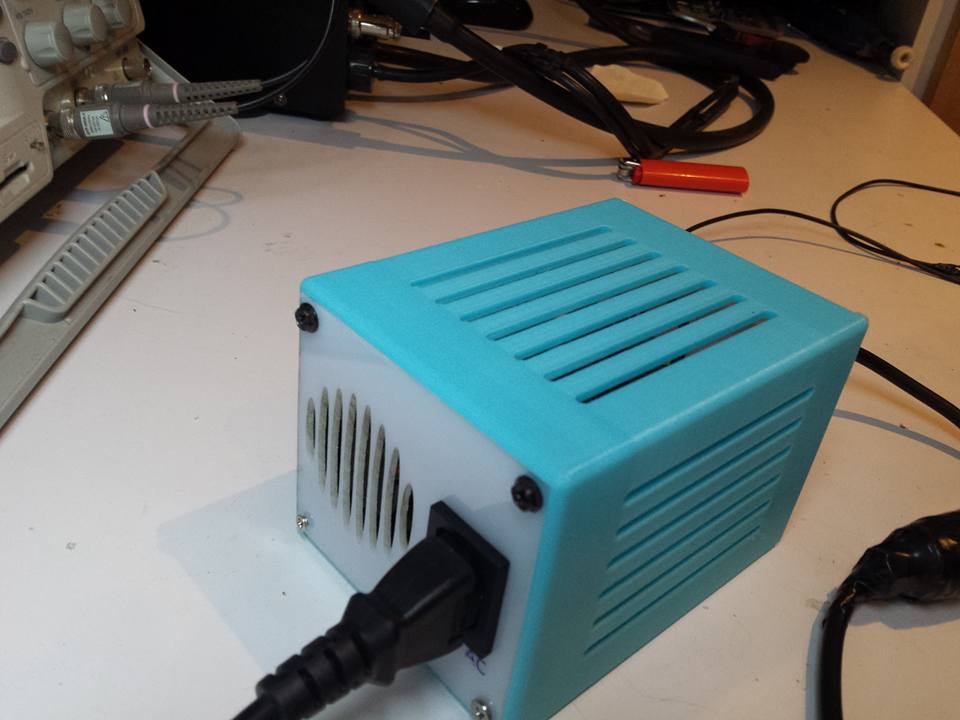
The results:
Sources
You can find schematic and design source files on the EDM project on my gitlab. All the project is released under GPL license.
Interested in my projects?
If you are interested in my projects, please consider to support my work!
Credits:
Thanks to this instructables for inspiration

Leave a Reply
You must be logged in to post a comment.