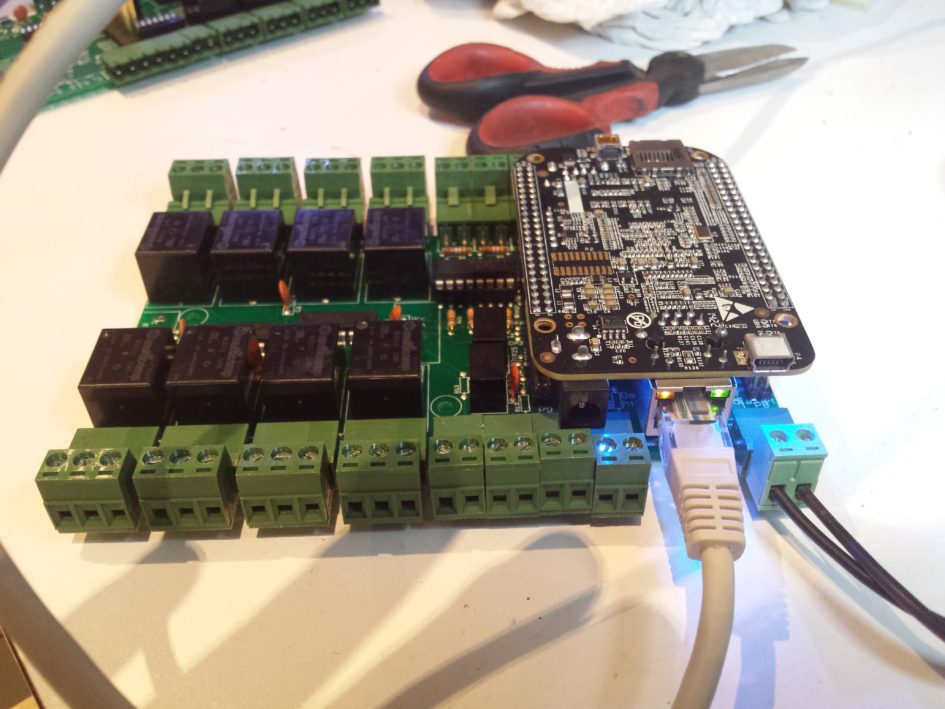
Osso is an expansion cape board for beaglebone black i built and sell. This is how i mount components on the in-house built ready to mount PCB:
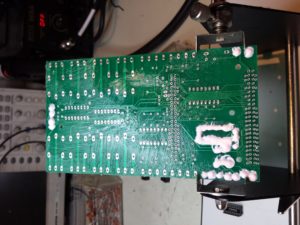
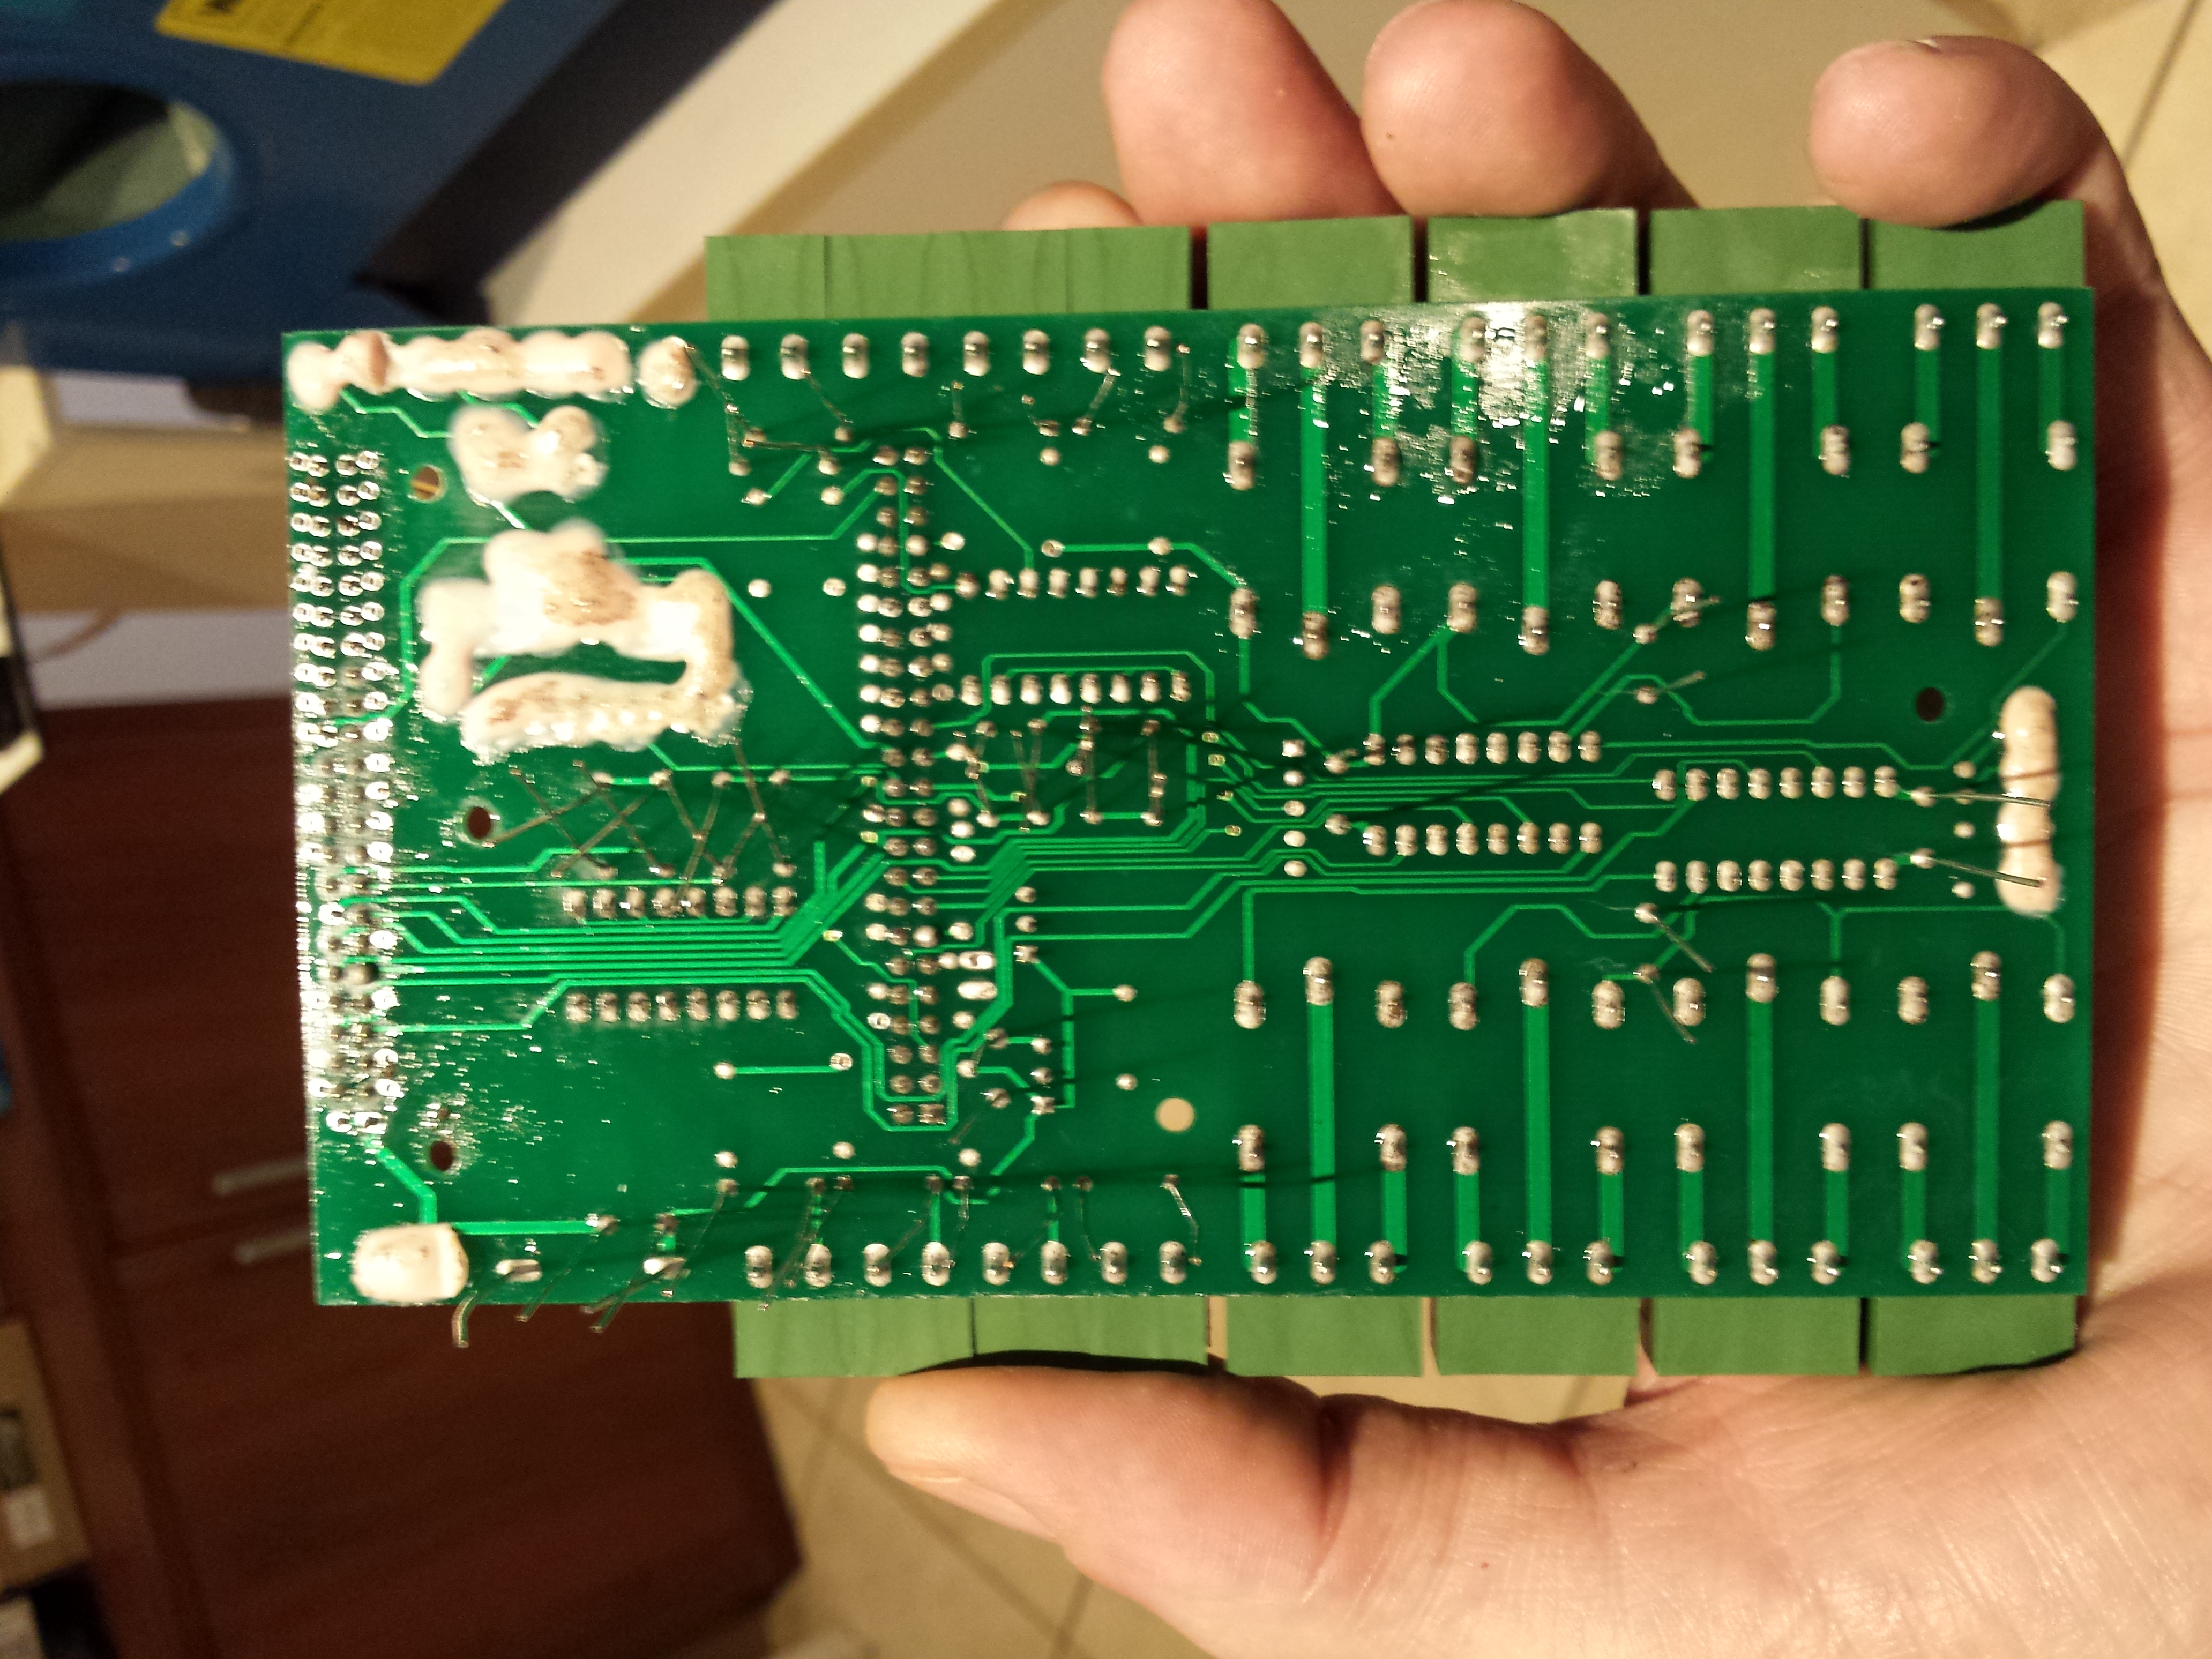
First, i spread some fluxant on the to-be-solder side of the PCB and i put soldermasking gum on holes i don’t want to close with tin
then start populating with components (manually)
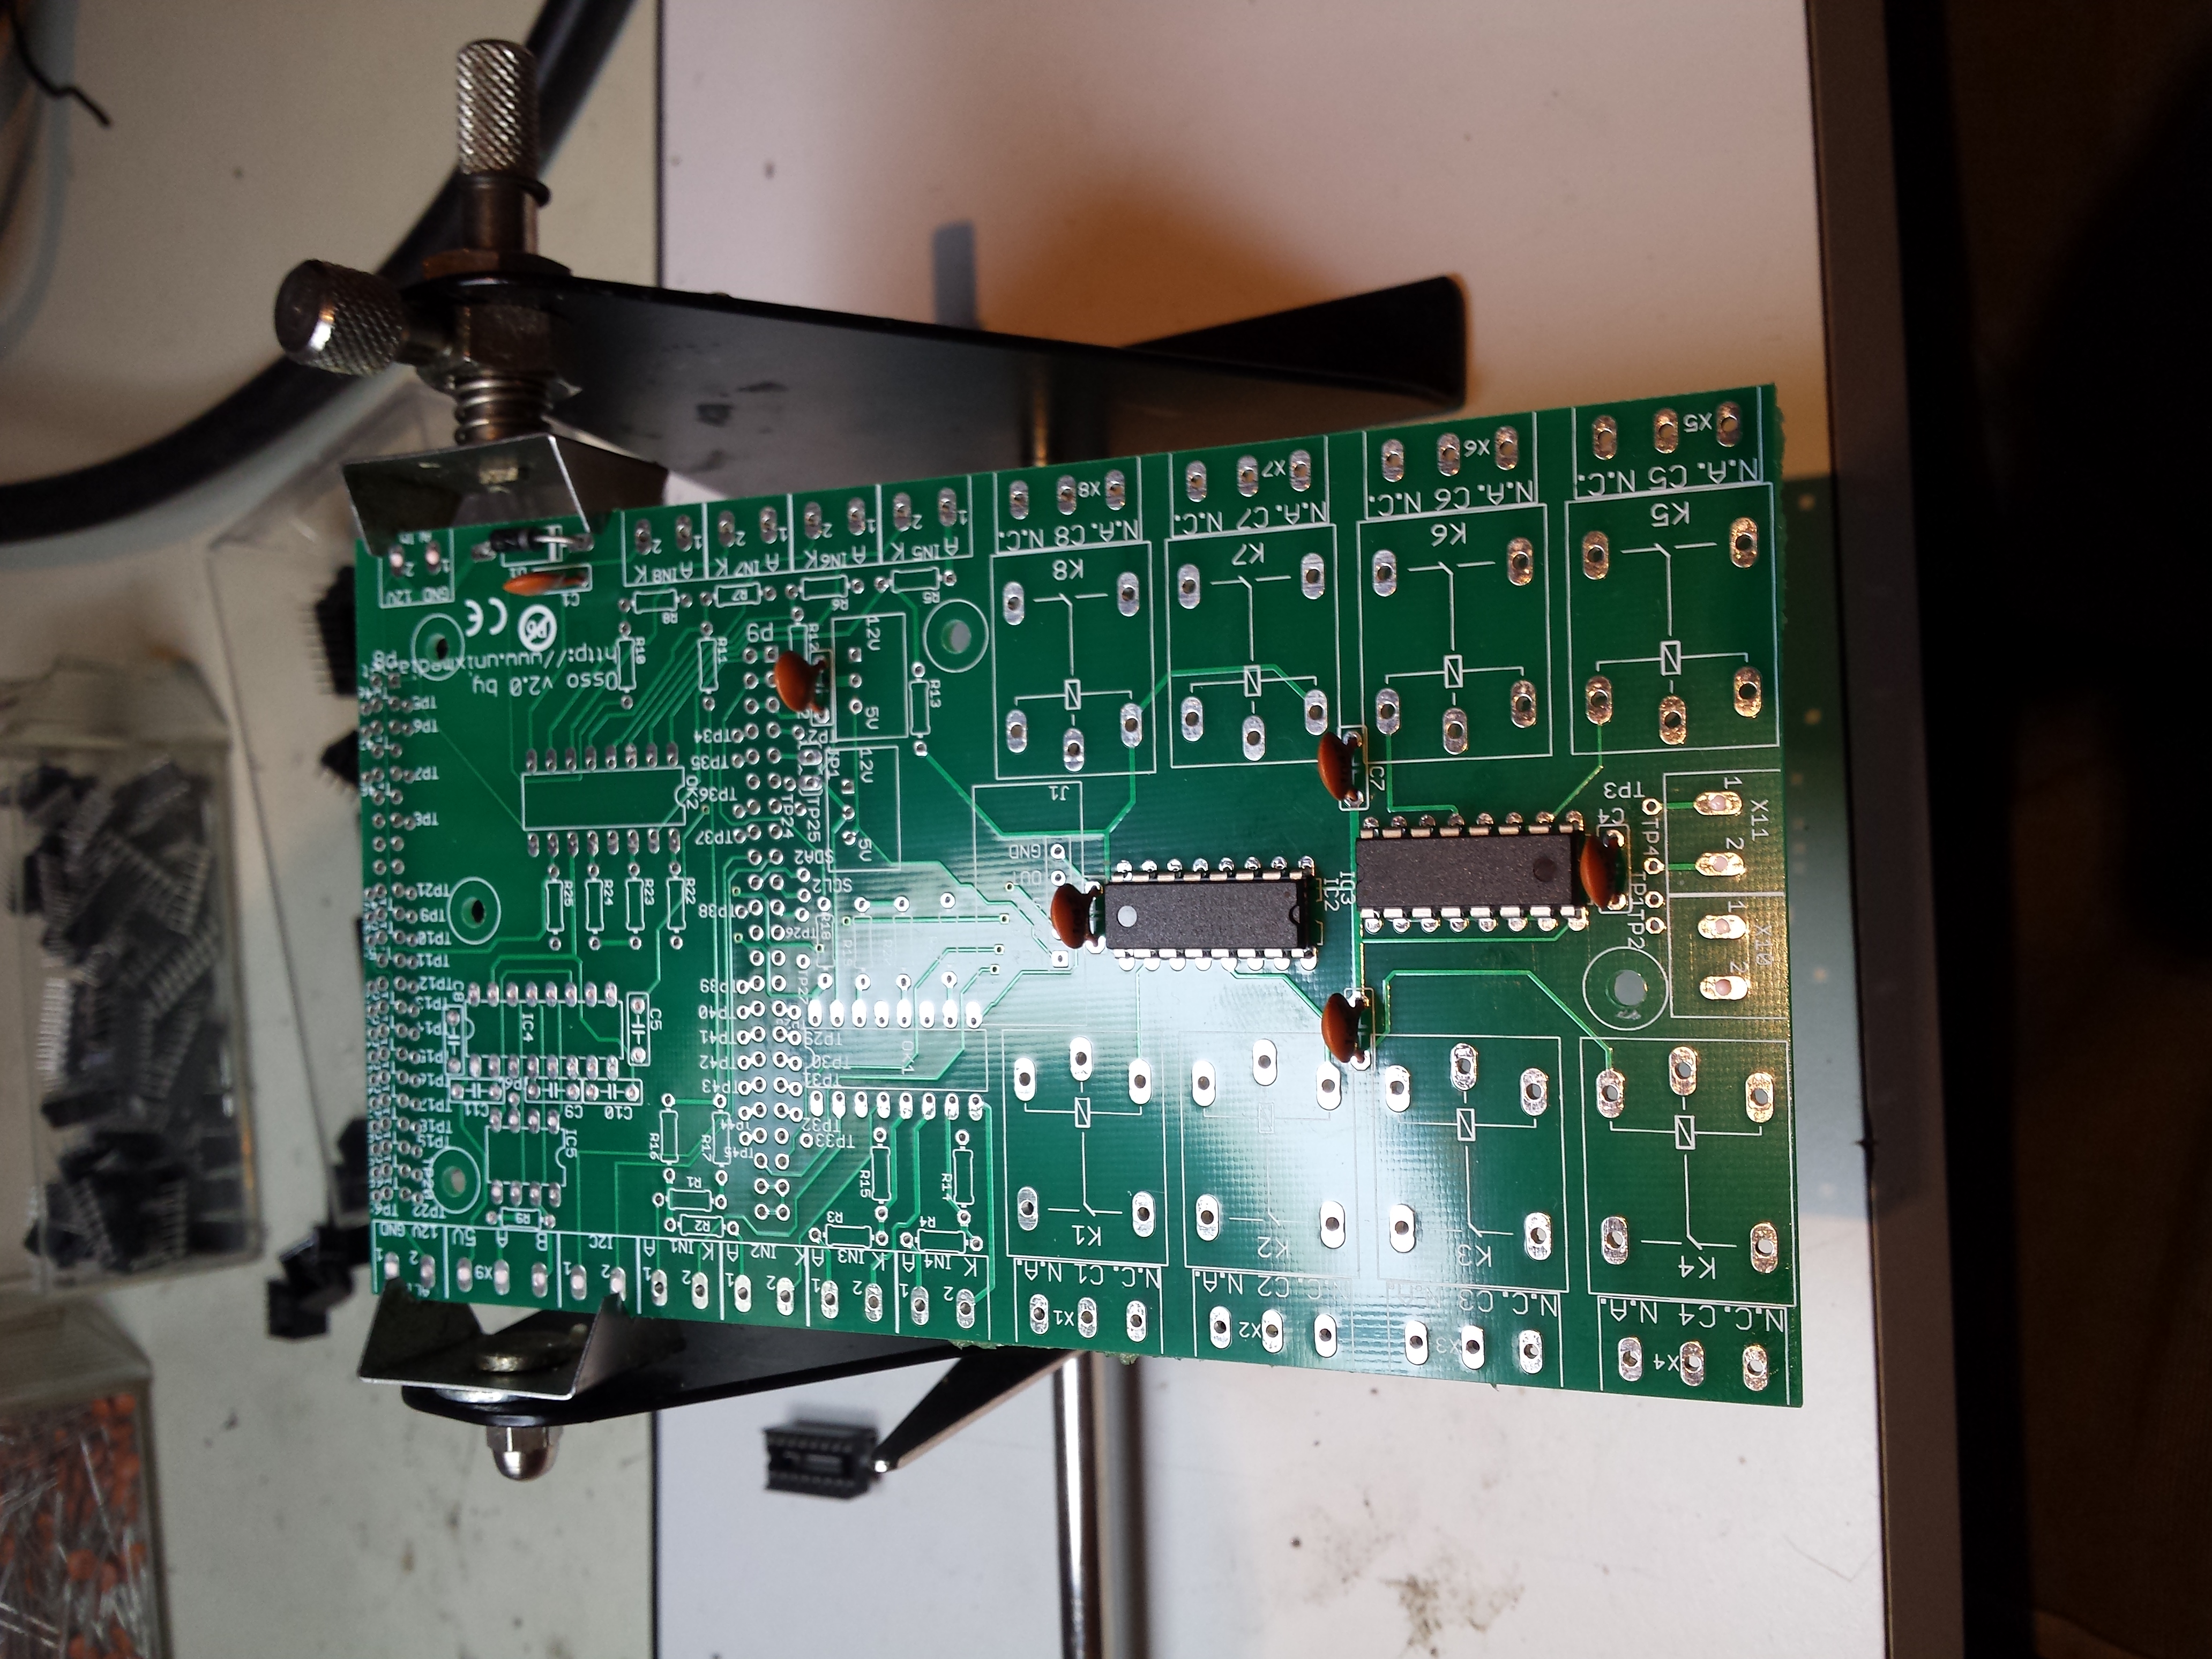
don’t cut (yet) components pins
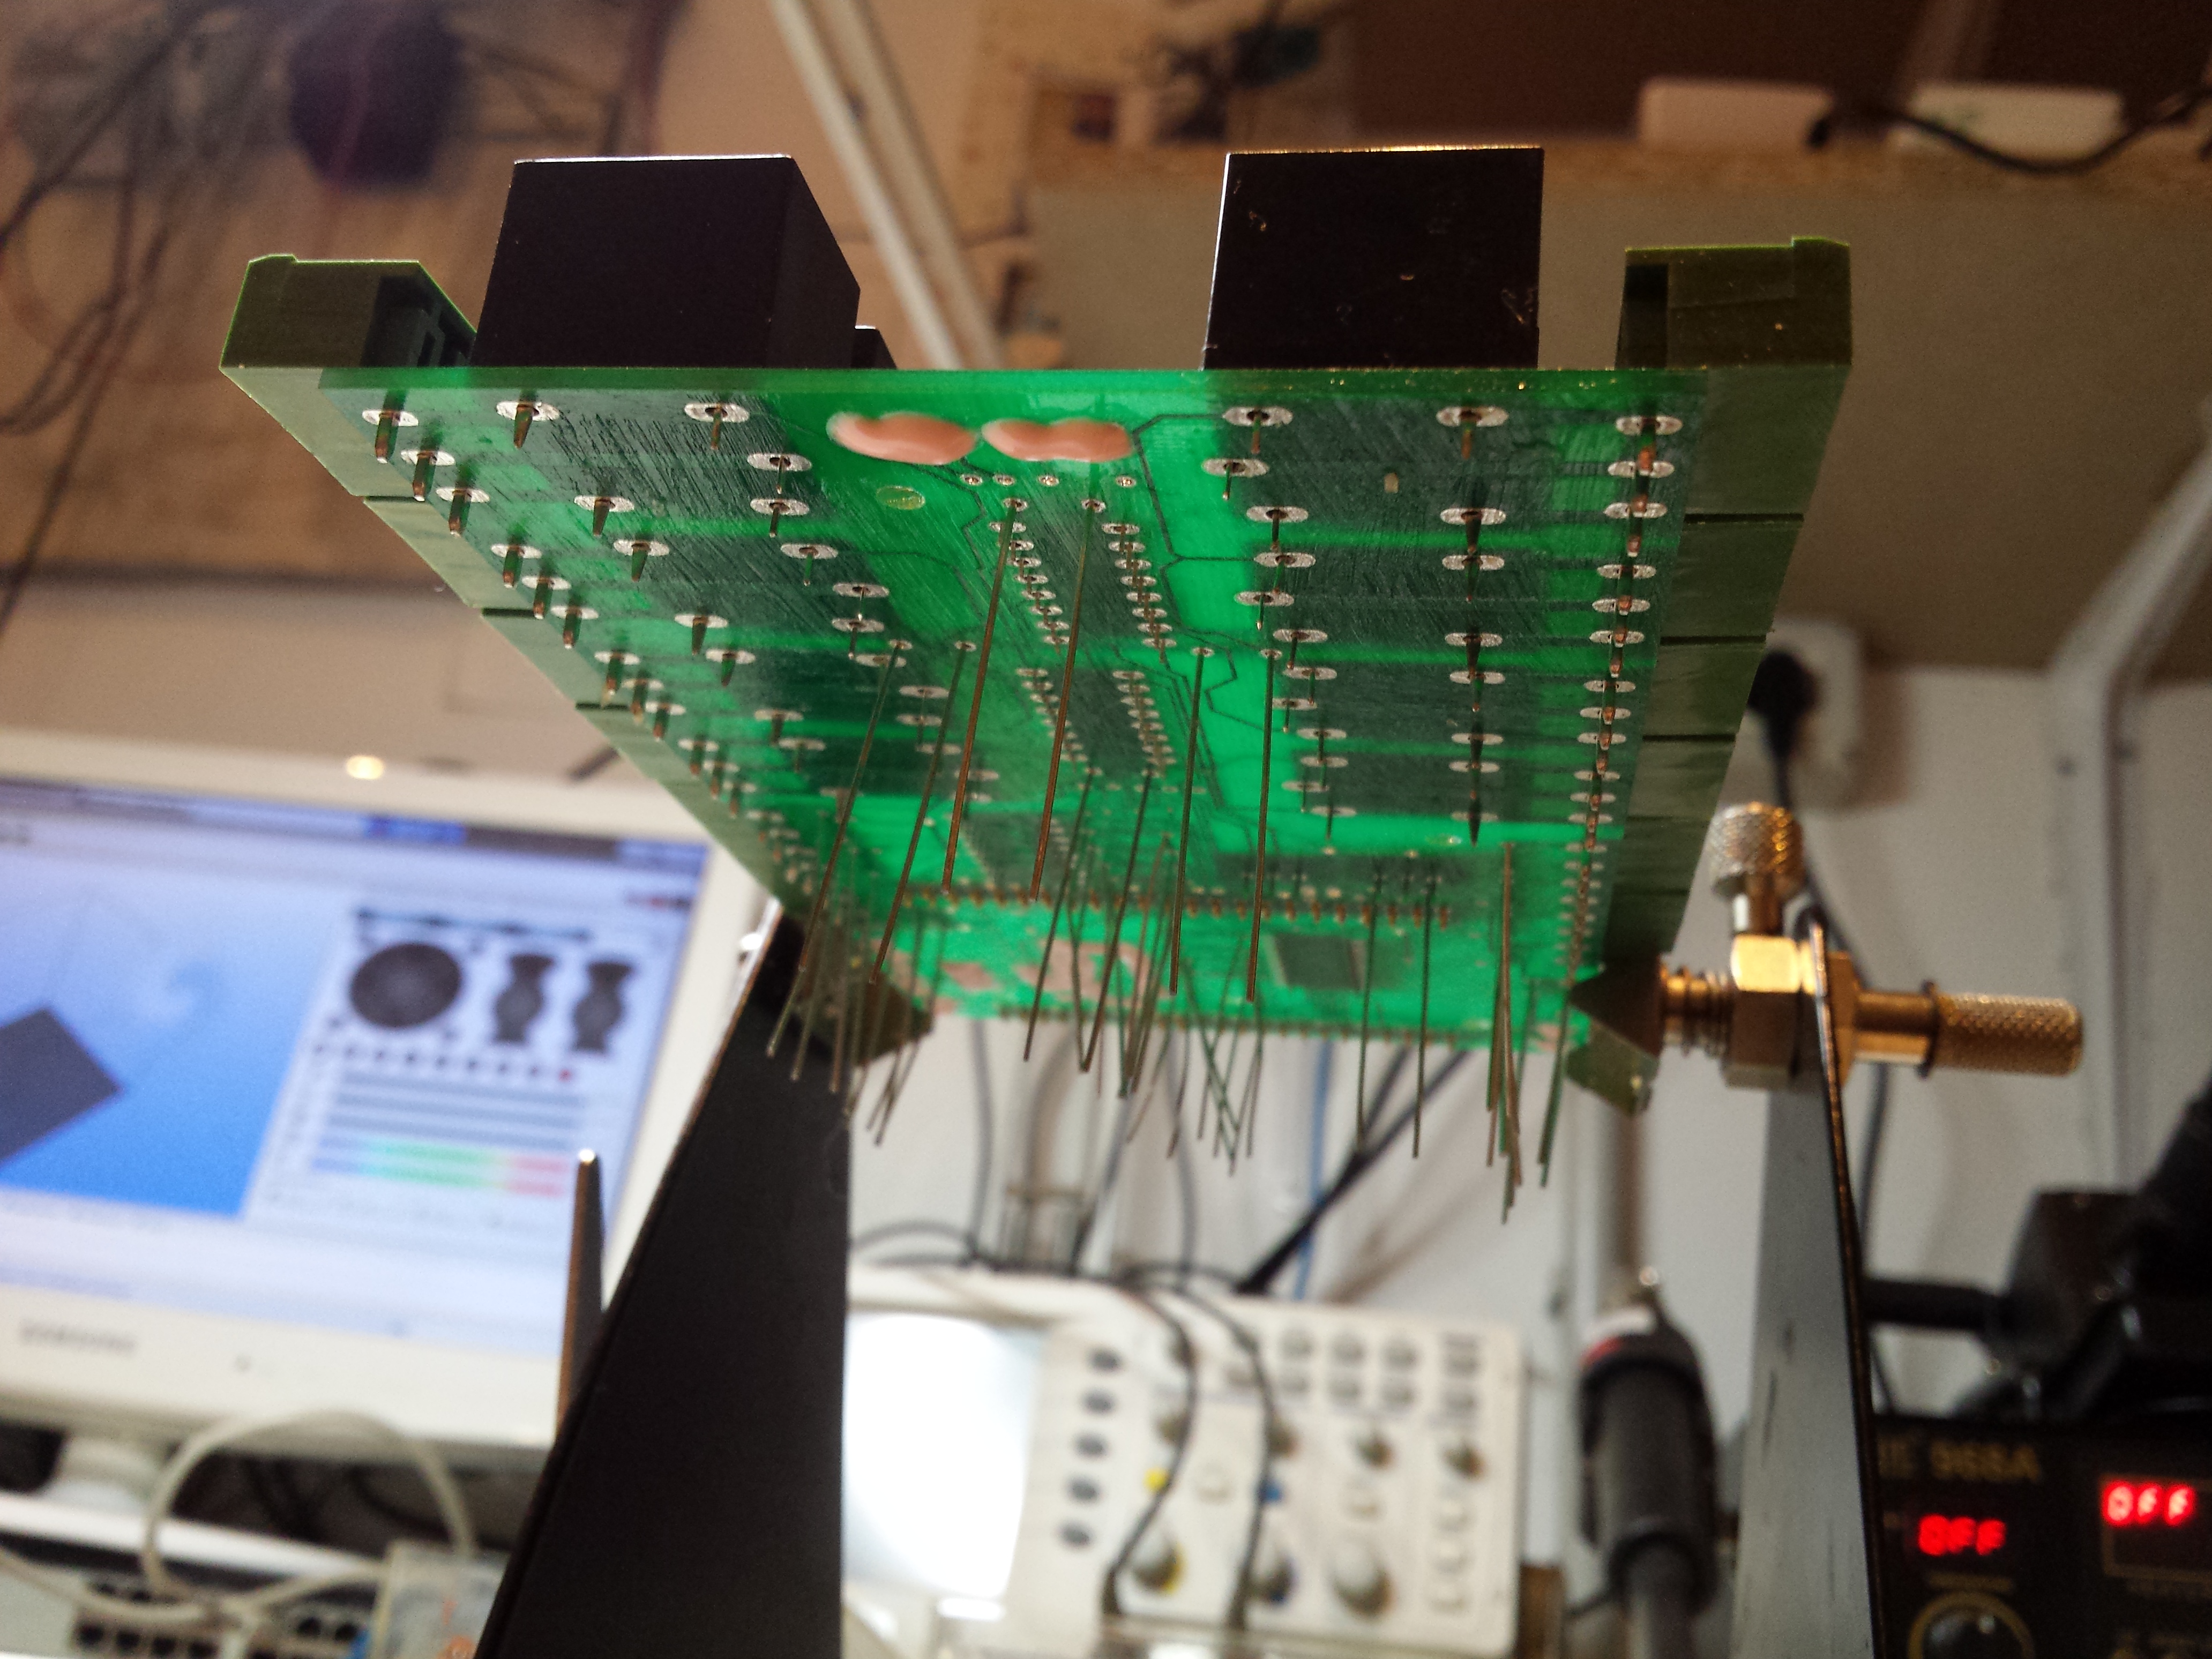
it’s time to solder (wave soldering)
[wpvp_embed type=youtube video_code=yb6knEnSWdw width=560 height=315]
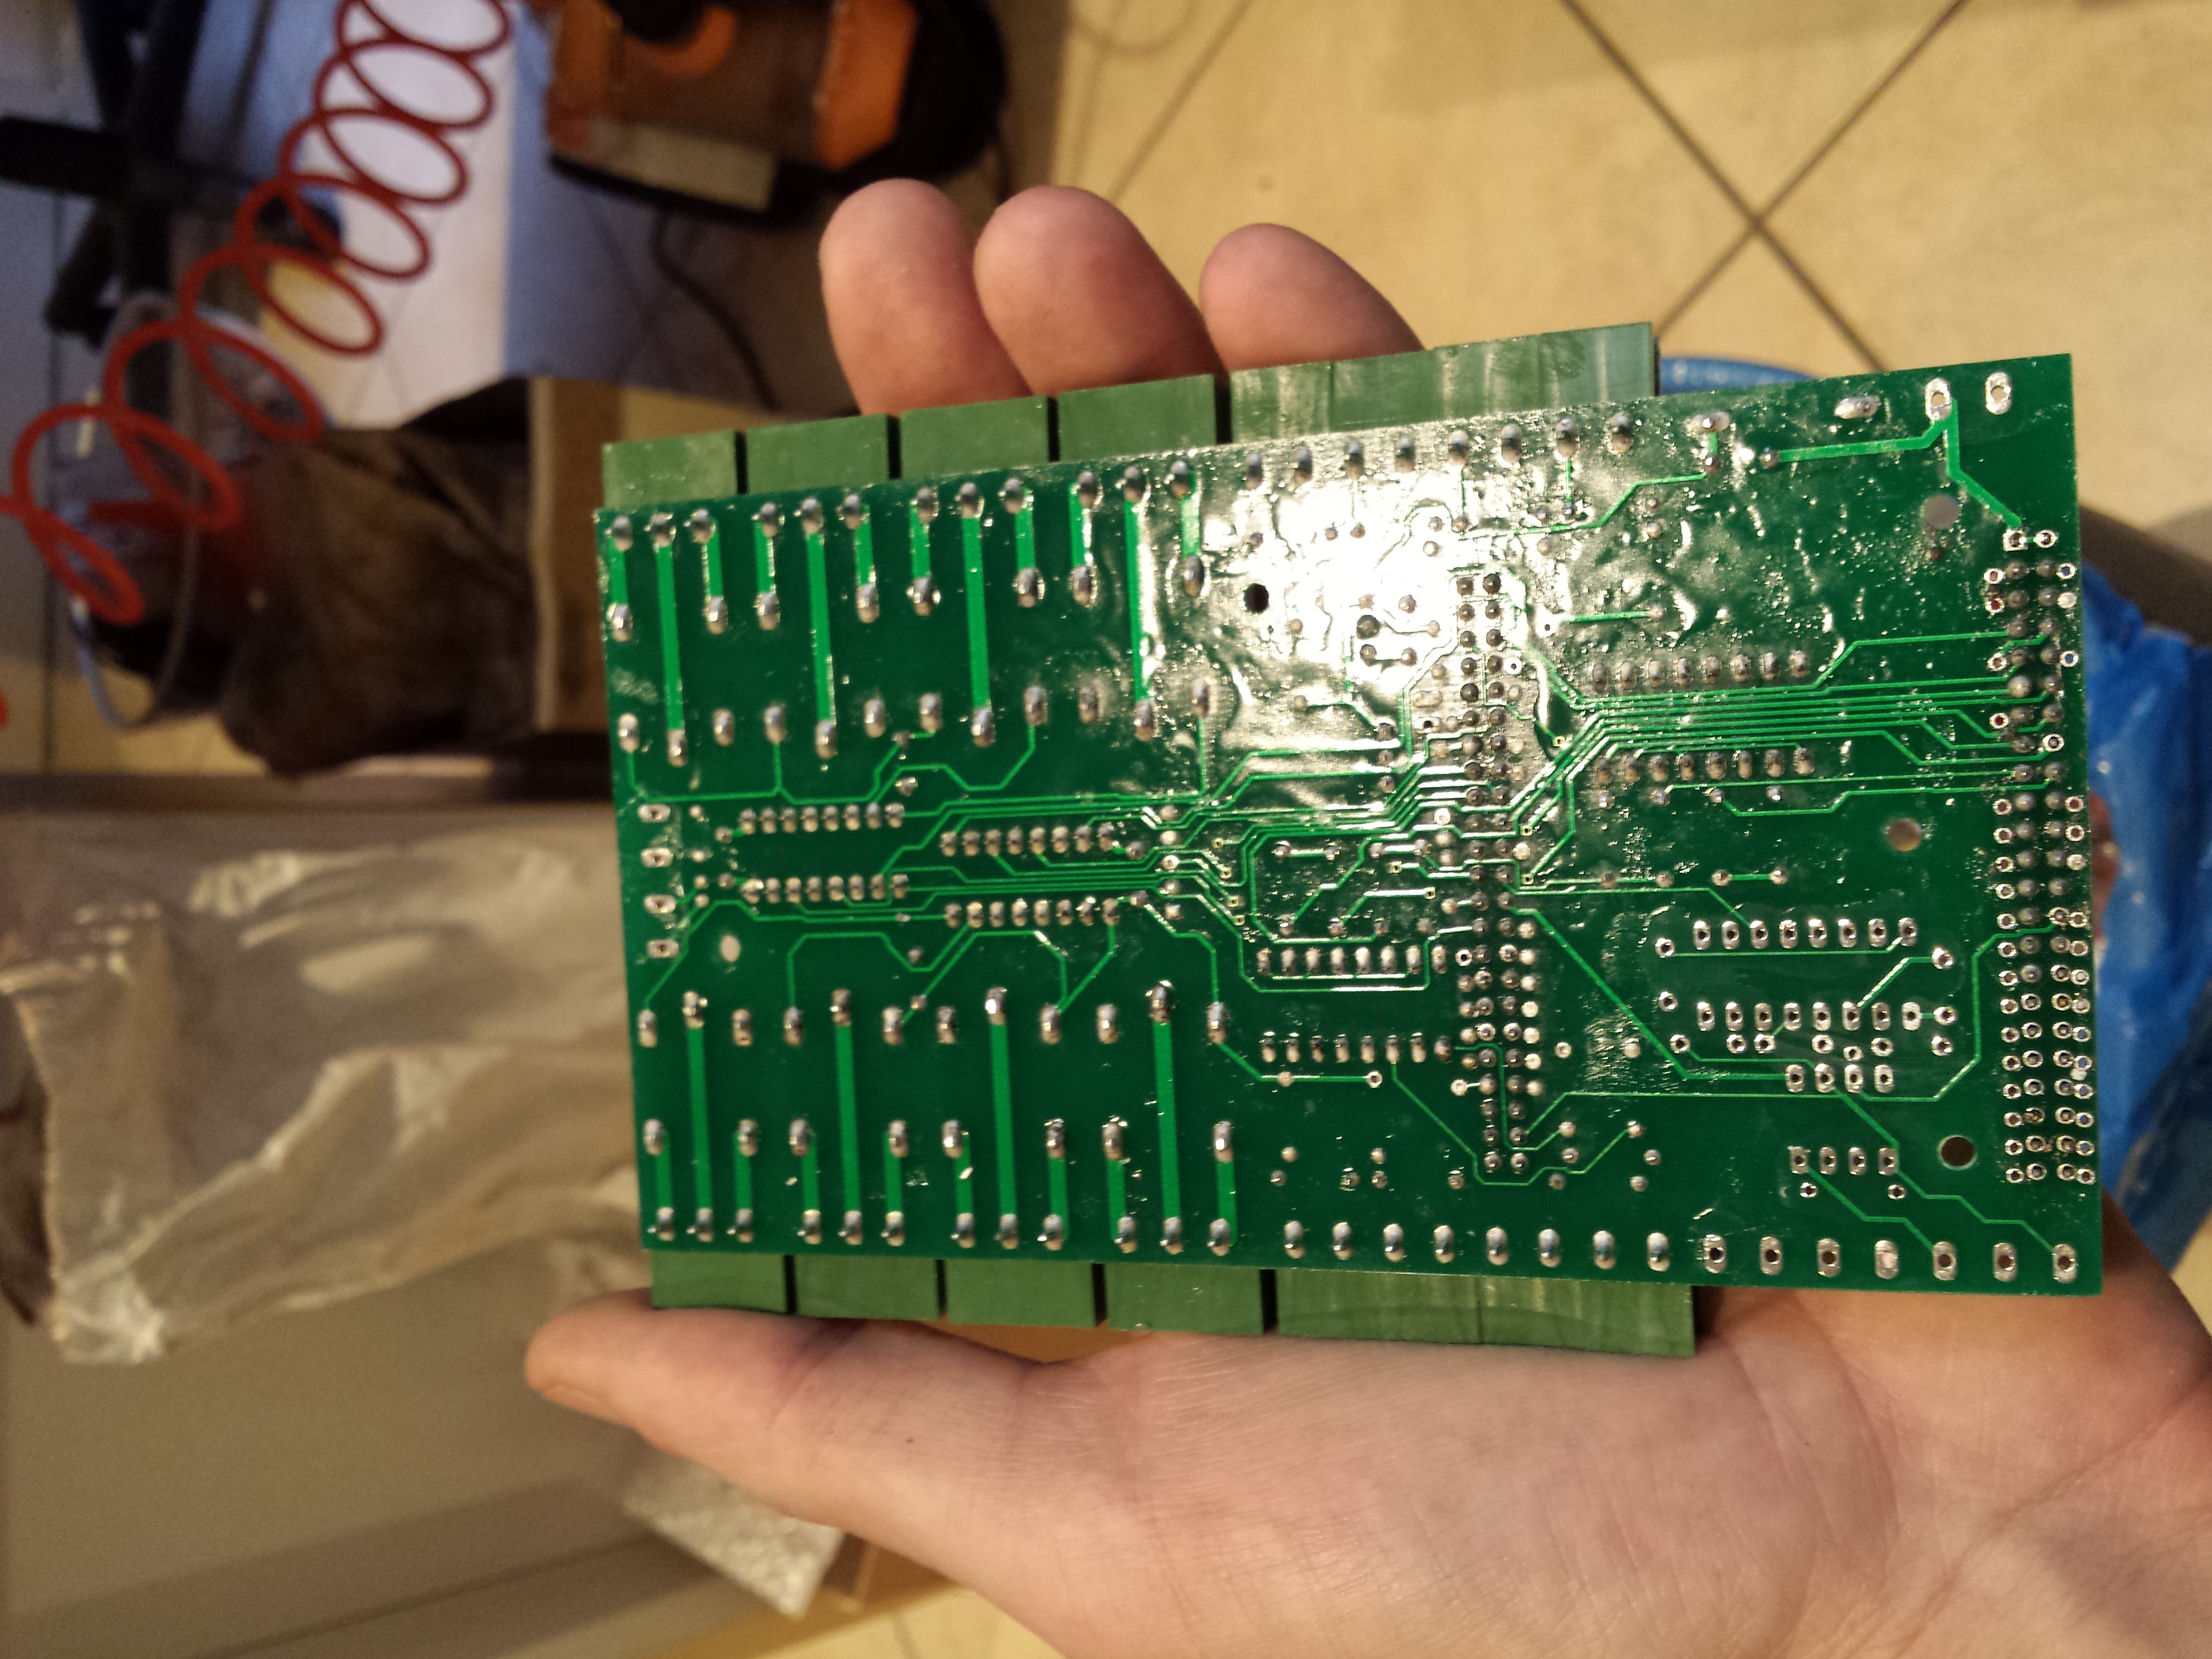
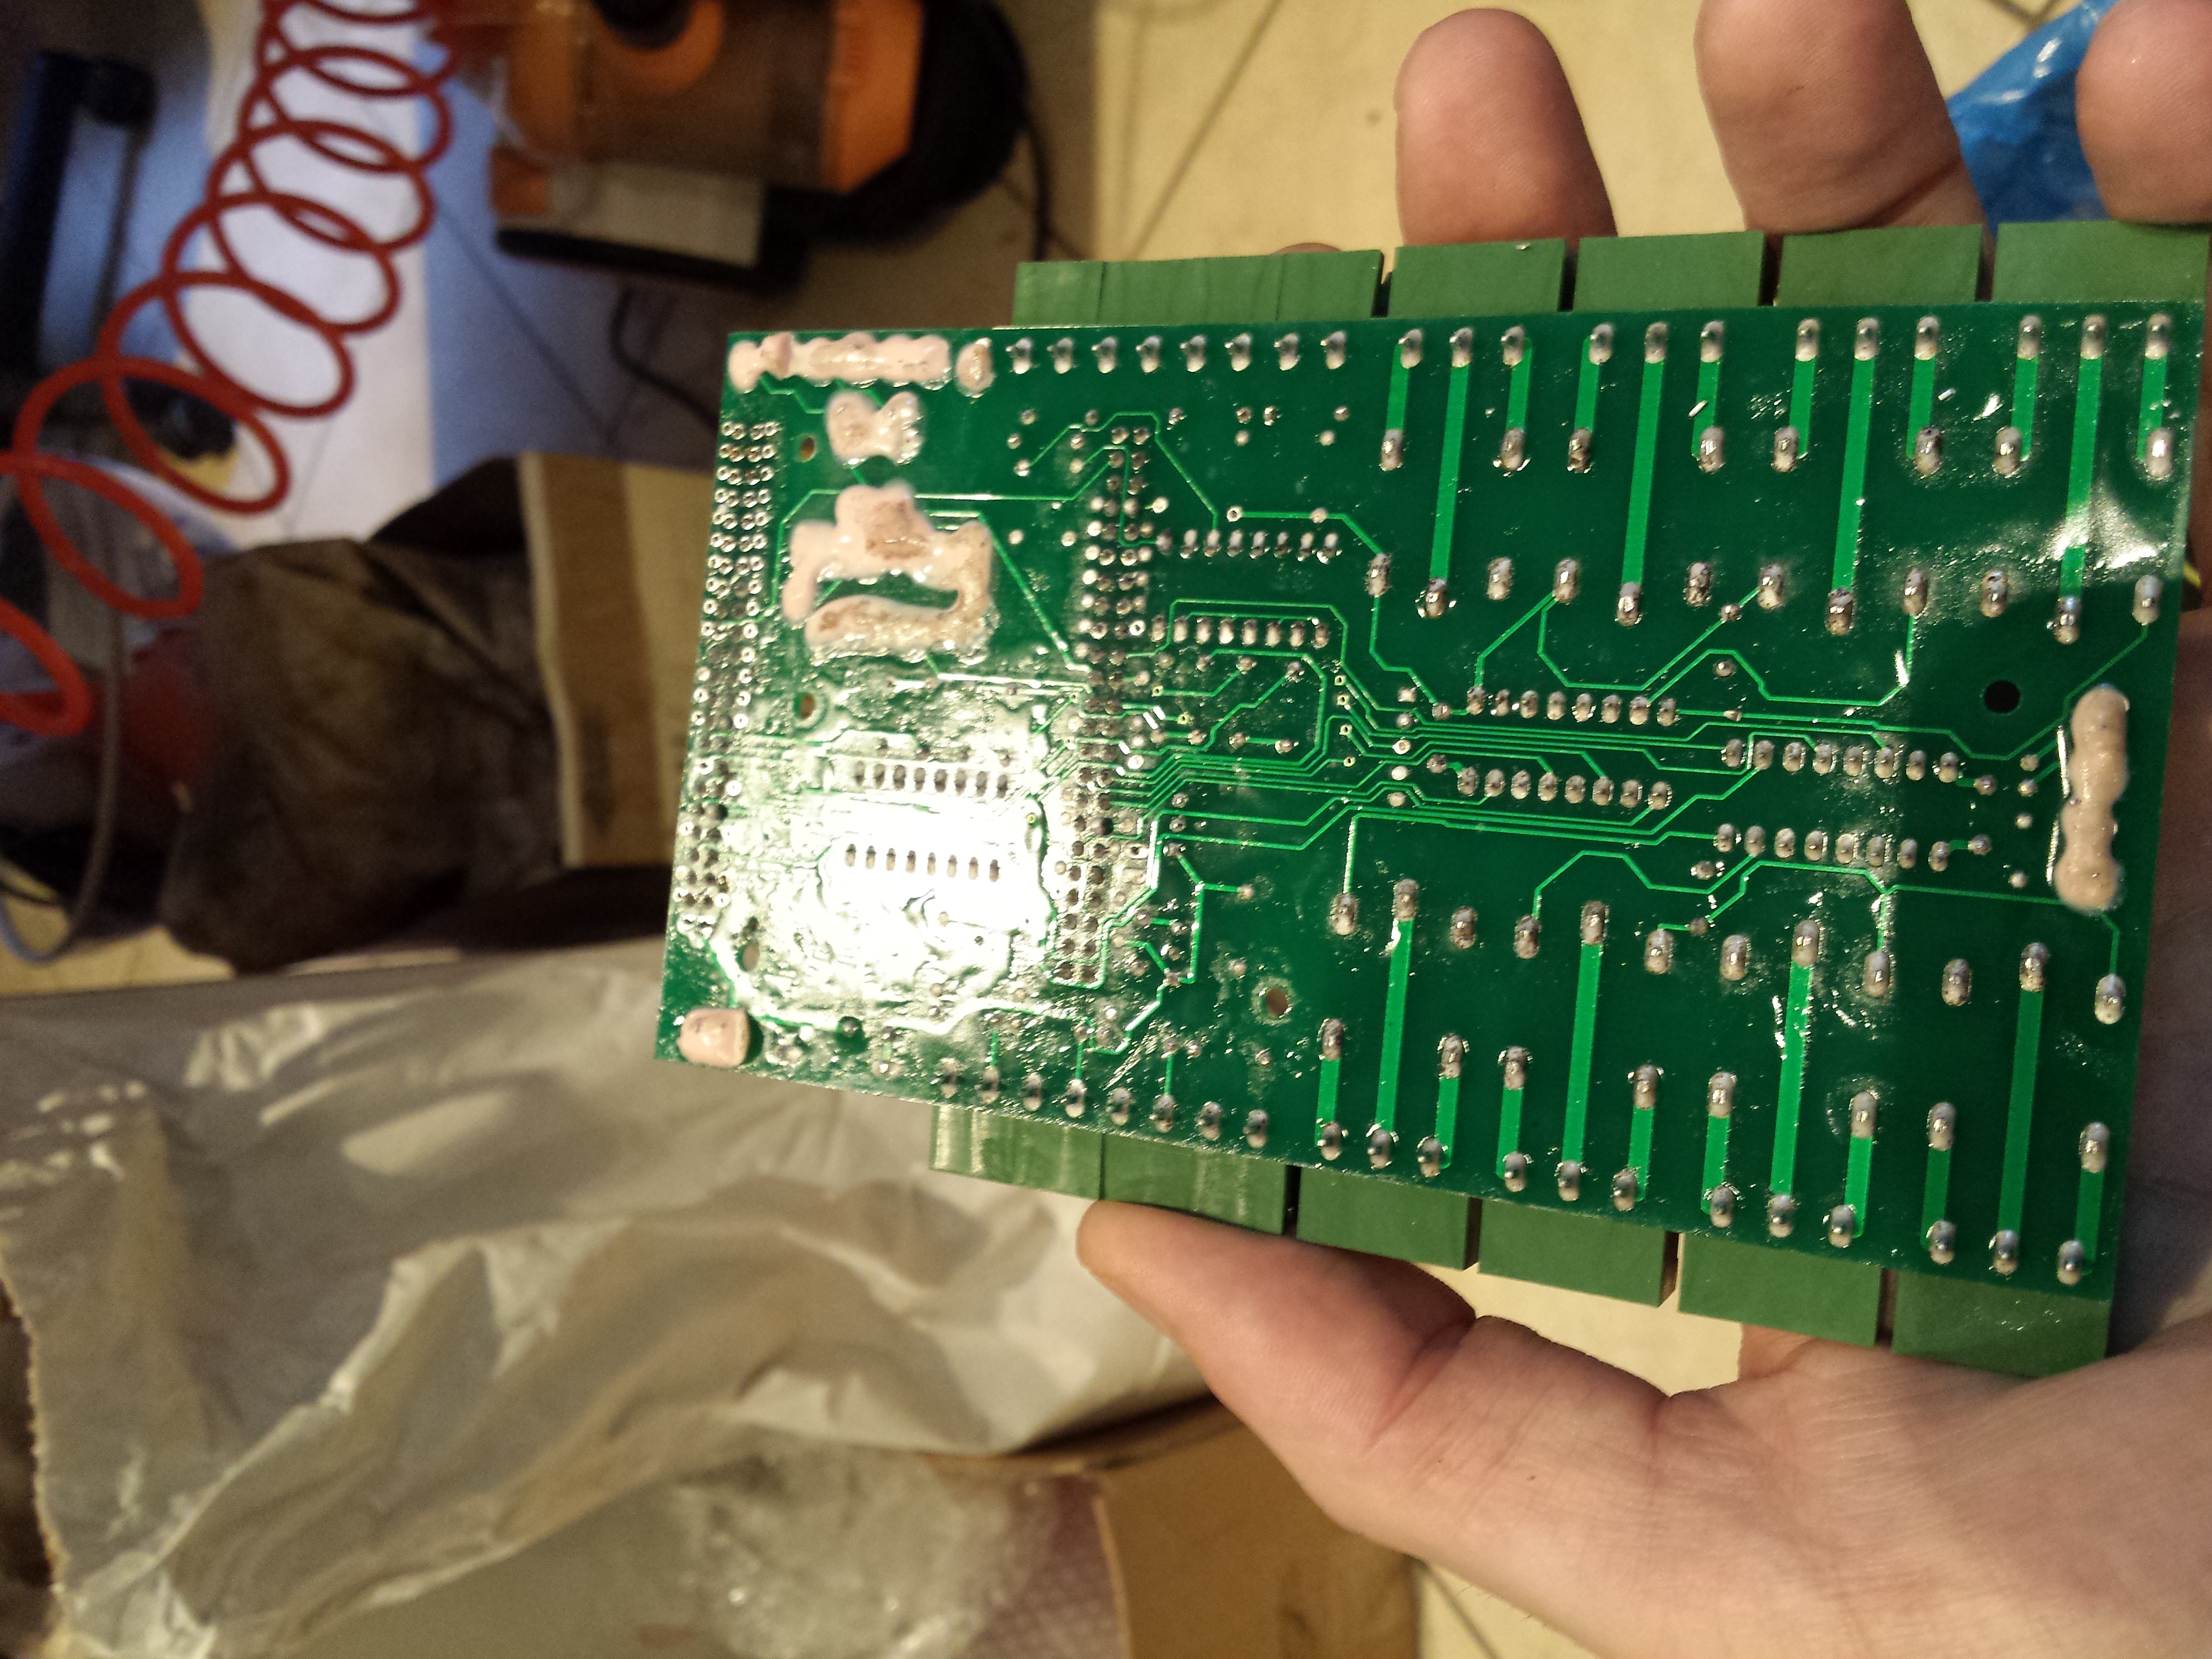
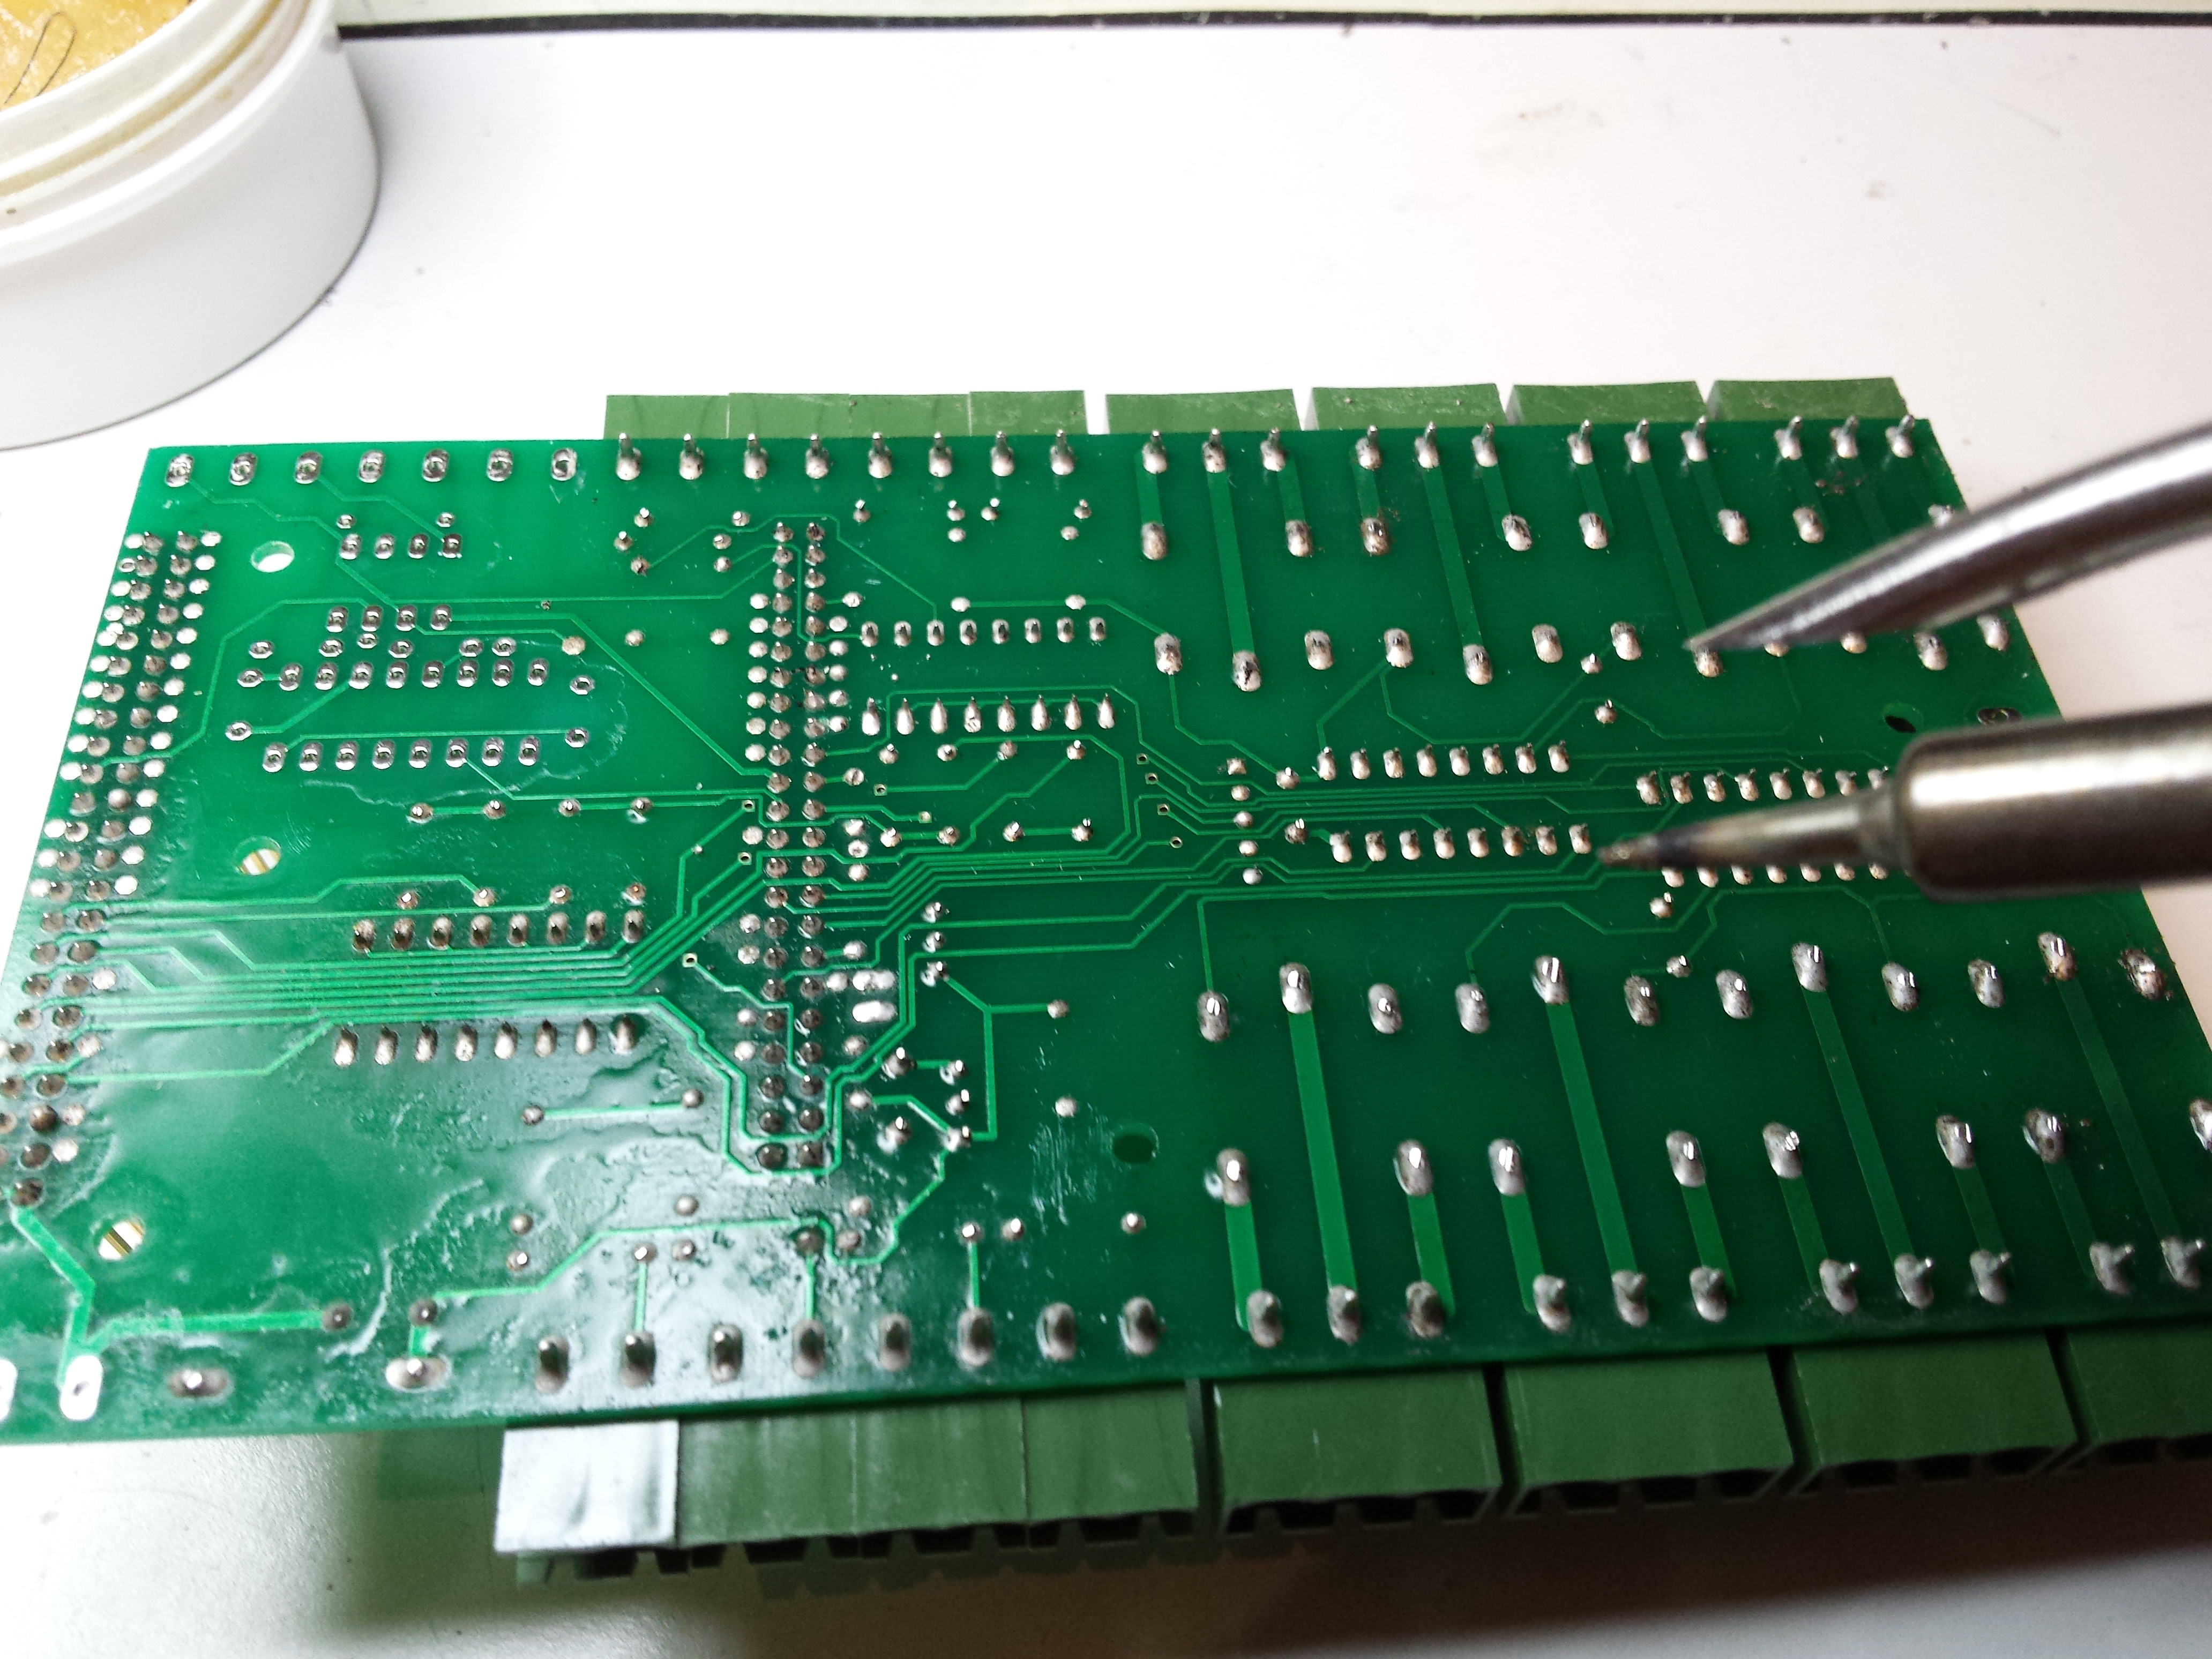
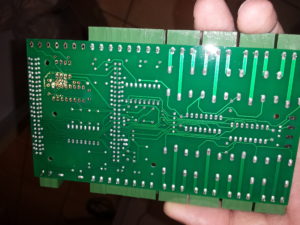
This is the result
Cut the components pins and remove the soldermask gum
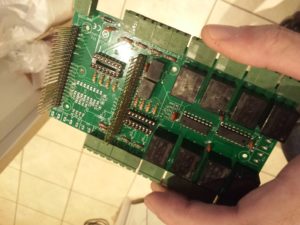
Manually fix shorts and/or bad solders
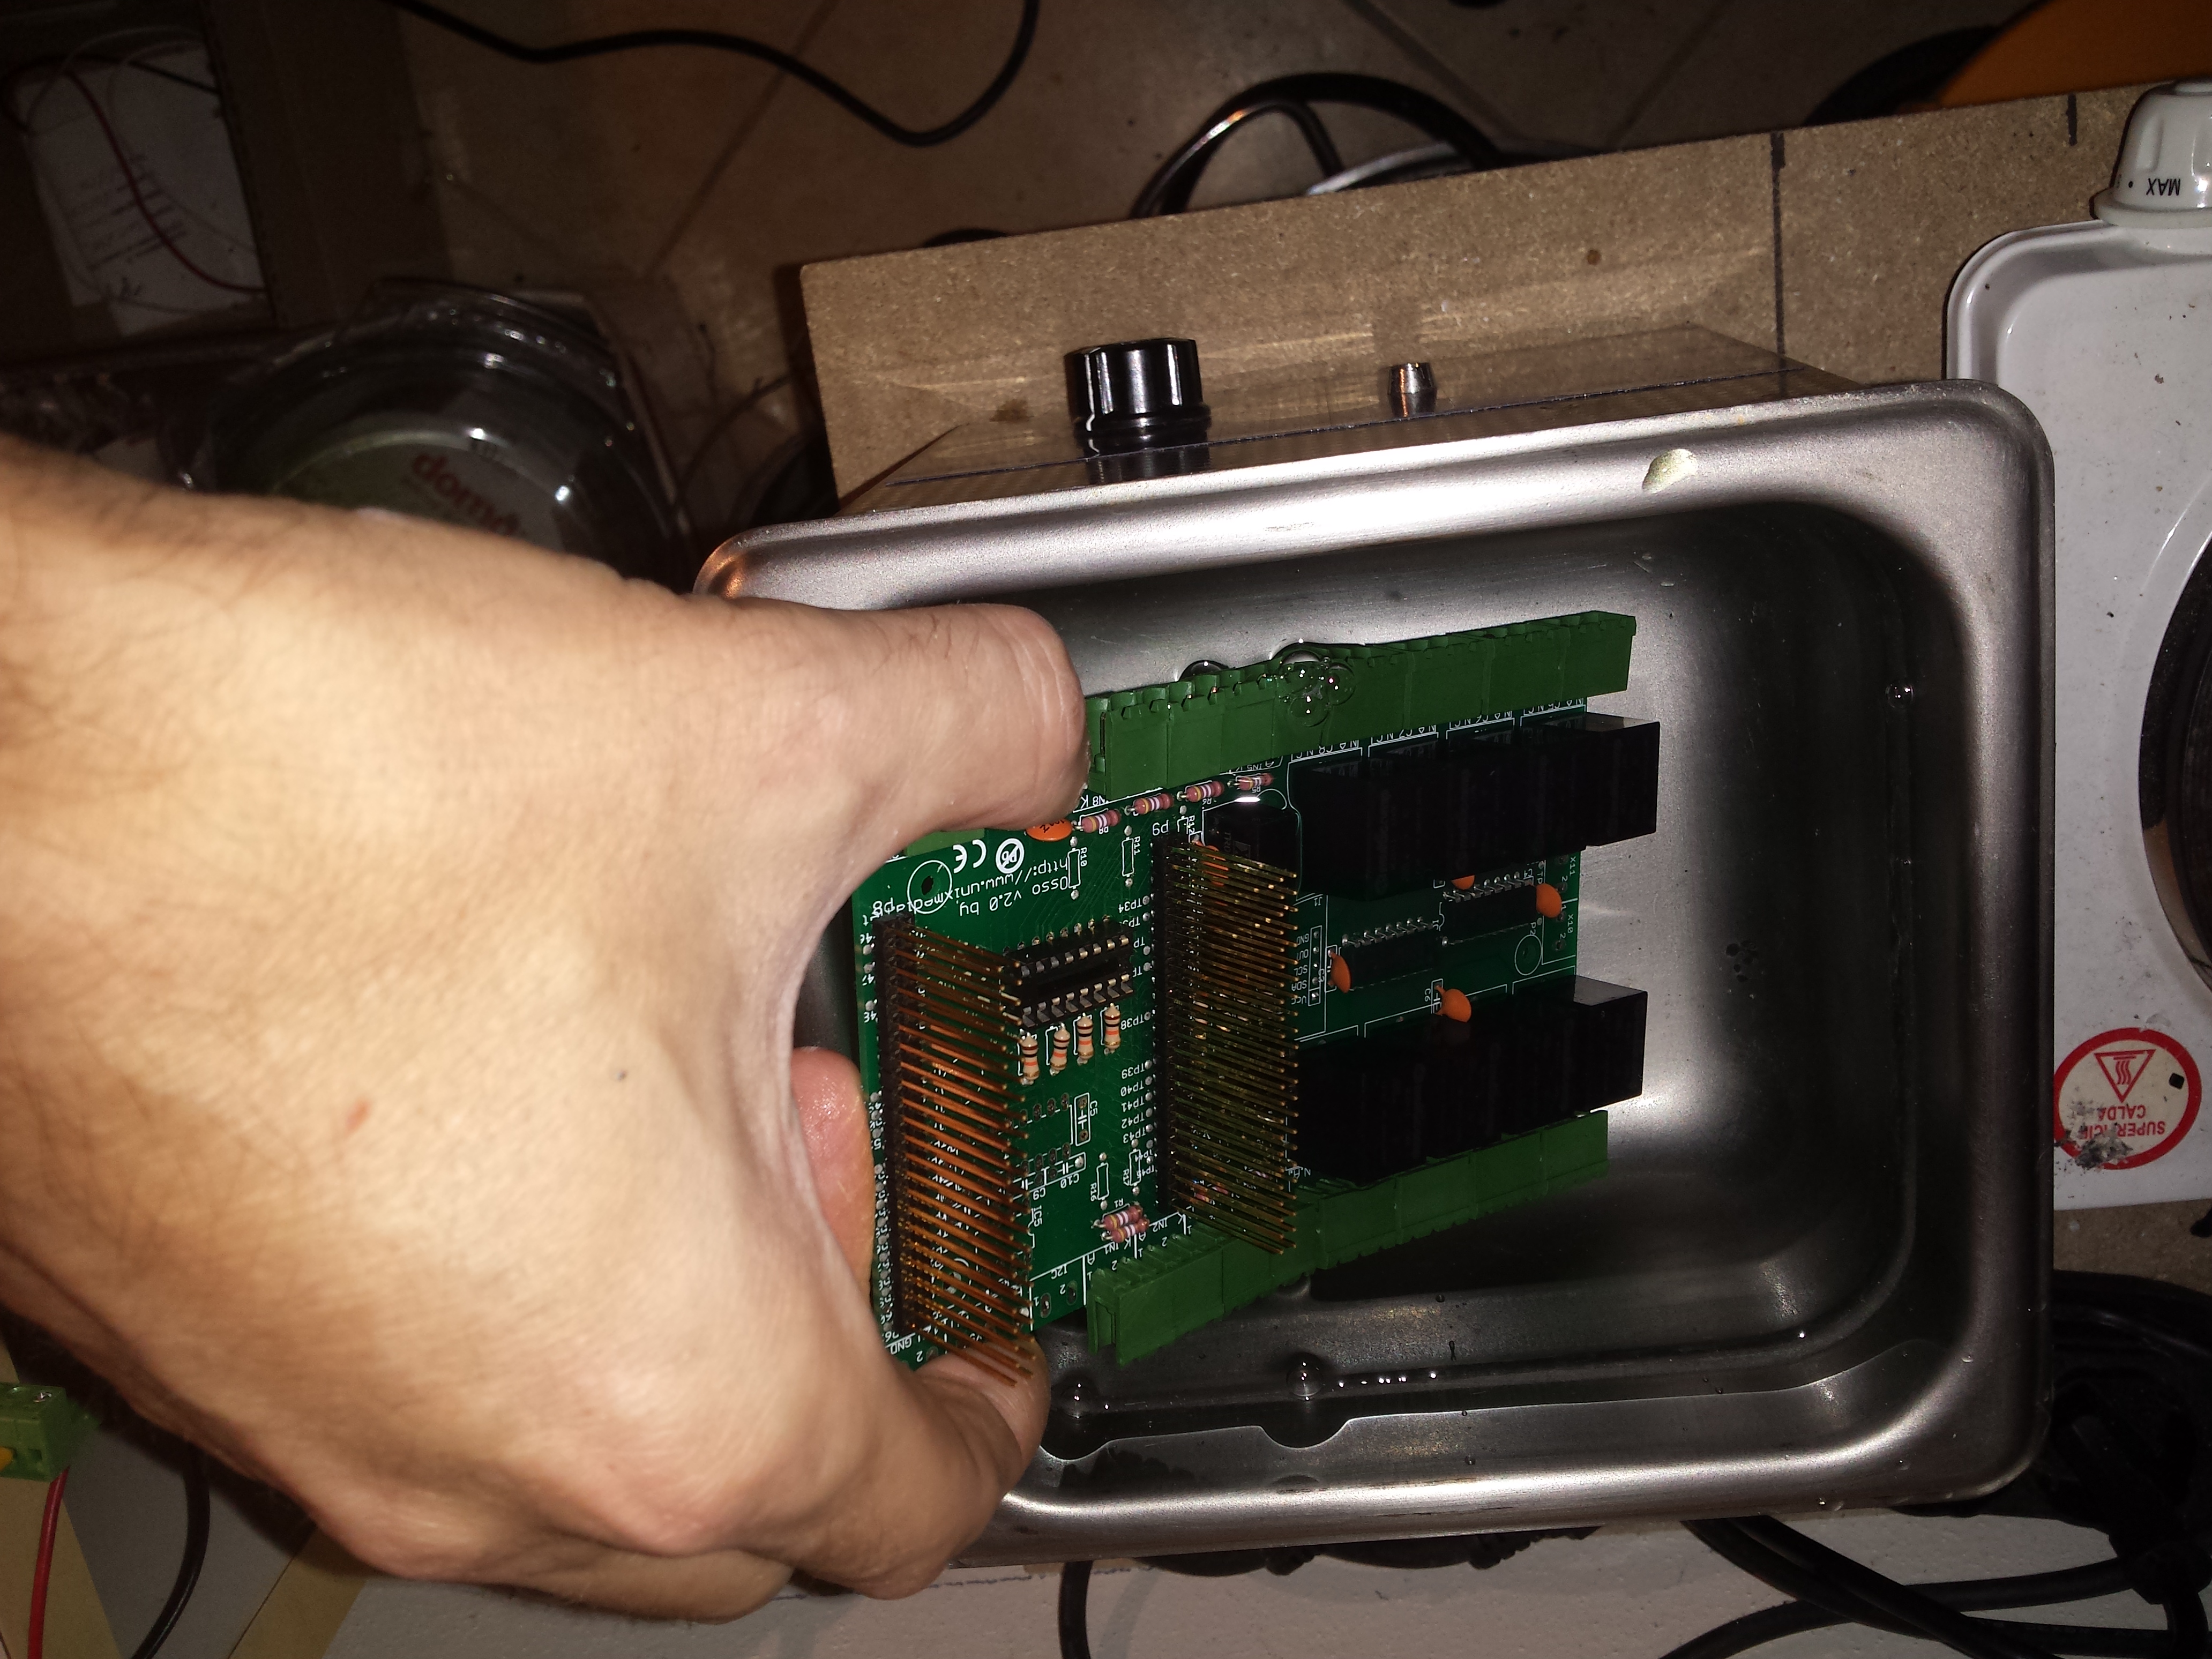
Clean up from solder flux residues with an ultrasonic bath

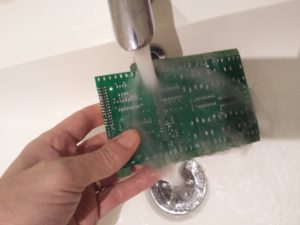
… rinse it and and then a second cleanup with a little bit of isopropilic alcool
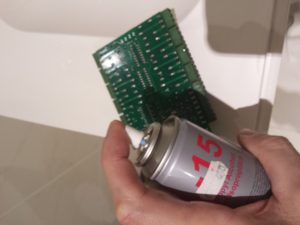
When ready, let’s dry it with compressed air and an electric oven
mount the remaining components
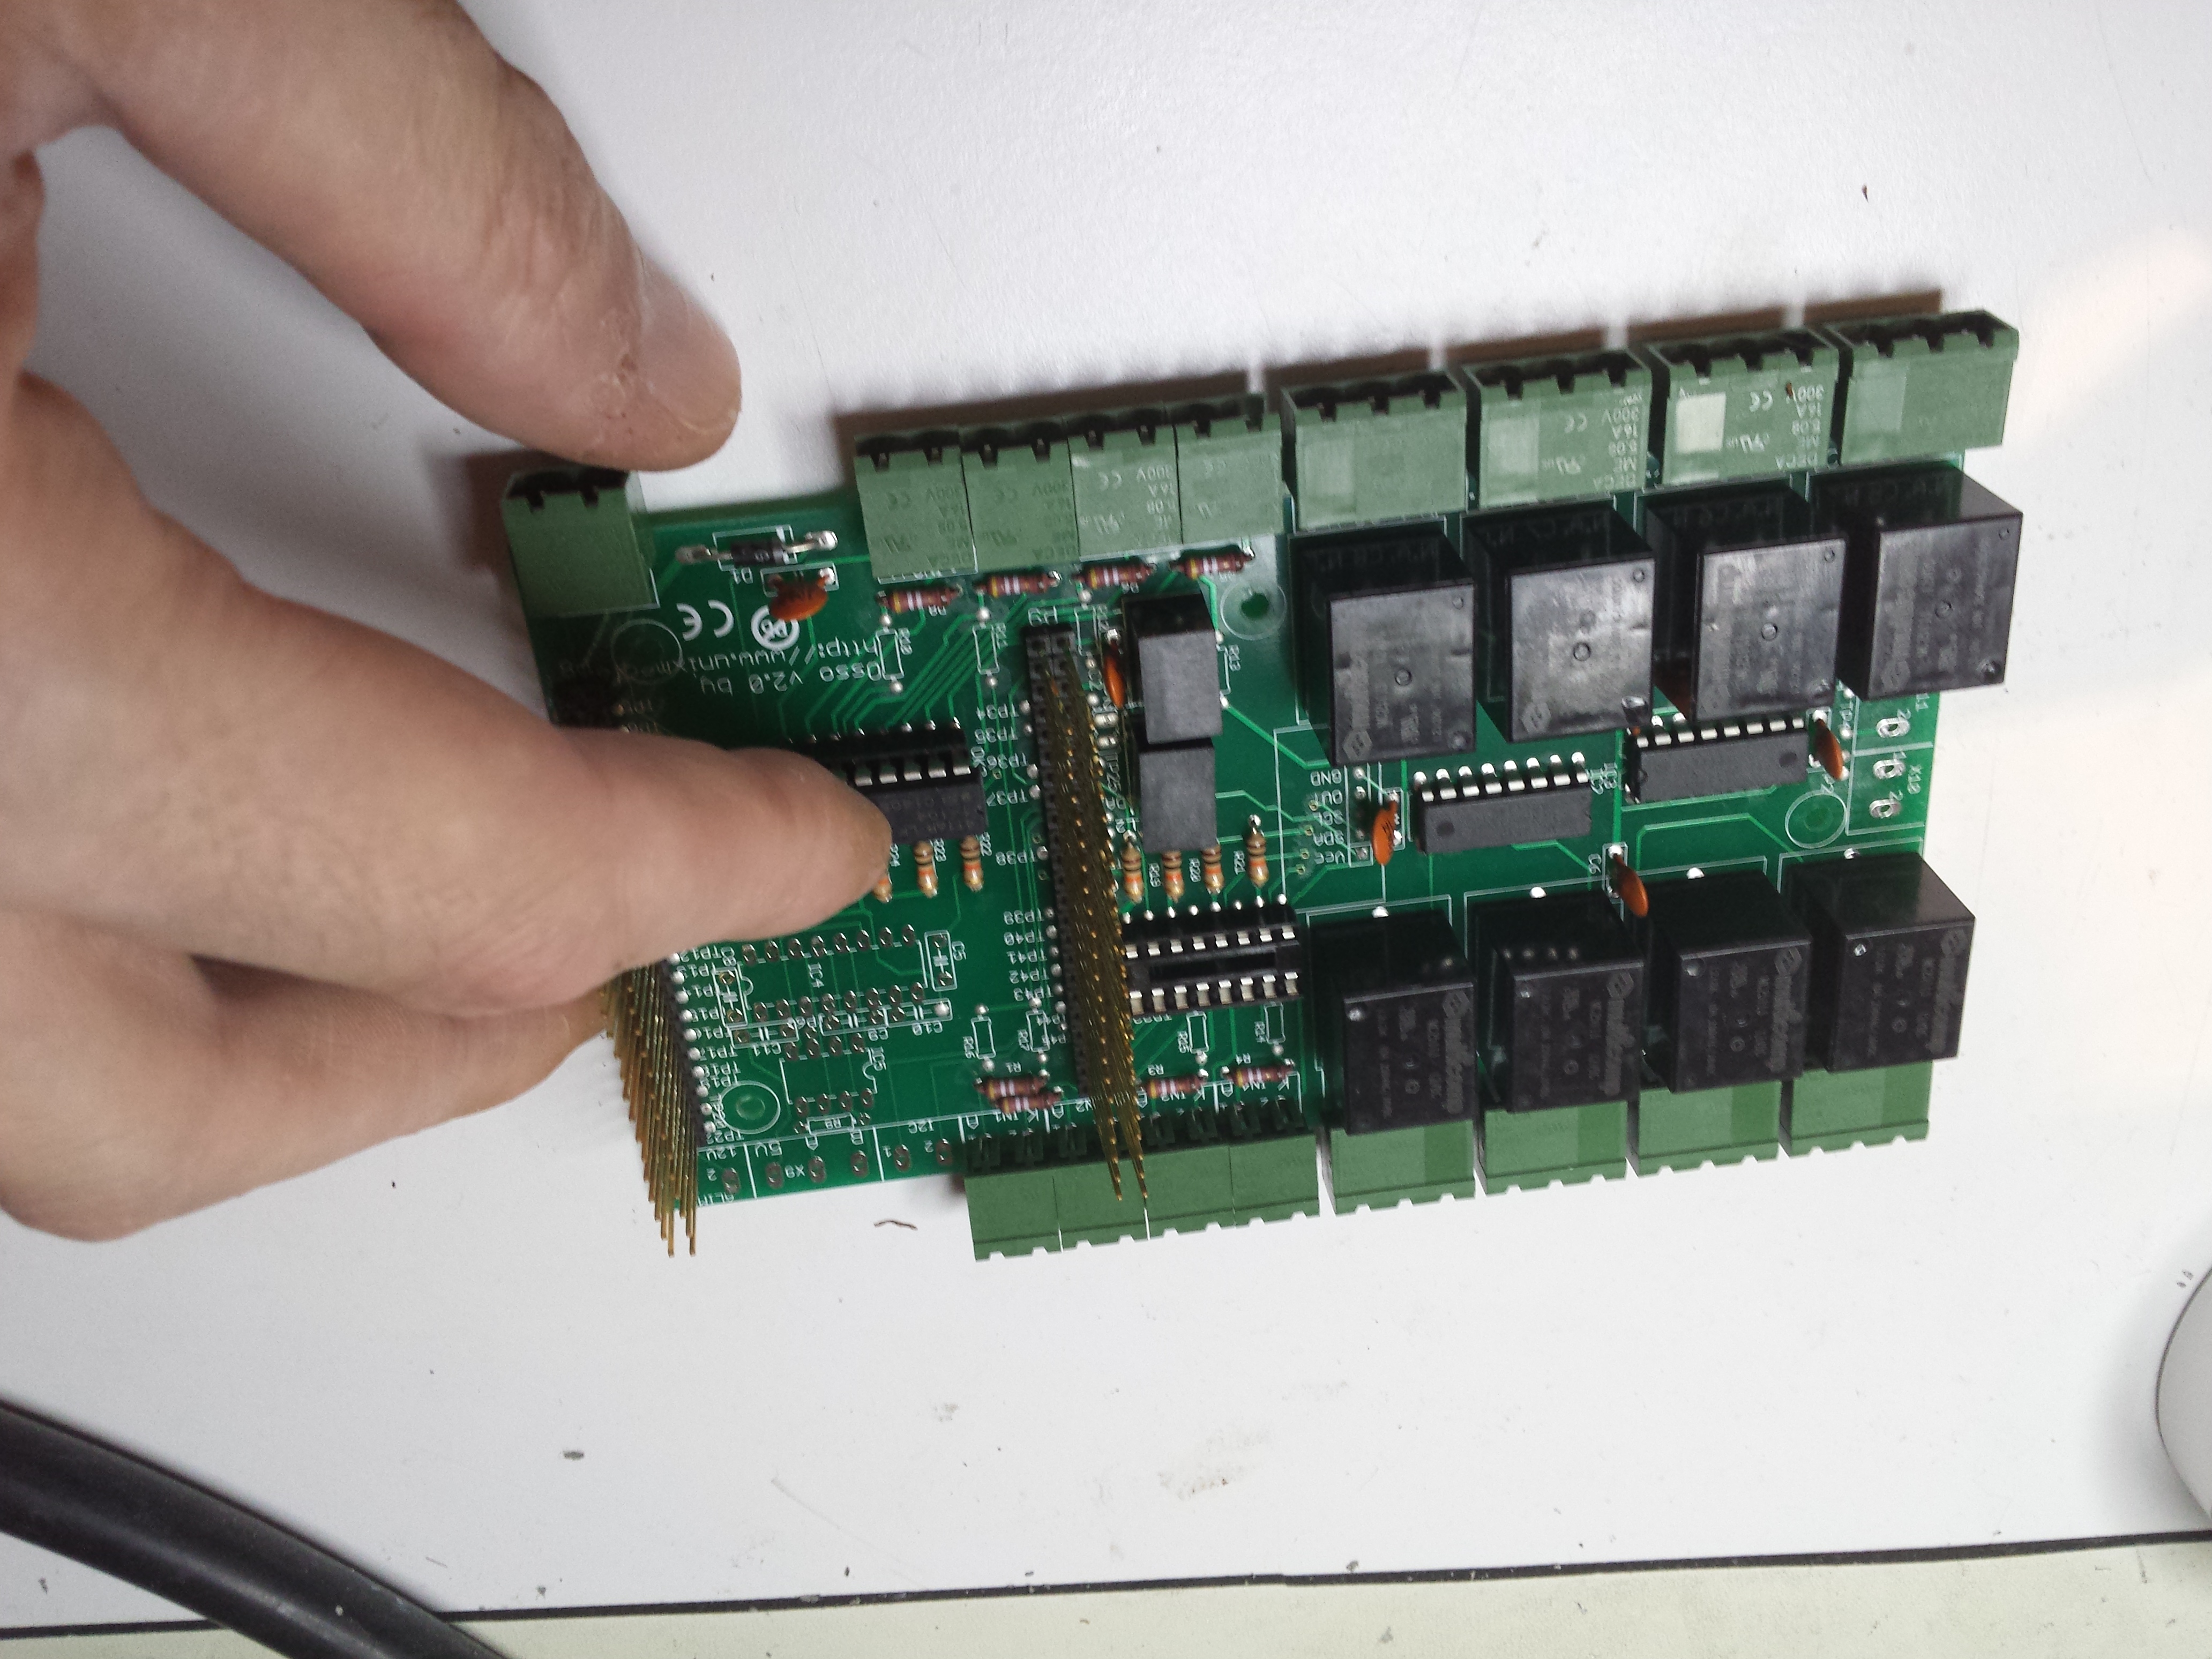
final test

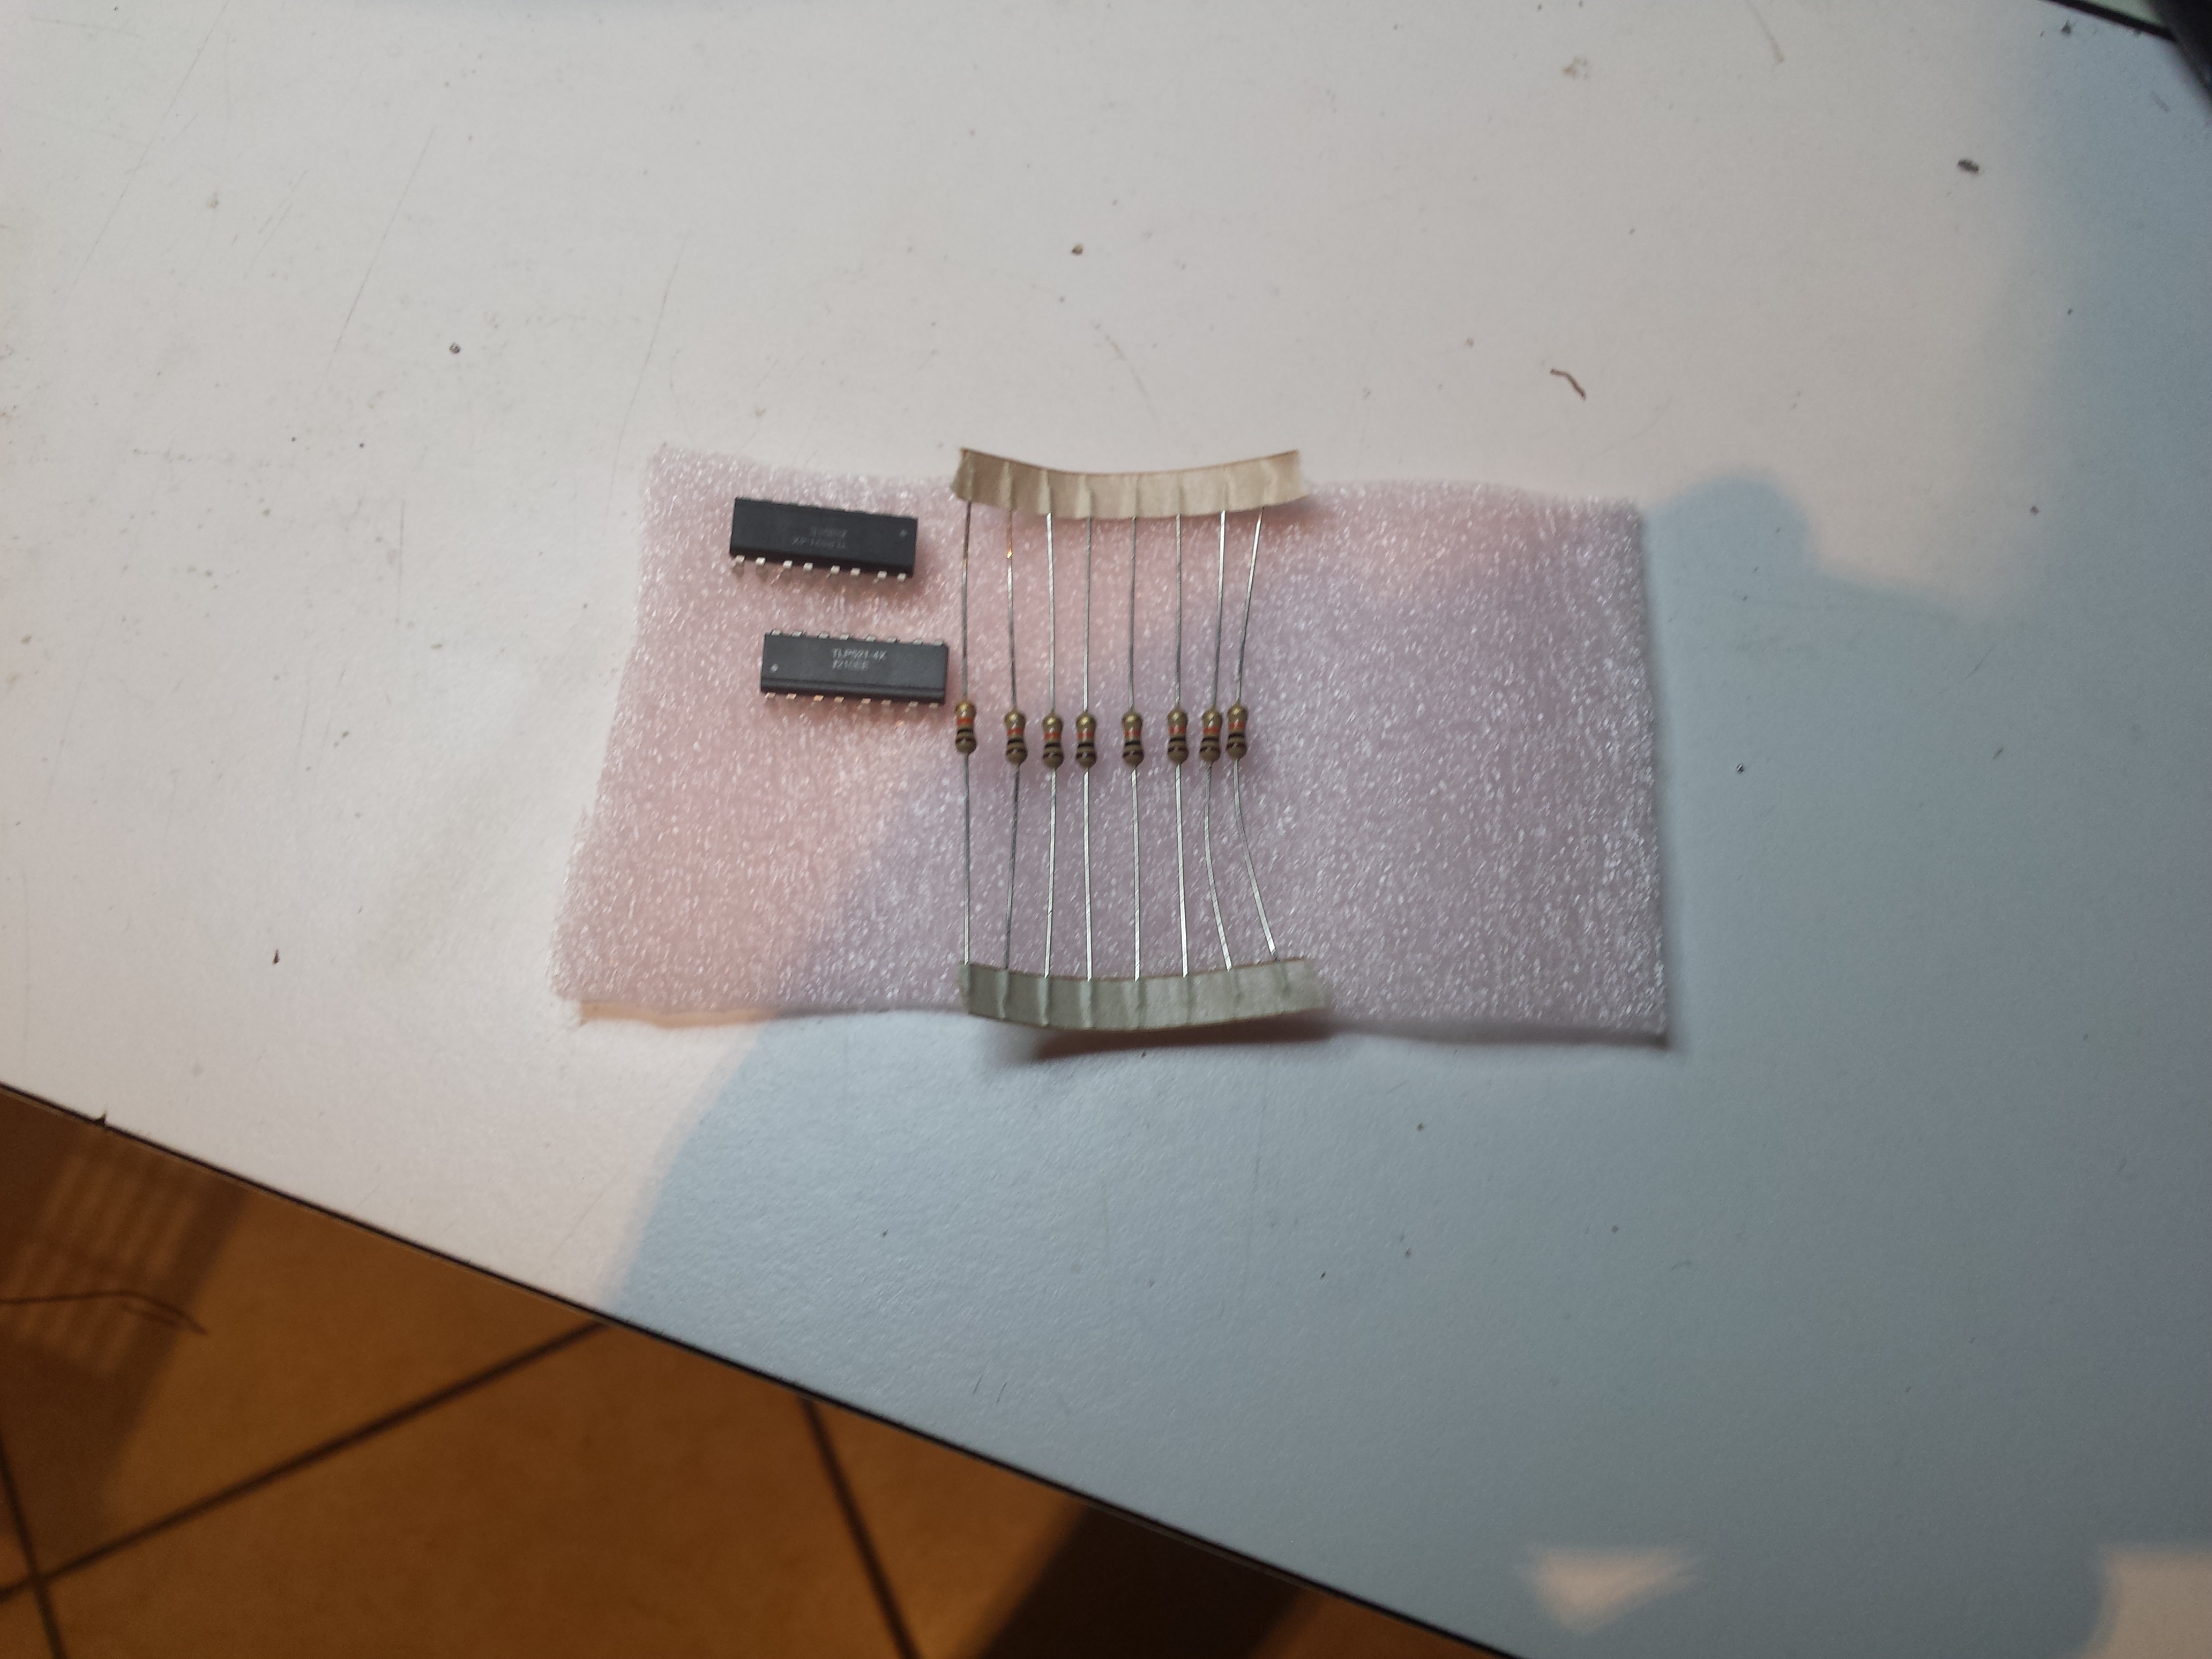
All is working great, so, add some optional components, put in a pluriball pocket, and we are ready to ship!
That’s all.


Leave a Reply
You must be logged in to post a comment.